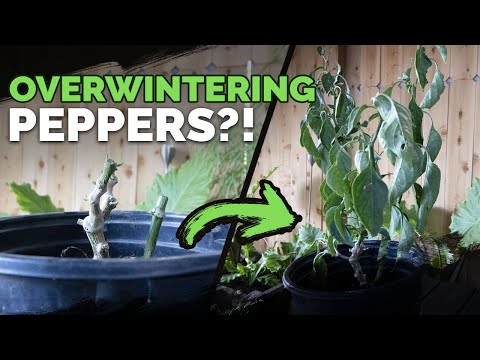
Living in USDA zone 8b, I have the luxury of two tomato and pepper seasons. But when the first fall frost arrives, I’m always sad to close down the garden. It wasn’t until I started working at Epic Gardening that I learned you can overwinter those tomato and pepper crops easily!
While the process of overwintering these two crops is multi-tiered, that’s not the case for every plant. Many crops overwinter in place, and don’t require indoor spaces to continue living after the first frost. Depending on where you live, some simply need a little extra protection.
This is the topic of discussion here. We’re talking about the process of overwintering, why it’s beneficial, and how to do it with 9 commonly grown garden plants.
Garlic
Chesnok Red Hardneck Garlic
Tomato
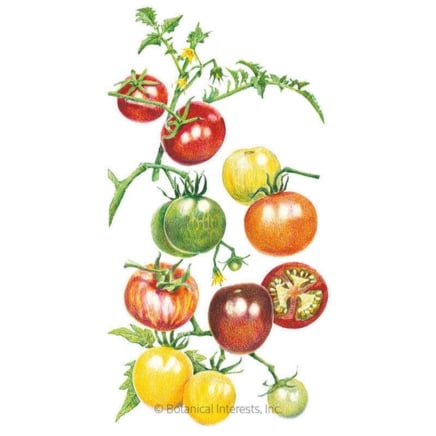
Rainbow Pole Cherry Tomato
Petunia

Garden Party Blend Petunia
Why Overwinter?
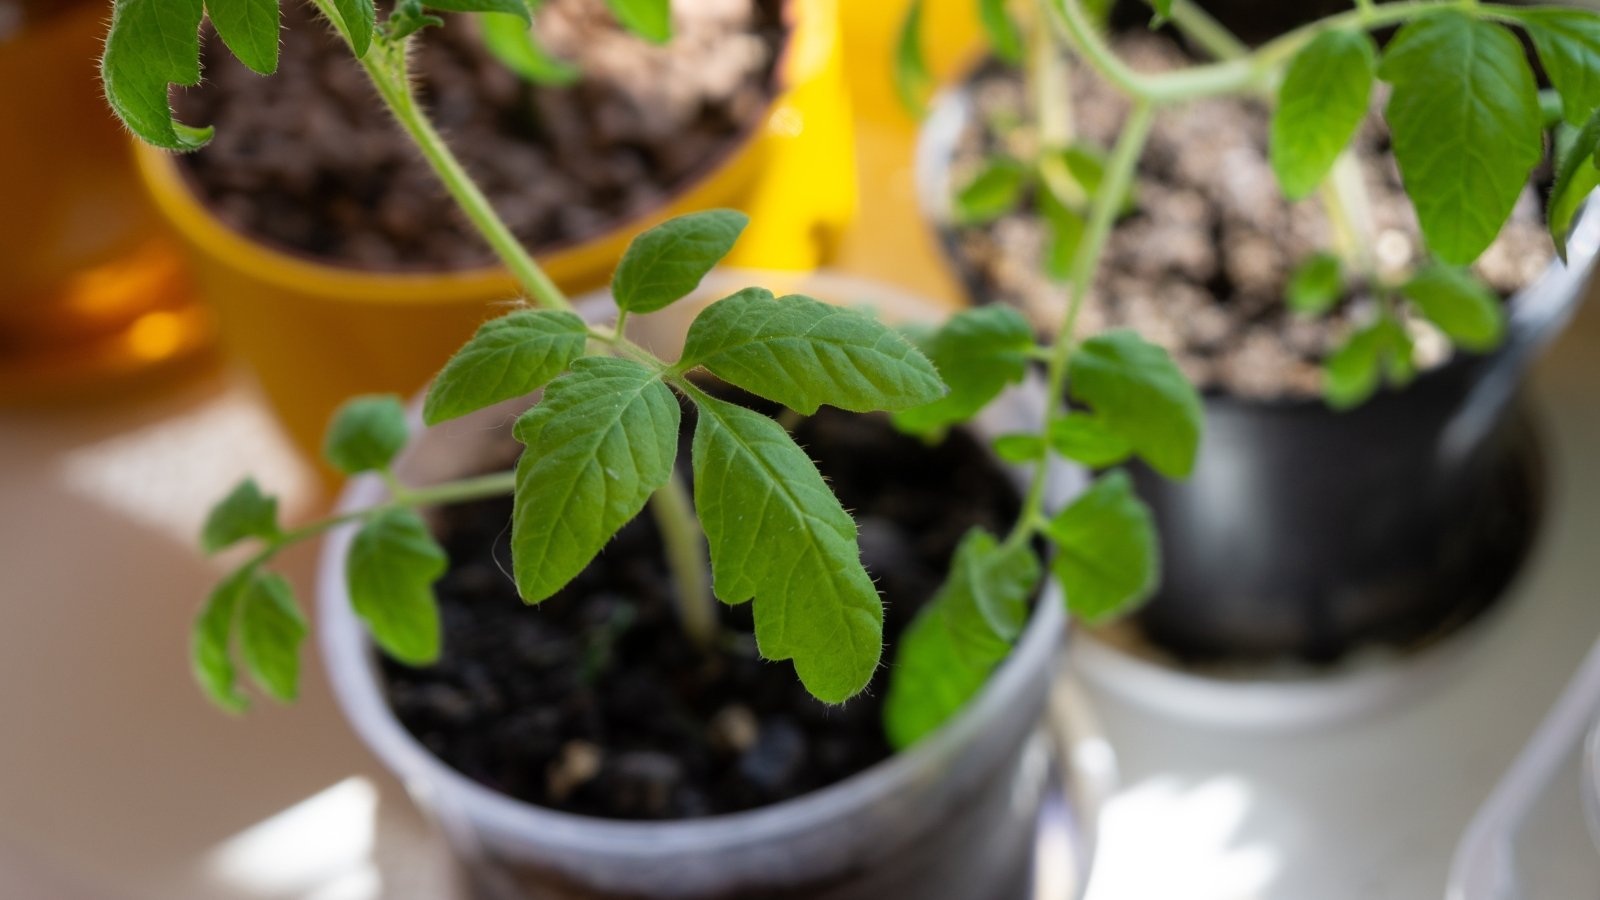
When you overwinter plants through the cold, you get a head start on the upcoming spring season. Tomatoes and peppers are ready to be planted or placed directly in the garden as soon as it’s warm enough. You don’t have to spend weeks germinating seeds and nurturing them through snap freezes in spring.
You also get to infuse cold weather-loving veggies with flavor as they encounter frosts. Delicious greens and peas love a touch of frost here and there. When you overwinter them, you get a chance to expose them to sugar-condensing conditions without losing them to extremes.
One of the greatest benefits is keeping the soil covered through cold seasons, as opposed to hosting a barren garden bed. This keeps the soil structure safe in frigid temperatures and feeds microbial life below the soil surface. Soils exposed to intense cold are prone to erosion, so this is a huge plus.
9 Crops to Overwinter
So, which plants can you continue to grow over the winter season? There are actually many more than we’ve included in this list. Here we’ve provided tips on how to overwinter the top favorites.
Peppers
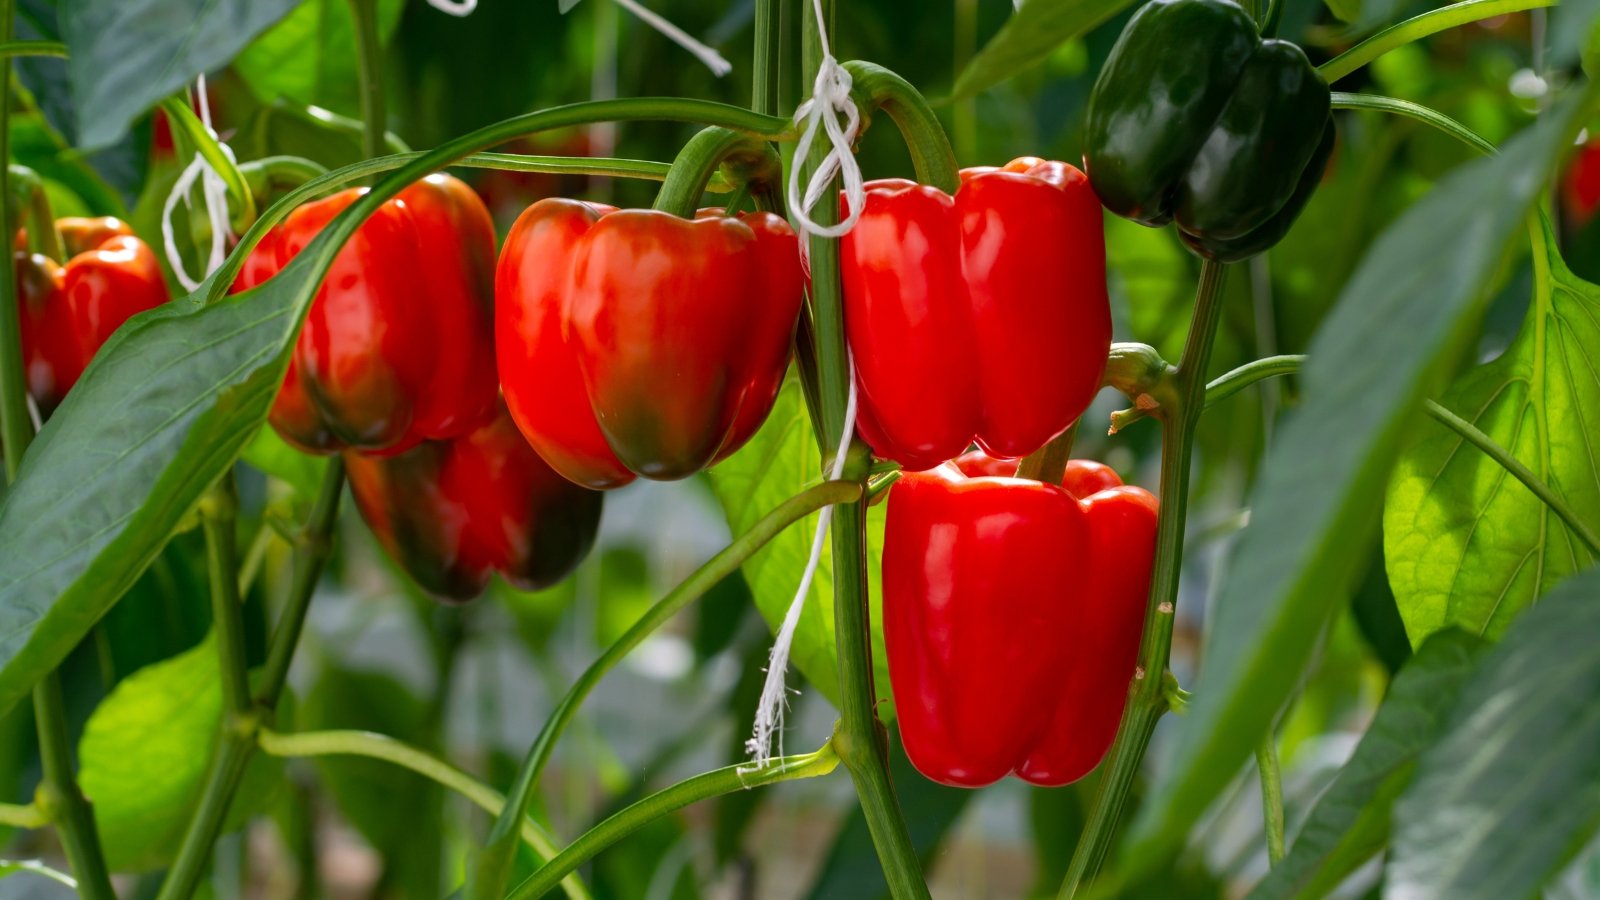
In tropical zones 10 through 12, gardeners enjoy the delicious flavors of their favorite peppers all year long. Being outside of that region in zone 8, I miss out when winter comes. If I overwinter my plants, I may not necessarily get to enjoy more peppers, but I’ll have plants ready to go in spring.
How To Do It
If you live in a tropical zone that is warm year-round, you can still dig up your peppers and treat them as if they are dormant, just as you would in a zone with cold winters. In USDA zones that do experience regular freezes, here’s how to keep those peppers alive.
Get out a pair of sterilized pruners and harvest any remaining peppers. Then, shape the plant, removing all the extraneous outer branches. Remove any diseased areas and cut off any new leaves or flowers as well. This keeps your plant in the dormant state. Then remove the tops of the central branches by about half height. Leave a few leaves on the plant.
Now, it’s time to remove the plant from the garden. If it’s already in a container that’s easy to move, skip this step. Use a hori hori or trowel and gently lift the plant from the ground. Then dust off the soil around the roots. Inspect the root mass and cut off any feeder sections.
Transplant your pepper into a smaller 1-gallon container with fresh soil. Put the planter in an area with partial sun. The goal here is to keep the plant alive but limit sunlight that could kick it back into an active state.
The hardest thing about overwintering peppers is managing water. Don’t leave your plants in the rain, and don’t water as much as you would in the summer. You want the soil to dry slightly between watering.
Monitor your plant through the winter. If it’s producing a few leaves here and there, perfect! When spring arrives, up-pot the plant into a 5-gallon container, or transplant it into the garden. Wait until soil temperatures reach around 70°F (21°C), and all danger of frost has passed.
Tomatoes
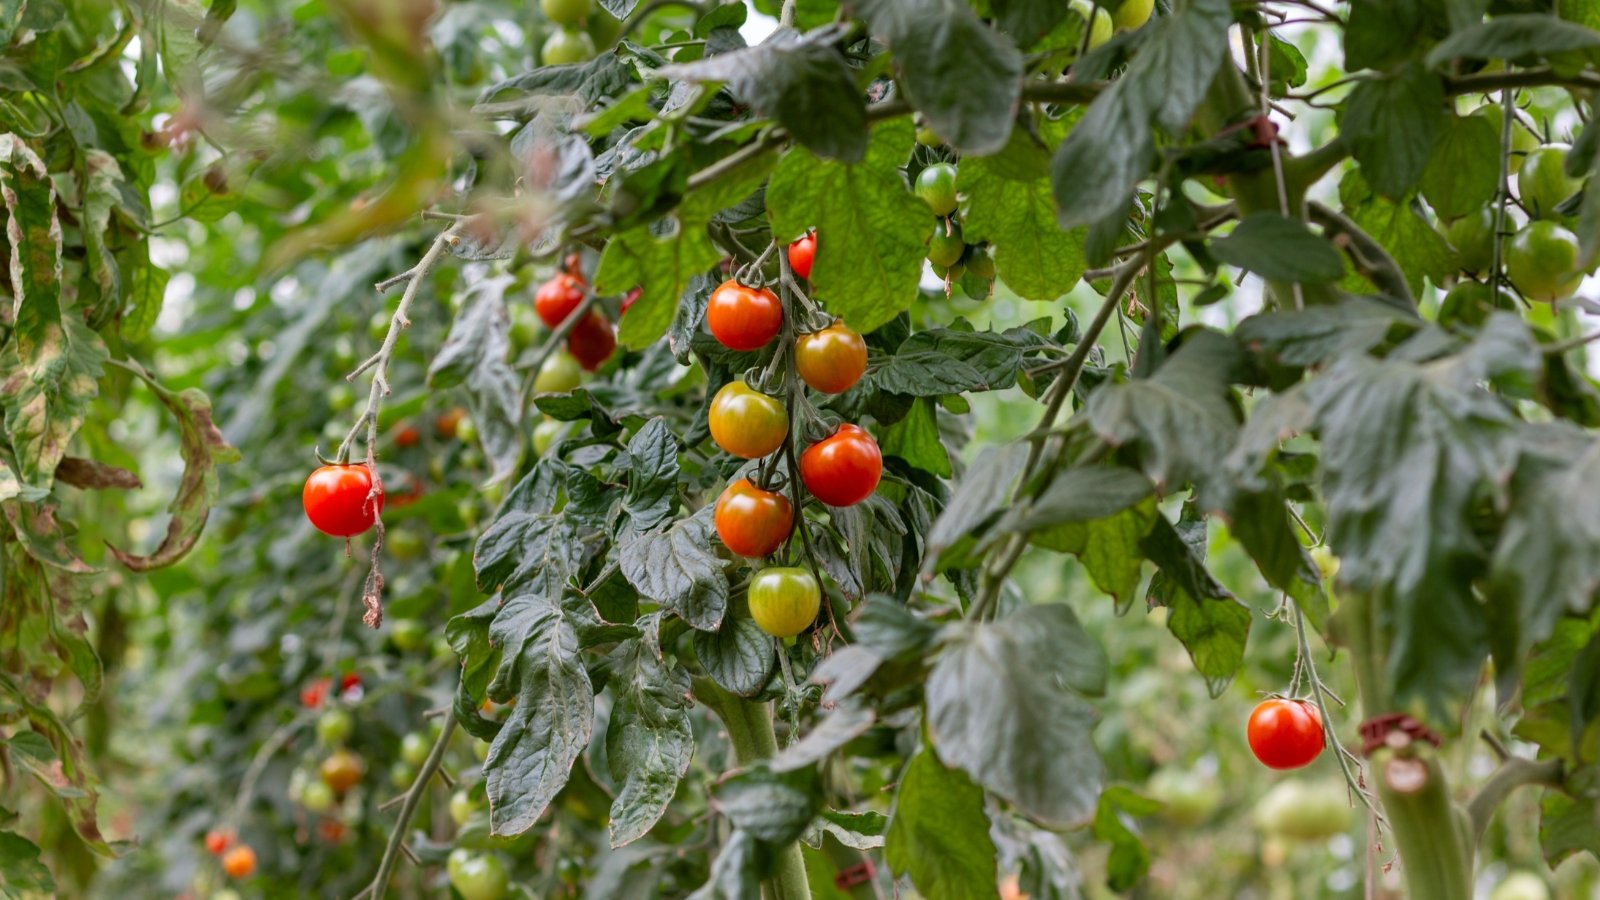
These juicy fruits are yet another herald of summer, much like peppers. There’s nothing like biting into a fresh tomato straight from the garden. While overwintering them does require tricking the plants, it’s worth it if you want to keep that juicy goodness going even when it’s cold.
That’s right! This is one of those plants you can grow for production over winter. Your setup is the most important tool for doing so.
How To Do It
If you live in a tropical zone, you can keep your tomatoes outdoors. You may see shortening day length coinciding with lower fruit production, but the right warmth and fertility should keep them going.
Grow lights are necessary for overwintering tomatoes indoors. Situate your plants in the sunny parts of your home or a greenhouse, but use lights to ensure you get a good harvest. If you can find a light that has settings for both vegetative growth and fruiting, that is even better.
Dig up in-ground tomato plants and transplant them into a smaller container that is compact enough to move and fit into your indoor space. Ensure the planter is large enough to maintain the adventitious roots of your plants. Opt for smaller varieties, as larger ones will be harder to maintain.
Situate your plant under a grow light and/or in a west or south-facing window where it will get lots of sun. Water and fertilize as you would when it’s outdoors. Set your light to promote leafy growth early in the process, and then change it to fruiting. For regular grow lights, ensure your tomatoes get at least 12 hours of light per day.
Are you unsure which crop varieties are best to overwinter? We recommend ‘Cherry Falls’ and ‘Patio Choice, which are both compact cherry tomato varieties. Our favorite slicer is Mountain Merit’, which reaches just 3 feet.
Citrus
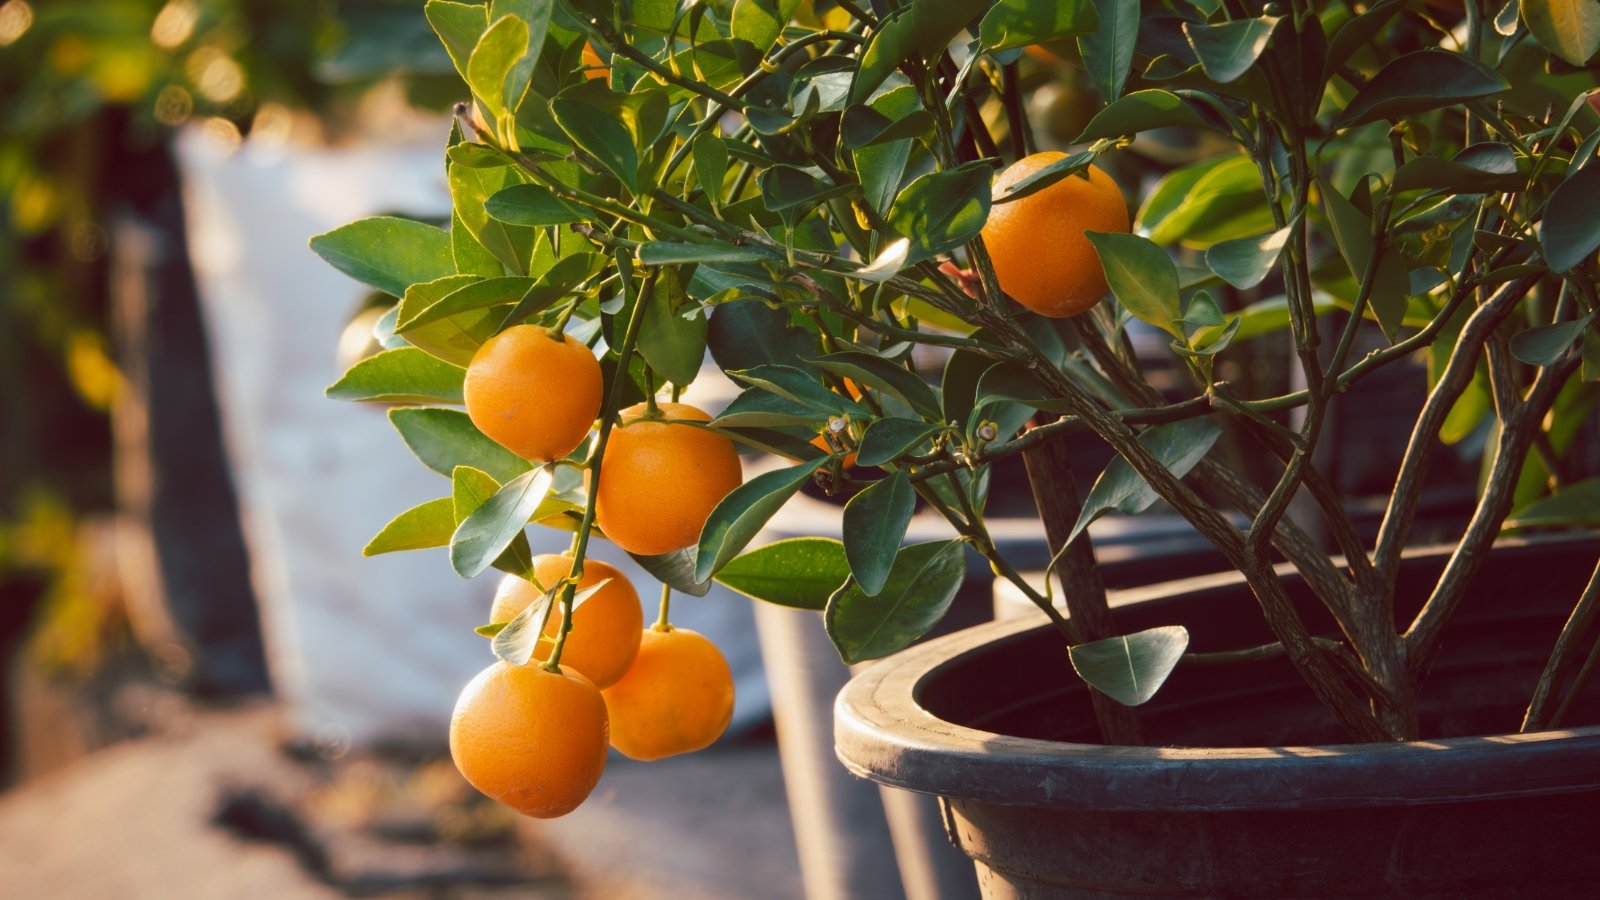
You may already know you can grow container-grown citrus year-round, even in cold climates. All you have to do in this case is find an area that receives full sun, and doesn’t dip below 30°F (-1°C) throughout winter.
How To Do It
Warm-weather growers don’t have to worry about relocating citrus trees in their lovely subtropical climates. Can you tell I’m jealous? For those in colder areas, as temperatures dip into the 40s (~4°C), find an area that remains at 65°F (18°C) or higher.
Ensure the area gets full sun or six to eight hours of direct sunlight per day. Your spot could be in a greenhouse, a lean-to, or even under a large cold frame. Ensure there are no drafts of cold air or dry air from heaters and radiators.
Before moving your tree, inspect it for any pests or diseases. Prune away damaged branches, and use whatever methods you need to remove insects. You don’t want to invite them into your indoor space where conditions are prime for their proliferation.
Water only when the soil is dry. Give your tree ample humidity in the form of a humidifier or a pebble tray. Do not fertilize until late winter. When spring arrives, pop that baby back outdoors under the warm sun. You’ll have a tree just waiting to flower and produce more delectable fruit.
Garlic
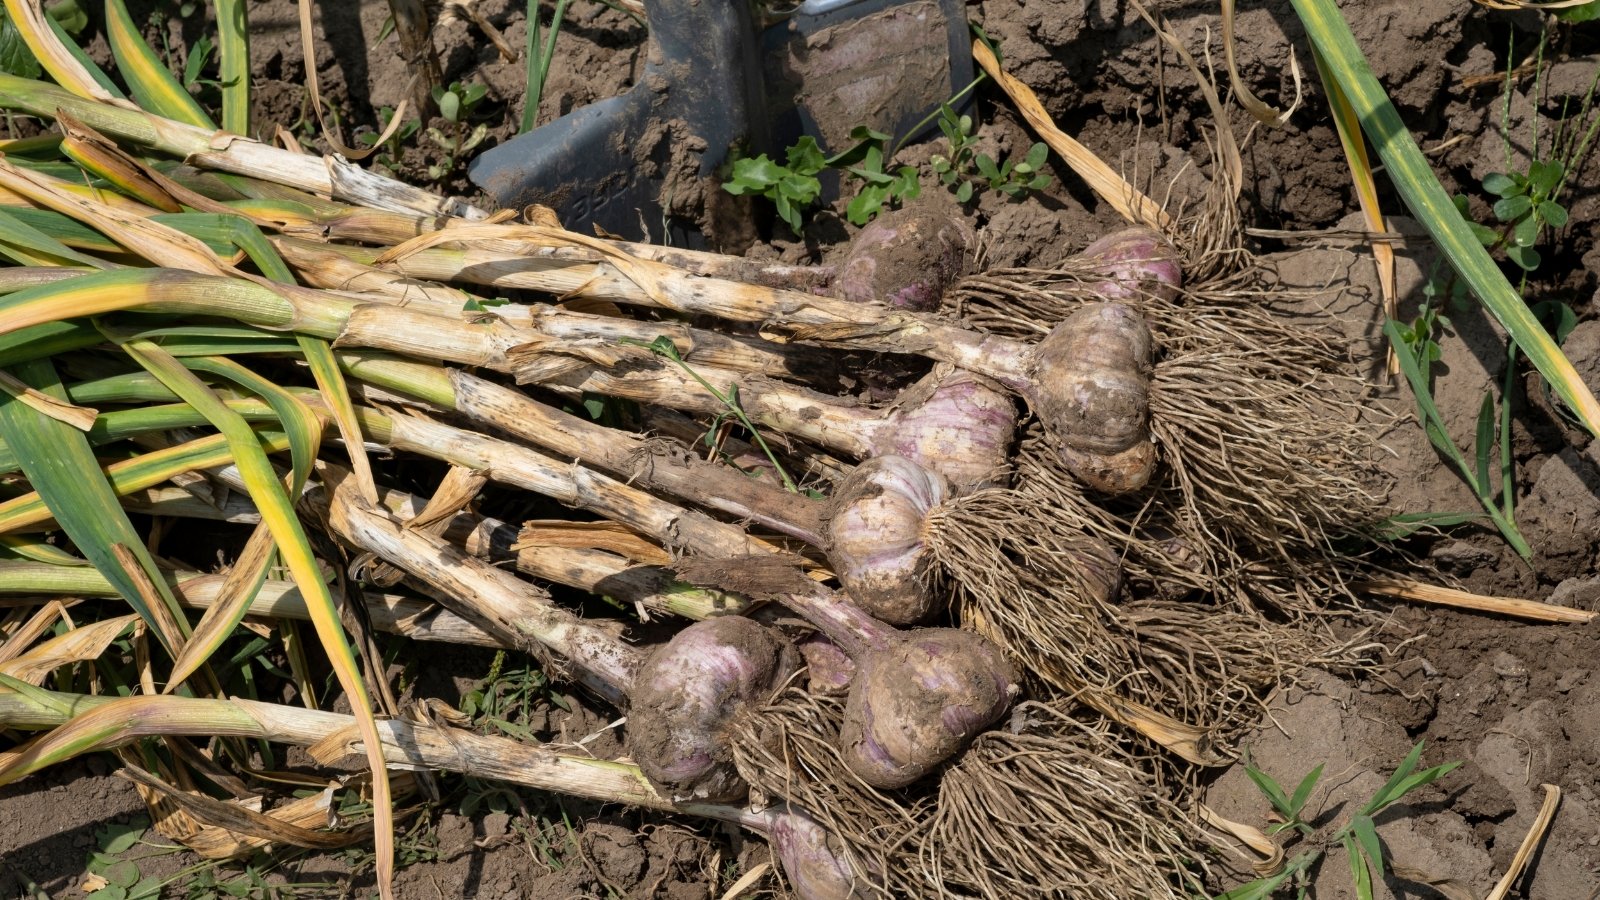
While we’ve discussed overwintering heat-loving crops, garlic is a plant that needs cold for proper clove formation. Anyone with at least a gallon pot can grow a full head of garlic from a single clove. To start, ensure you’ve purchased disease free seed. Then plant your garlic in the fall.
How To Do It
It doesn’t matter where you live. Your garlic is going to flourish with a bit of cold. In colder zones, opt for hardnecks that can handle extended cold periods. As the foliage dies away after the first frost, mulch around the planted clove to prevent soil heaving and insulate the soil.
Softnecks require a bit of cold, but not as much as hardnecks. If you have less than six weeks of cold in your region, vernalize your cloves before planting them in the refrigerator for that same amount of time. Then, plant them.
Your garlic cloves will sprout again in spring in colder regions. Remove scapes from your hardnecks in late spring, wait a few weeks, and then harvest.
Mums
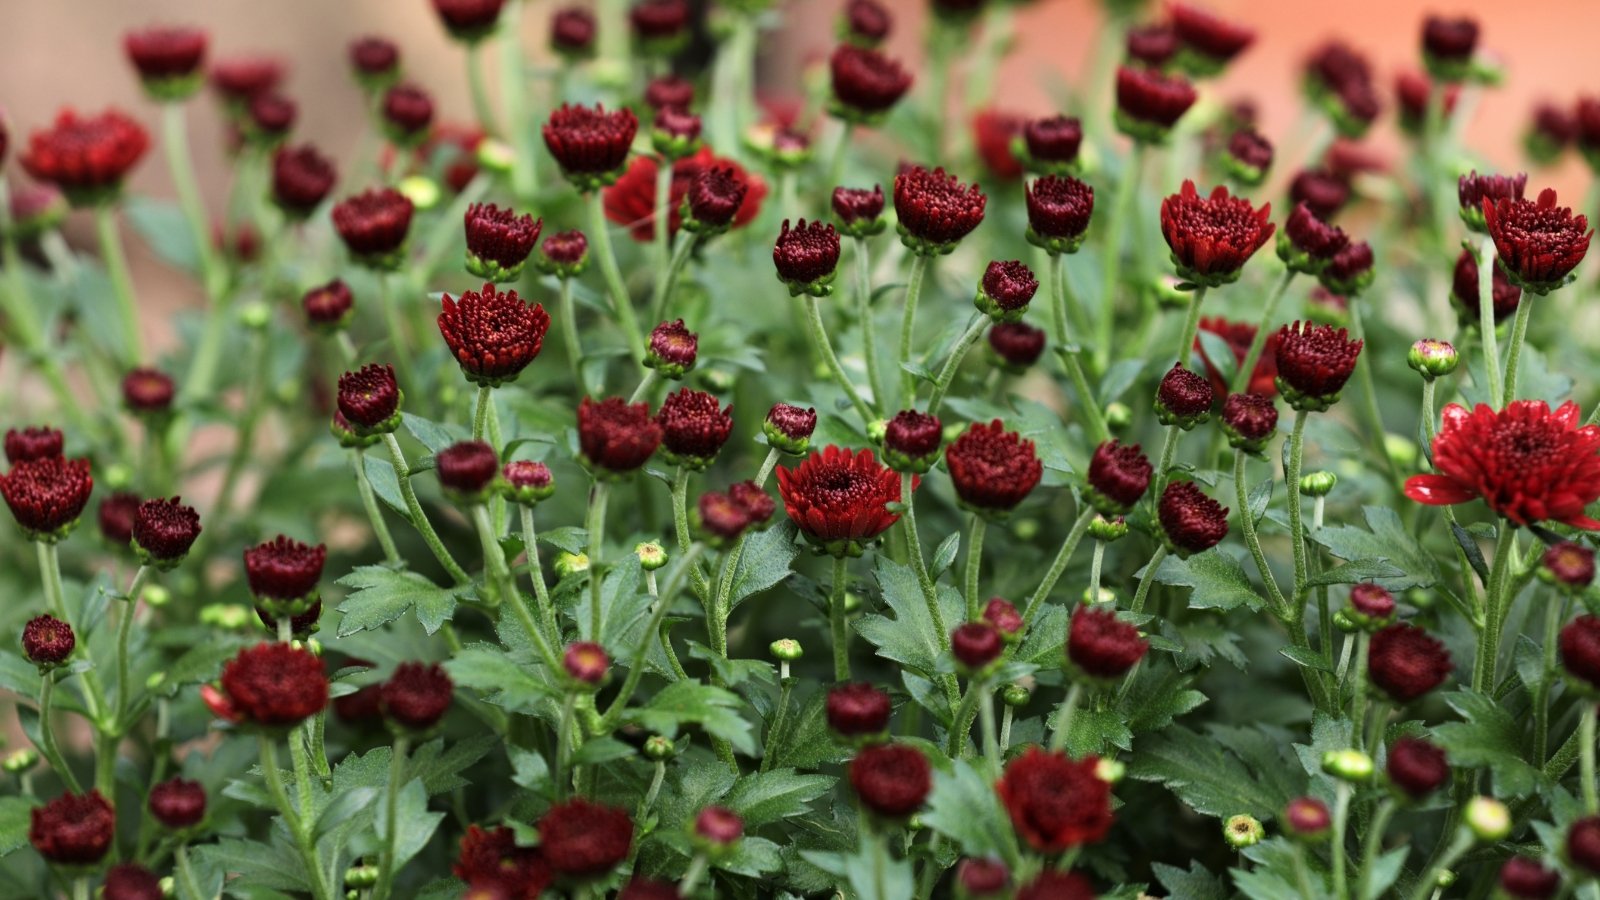
Some flowering plants love cool weather and need it to bloom. Chrysanthemums are those kinds of plants. The process of overwintering them is dependent upon what kind of mum you’re working with. Winter hardy mums can be overwintered outdoors in zones 5 through 9. Those that aren’t should be overwintered in containers indoors.
How To Do It
For container-grown specimens, simply move the container to a protected indoor area just before the first frost. Ensure the area has full sun and water regularly but not as much as you would in the growing season. You can lift florist mums that aren’t winter hardy from the garden ground and transplant them into a container much like you would with a pepper.
For in-ground, hardy mums, simply allow the frost to do the work for you. Let it knock back the foliage, and then mulch around the crown of the plant to protect the roots. In spring, you’ll have supple new growth and lovely blooms once again. Look out for this, and pull back the mulch if necessary.
Herbs
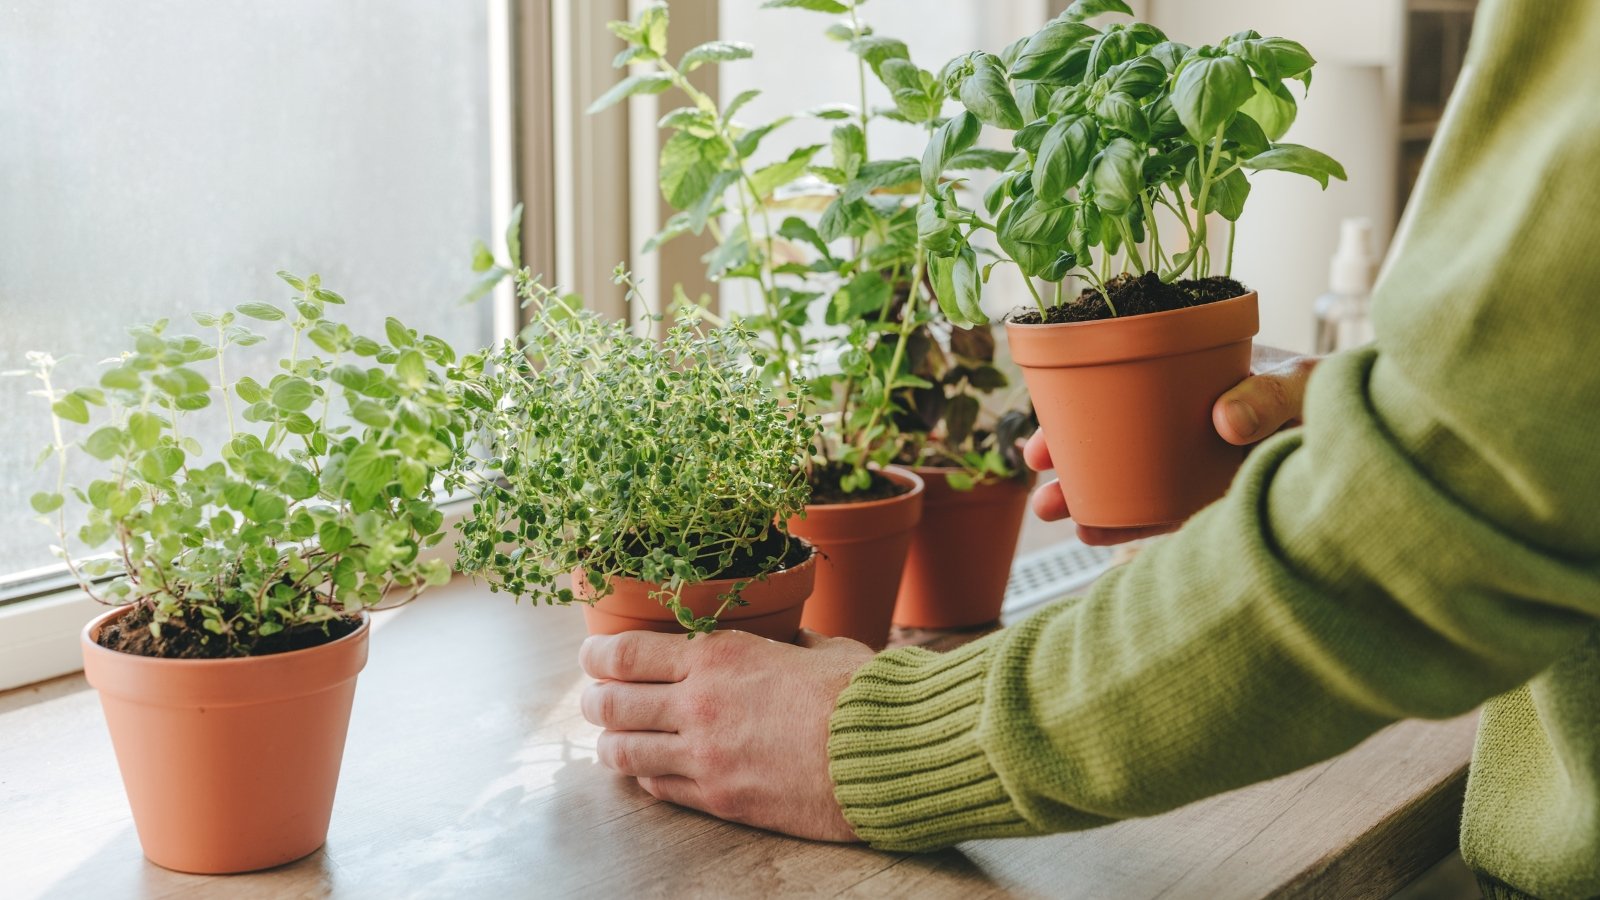
Although many herbs are suited to a Mediterranean climate, there are some that can survive winter. Of course, the method of overwintering herbs will depend on the herbs you’re working with, but you’d be surprised what can bounce back after dormancy.
How To Do It
All container-grown herbs can be moved indoors during cold seasons. They won’t need as much care and should only require regular watering.
For woody herbs like thyme, rosemary, sage, and oregano, gather your final fall harvest. In regions where cold temperatures are intermittent and the herbs are perennial, mulch around in-ground plantings. They’ll bounce back in spring.
More supple herbs like camomile, basil, and cilantro can continue to produce through winter with the right temperatures and lighting. Use the same technique you would for tomatoes to keep these producing.
Root Veggies
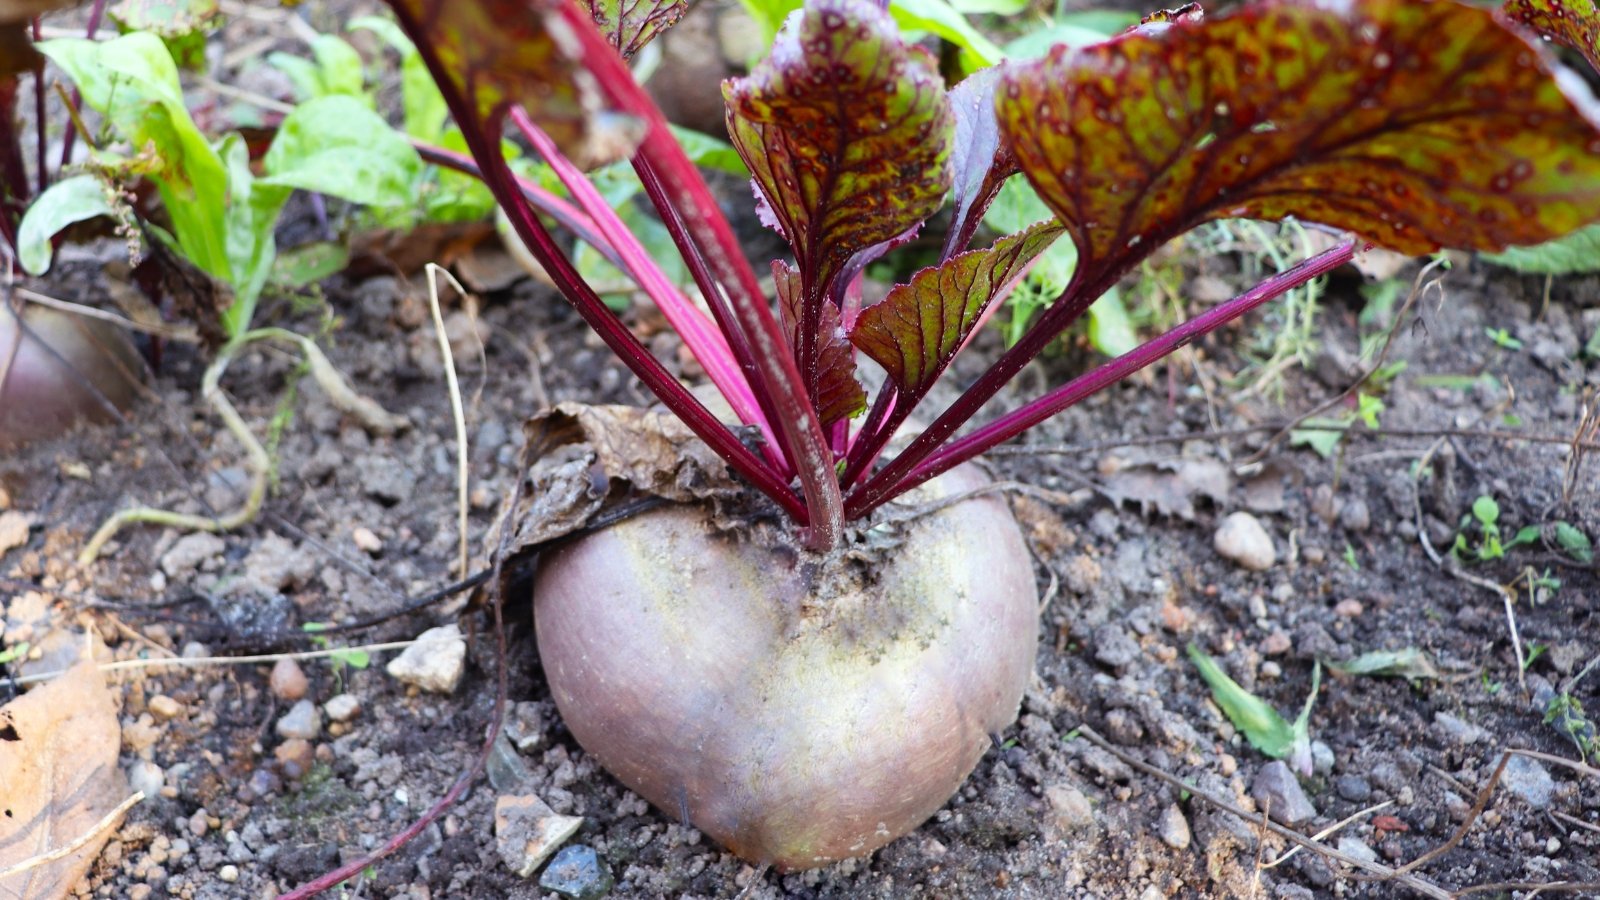
You can grow plenty of root veggies over the winter season. As long as you have some form of protection, even the coldest climates can produce some of the sweetest roots. Plenty of tubers appreciate a kiss of frost anyway for maximum flavor development.
How To Do It
What you need depends on where you live. If you live somewhere with intermittent freezes over the winter, a hefty helping of mulch does the trick. What you want is enough time to get those beets, carrots, turnips, parsnips, or radishes established before cold sets in.
Sow seeds directly and densely if you can. Once they sprout, thin them, and then cover the surrounding soil with at least a one-inch thick layer of mulch. Straw, leaves, and finely shredded wood are your best options here. As winter draws near, apply another couple of inches of mulch. By the time spring rolls around, you should have plenty of delicious roots to enjoy.
If you live in an arctic or subarctic region with very cold weather, you’ll need more than mulch. To be honest, it’s difficult to grow anything in this kind of climate. A cold frame over your raised bed or in-ground bed is a great option here.
You can even build a small greenhouse over the growing space with PVC pipe and greenhouse plastic. As long as you keep these sealed during the coldest parts of the year and couple them with mulch, you provide extra protection that could result in a pretty massive harvest in spring.
Petunias
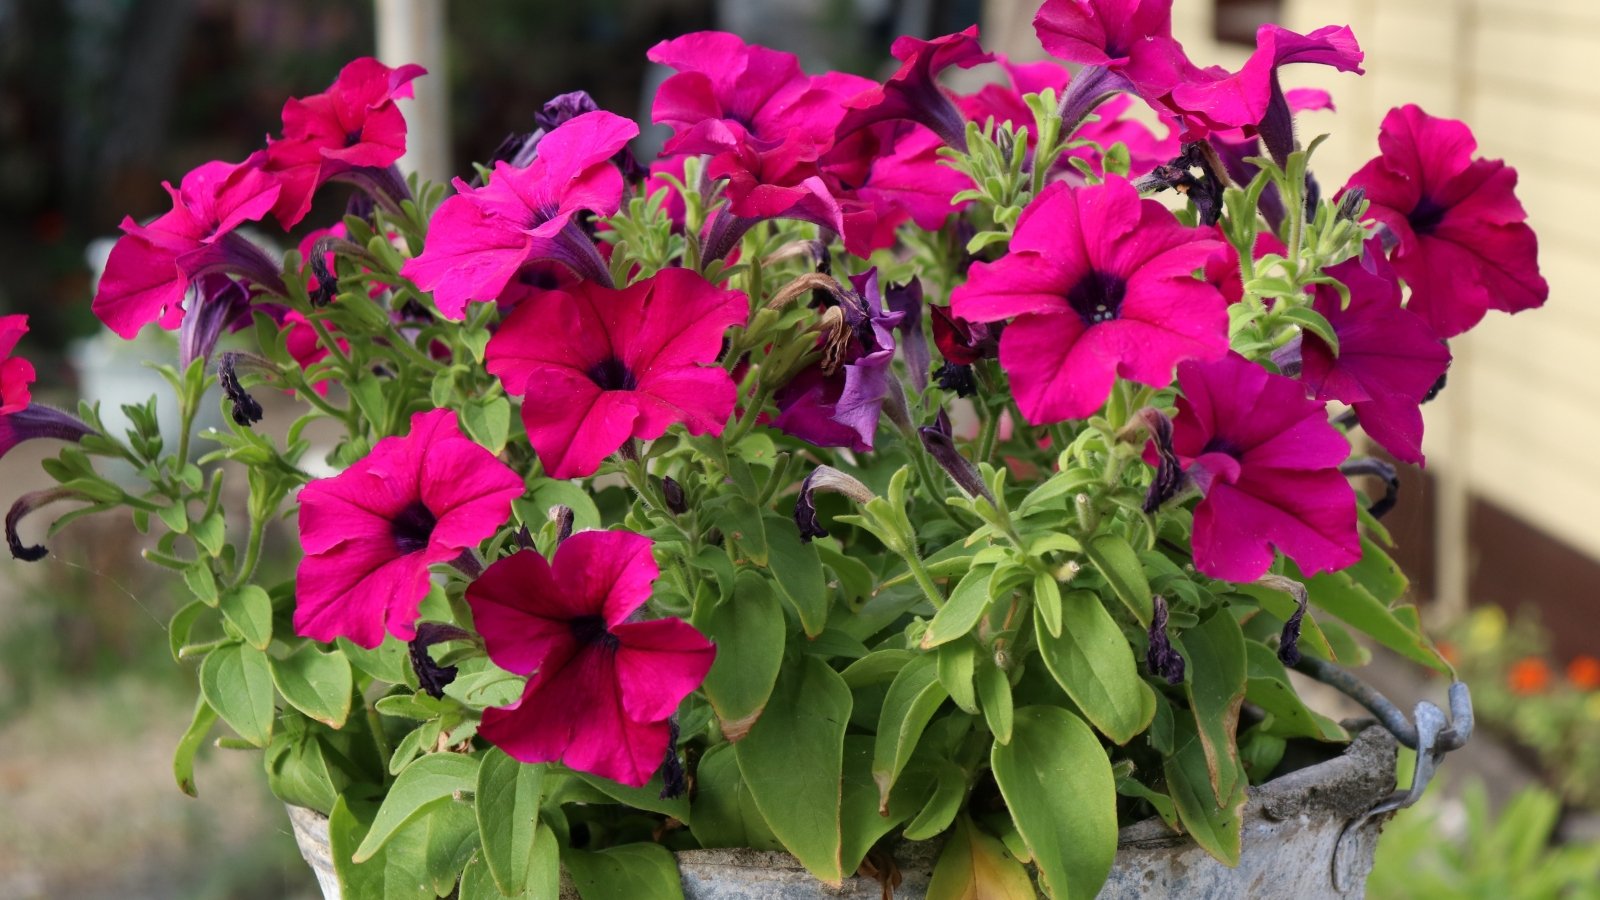
We’ve talked about veggies up to this point, but what about the ornamentals we know and love? Thankfully you can indeed overwinter some of these. Petunias are fairly supple plants, but they do quite well when you overwinter them. Ensure yours are in pots first, and you’ll have them first thing in spring.
How To Do It
If you’ve given your petunias plenty of love and care through their growing and blooming periods, there’s little work left to do to help them survive winter. Start by trimming them back, removing any spent flowers and any buds forming. Then move to leggy stems and damaged or diseased areas.
Give your petunia a good once over, locating and eliminating any pests you see. In tropical climates 10 and 11, you can simply leave them outdoors during the winter season. But in all other regions, they’ll need to be brought indoors.
Keep them blooming all winter long by placing them in a brightly lit window with temperatures that remain 65-80°F (18-27°C). If this isn’t possible, you can keep them alive and well (sans flowers) through the season in a sunny window at 40-65°F (4-18°C). Keep the soil moist, harden off the plants gradually in spring, and let spring spur another set of blooms.
Dahlias
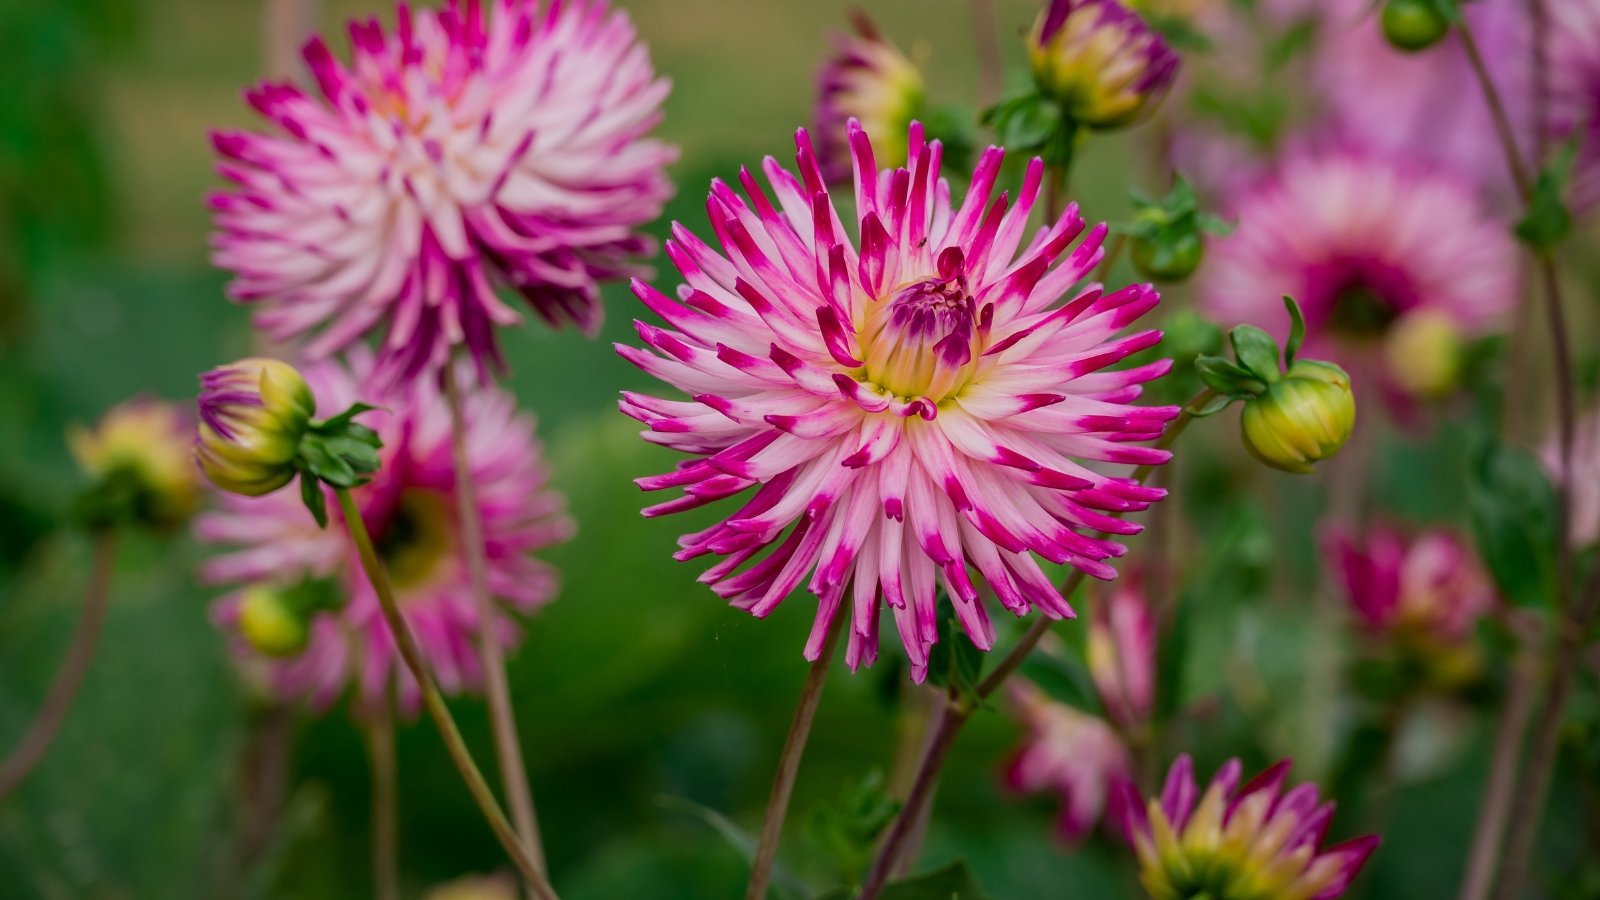
Our last entry on this list is another well-known, and much-loved ornamental: dahlias. I can’t tell you how many people tell me they can’t grow dahlias here in North Texas. They say it’s simply too hot in the summer and too cold in winter. However, if they learned the secrets of overwintering, they might have more success.
How to Do It
If you live in the hardiness range of dahlias (USDA zones 7-10), you can leave the tubers in the ground. Those in zones on the lower end, however, may still want to lift and store them through the cold. For those leaving them, ensure you’ve given them a good thick layer of mulch to keep them warm.
On a dry day, cut the stalks of your dahlias down to a few inches above the soil line. If you’re leaving them in the soil, this is all you have to do. If you’re storing them, using a spade or garden fork, gently lift the tubers from the earth. Discard any that get damaged in the process to prevent the spread of disease.
Clean the tubers by spraying them with water. Use this period to divide any tubers that have multiplied by cutting them cleanly at the division. Label them with a marker, writing the appropriate variety directly on the tuber. Then, let them dry on a screen or in an area with good air circulation. This could take a few days to a few weeks. Check them often to ensure none take on any mold.
Store them over the winter in a box or bucket filled with vermiculite. You can pre-wrap each tuber with plastic wrap for an extra layer of protection, but this isn’t required. Lay them in a single layer (not on top of one another), and place them in a dark place where the temperature ranges from 40-45°F (4-7°C).
Check your tubers often to ensure no rodents or moisture have infiltrated. A couple of weeks before your last frost date, plant your dahlias.


