Many of us struggle with organizing our tools for the winter season. For me, this was always a task I postponed until the last minute, only to find rusty clippers and broken handles when I was ready for the next season.
By slowing down and going through each step thoroughly, you’ll keep your tools in great condition and feel less disorganized. Once spring comes, you’ll be ready to take on any garden project with ease. Below are nine tips for preparing your garden tools for winter storage.
Felco 980 Tool Spray
The only lubricating spray you will need for maintaining your pruning shears, loppers and cable cutters. It quickly cleans, lubricates and protects the cutting head so you can count on the continual high performance of your FELCO tool.
Start by Cleaning
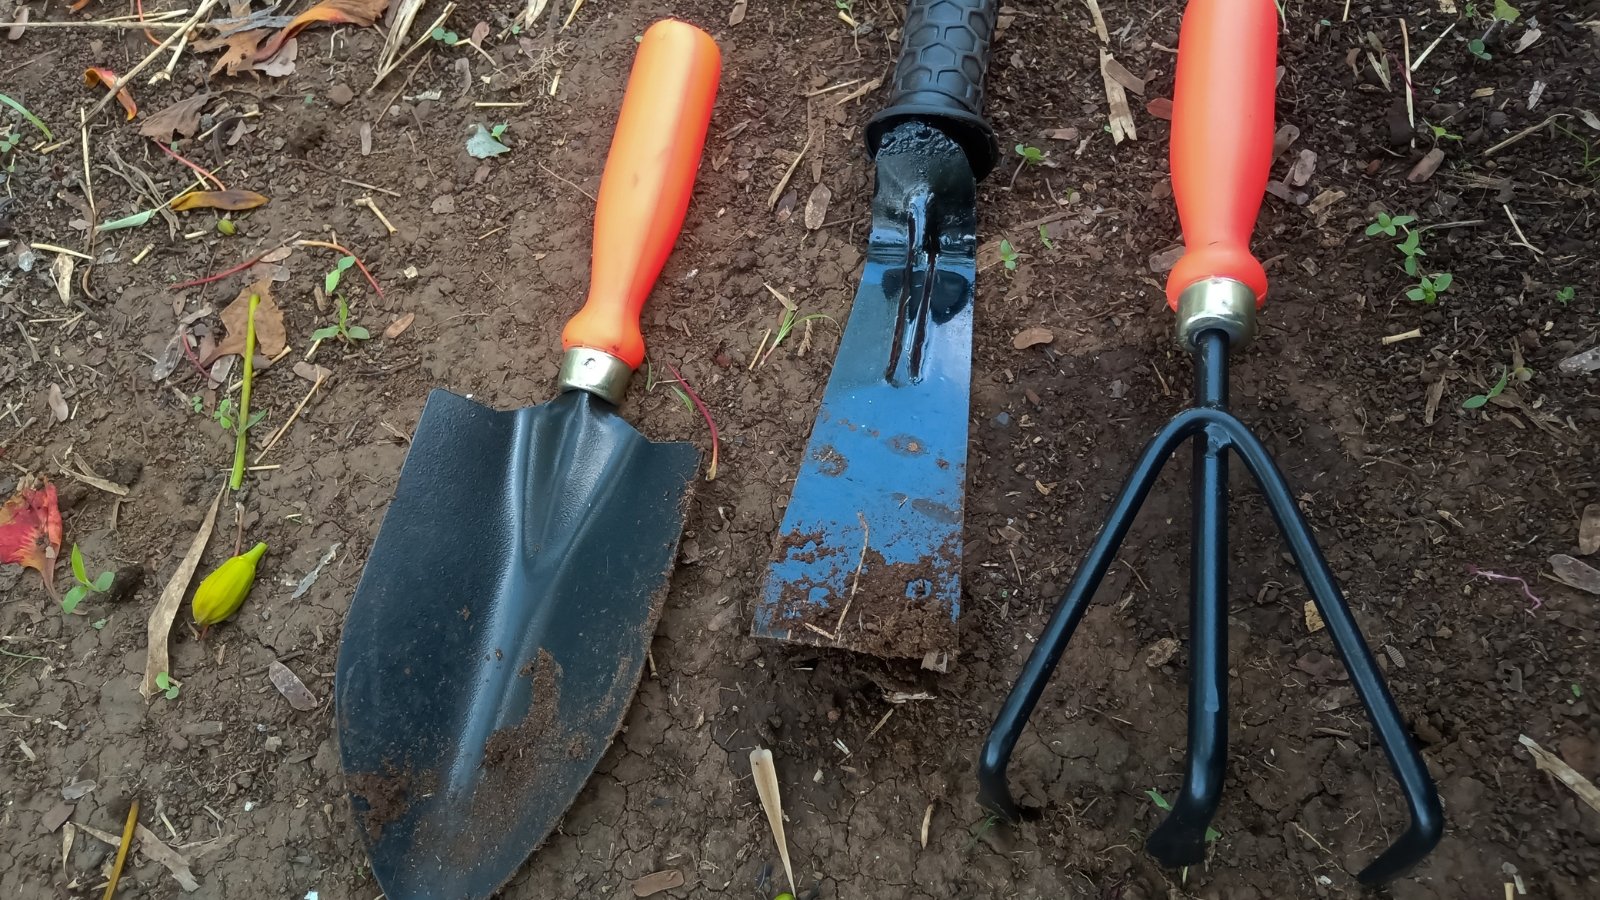
The first step to preparing your gardening tools for storage is to clean them. It’s always important to clean your garden tools to prevent the spread of diseases, especially before storing them away for winter. Start by scrubbing off dirt or plant material with a brush or scraper. Use a small brush to clean any residues off the blades.
After scrubbing off the dirt and debris, dip them in a mixture of antibacterial soap and water. Isopropyl alcohol or hydrogen peroxide are also safe and effective methods of killing diseases such as powdery mildew, bacterial canker, and blight.
After cleaning and disinfecting your tools, dry them well with a towel. Make sure there’s no water remaining in the crevices or screw openings. This will prevent rust from developing when you store them away.
Remove Rust
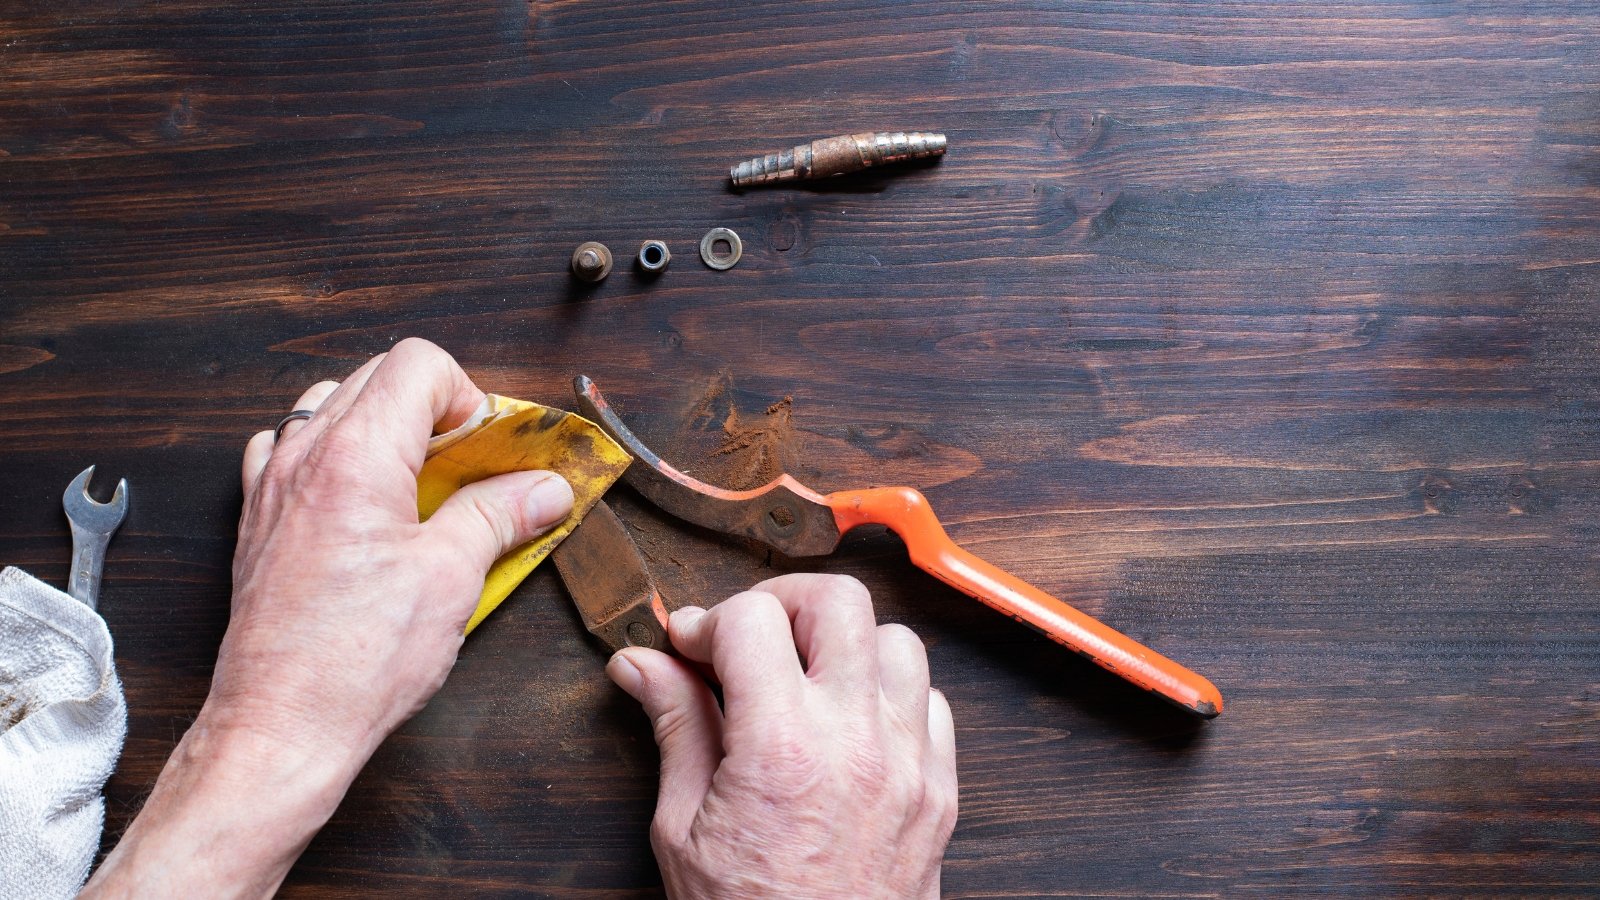
We all have to deal with rusty tools from time to time, especially in wetter climates. Anytime we leave our clippers, trimmers, or gardening blades out in the garden for too long, they can develop a layer of rust.
Rust is the result of iron molecules bonding with water to form iron oxide which weakens metal over time. As frustrating as it is, removing rust is fairly easy. Below are a few easy steps to clearing up rust on your gardening tools.
Gather Your Rusty Tools
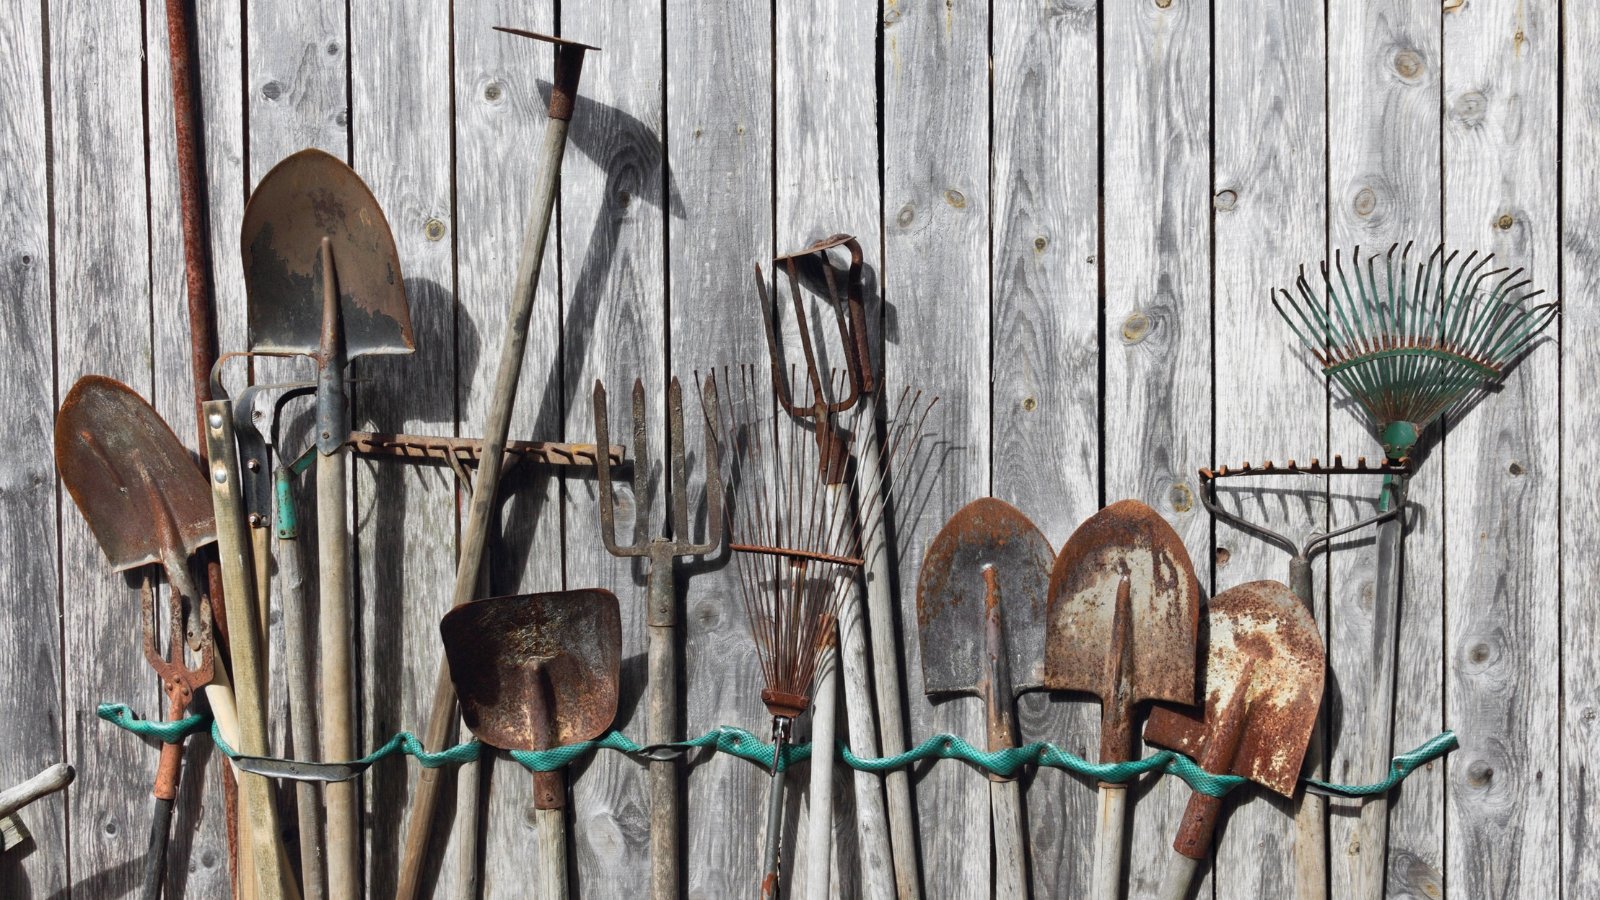
Take your time to find each rusty metal surface and gather everything together. It’s best to catch rust development early before it becomes a bigger problem during the winter.
Soak in Vinegar

First, bathe your rusty tools in white vinegar for 24 hours in a jar or bucket. You’ll notice most of the rust simply dissolves away. Still, there may be pesky rust spots left behind, especially near the handles or on the tips of the blades.
Scour Them Carefully
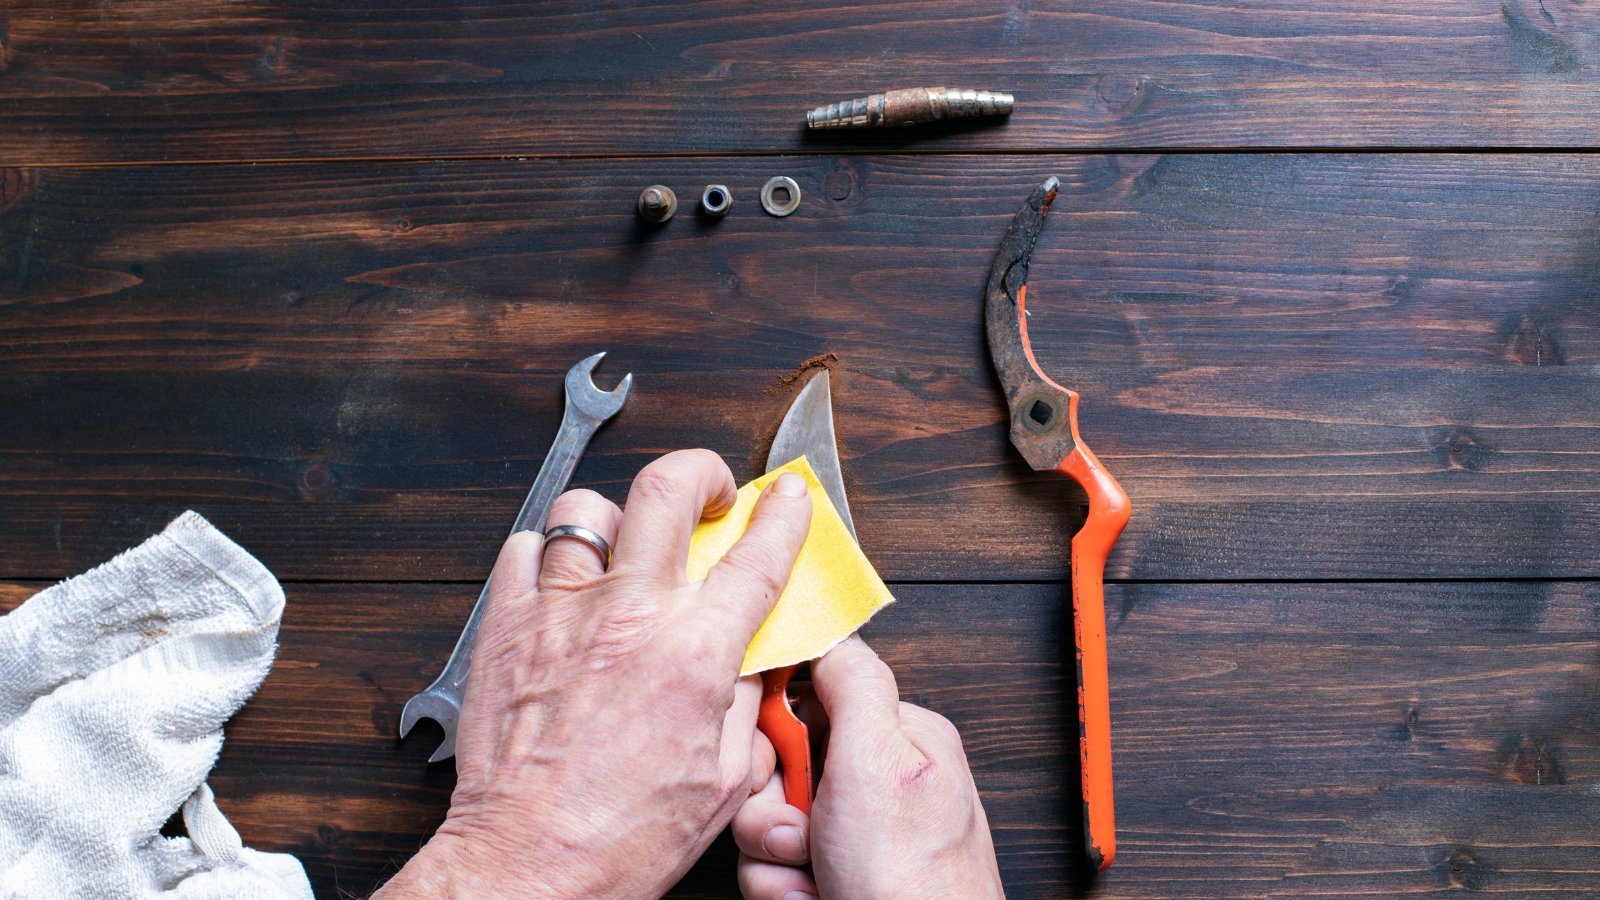
Take a scouring pad to the stubborn rust spots. Apply a lot of friction and don’t miss the corners and hard-to-reach areas. After a few minutes, you’ll have clear metal surfaces without any signs of rust.
Dry Them Thoroughly
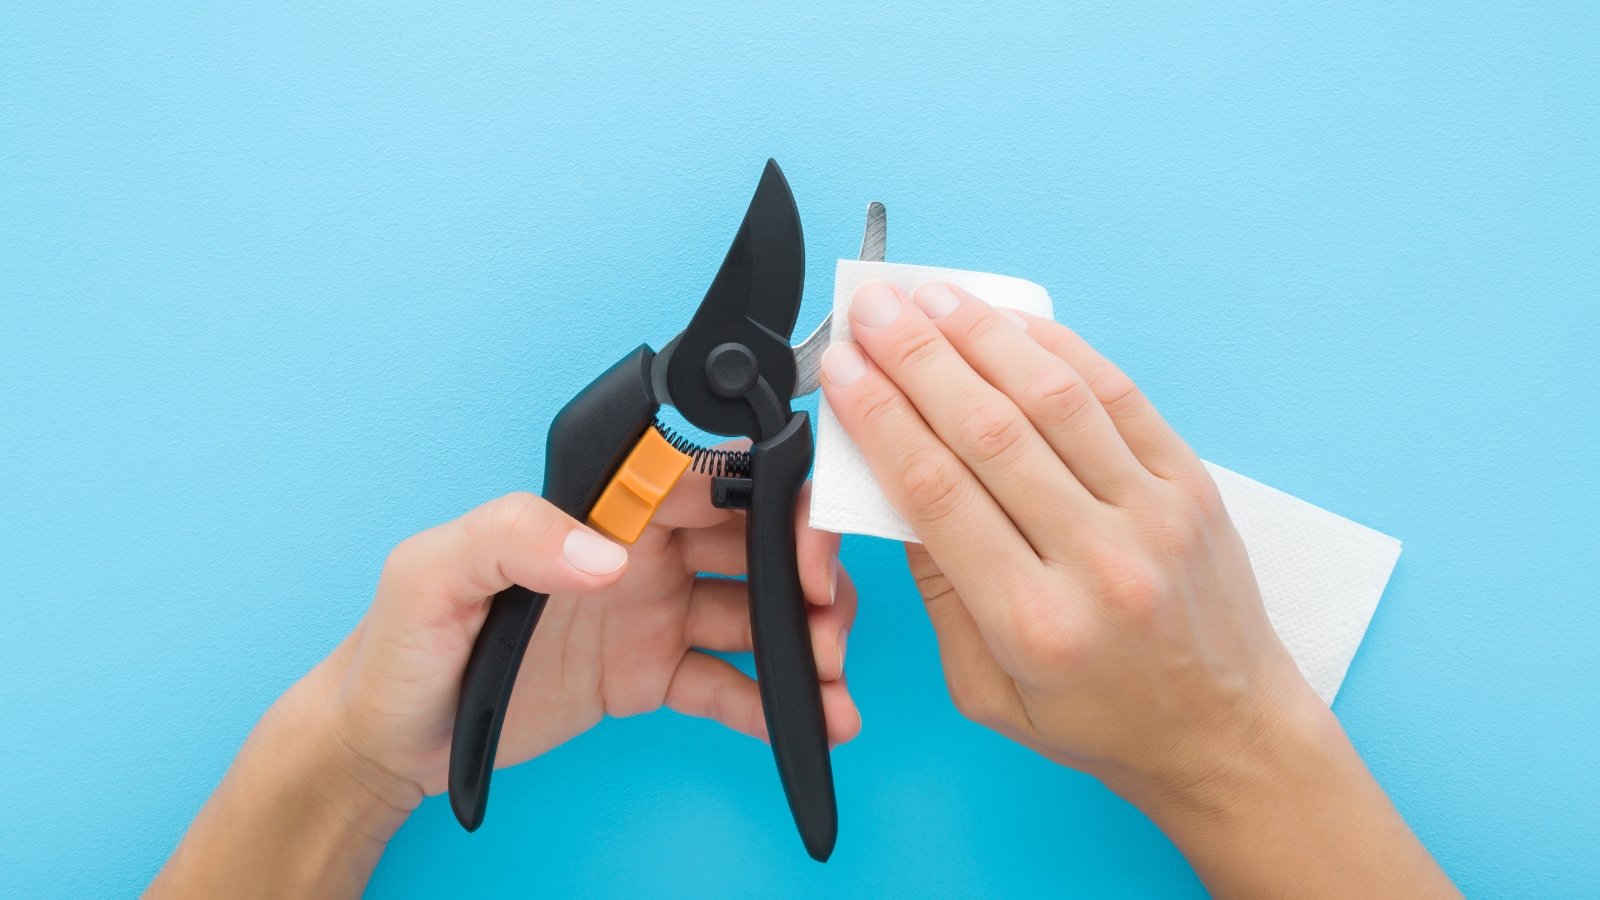
The final step is to dry them thoroughly with a paper towel or lint-free cloth. Make sure there’s no moisture anywhere on the blade or its crevices. When you’re done, you can move on to the next steps in preparing for winter storage.
Sharpen Your Blades
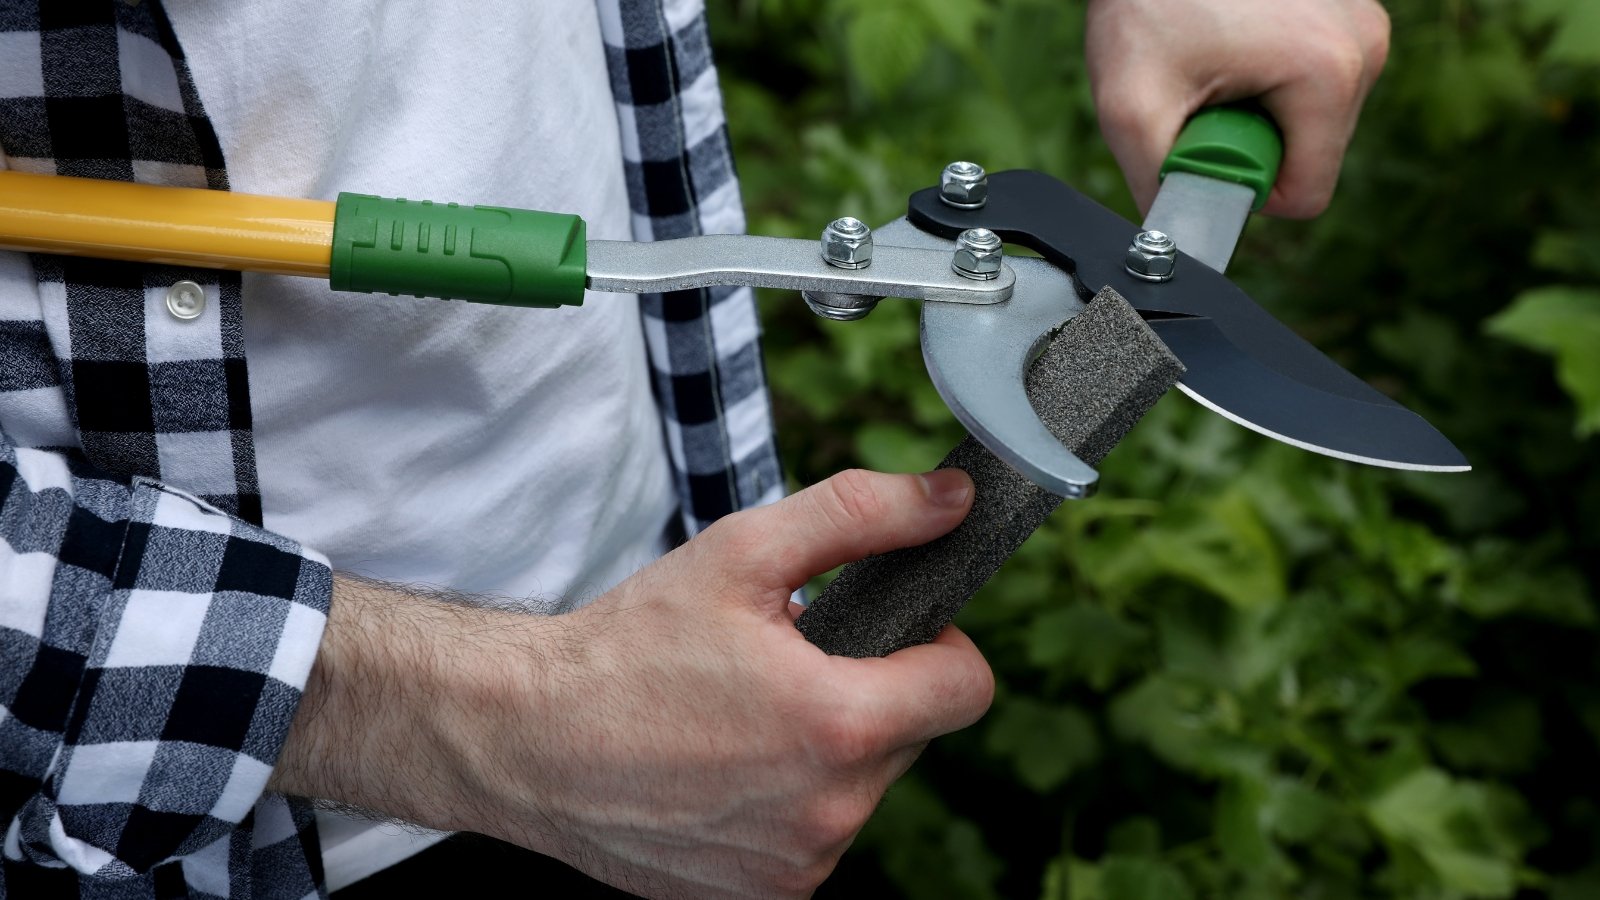
Once you’ve cleaned and disinfected your tools, it’s a great time to sharpen your blades. A season’s worth of cutting through plants and hitting stones and hard objects will dull any blade.
Just like a chef’s knife, your garden tools should be as sharp as possible. Sharp tools actually prevent injuries because they need less force to do their job and rarely slip.
After you’ve collected your dull blades, it’s time to sharpen them one by one. Start by putting on goggles, work gloves, and a dust mask. Take your blade to the knife file or whetstone and steadily move it in one direction away from you.
Some more heavy-duty cutting tools require more powerful sharpening tools. Consider using a mill file for shovels and rakes. For hori-horis and other digging knives, try using a round file.
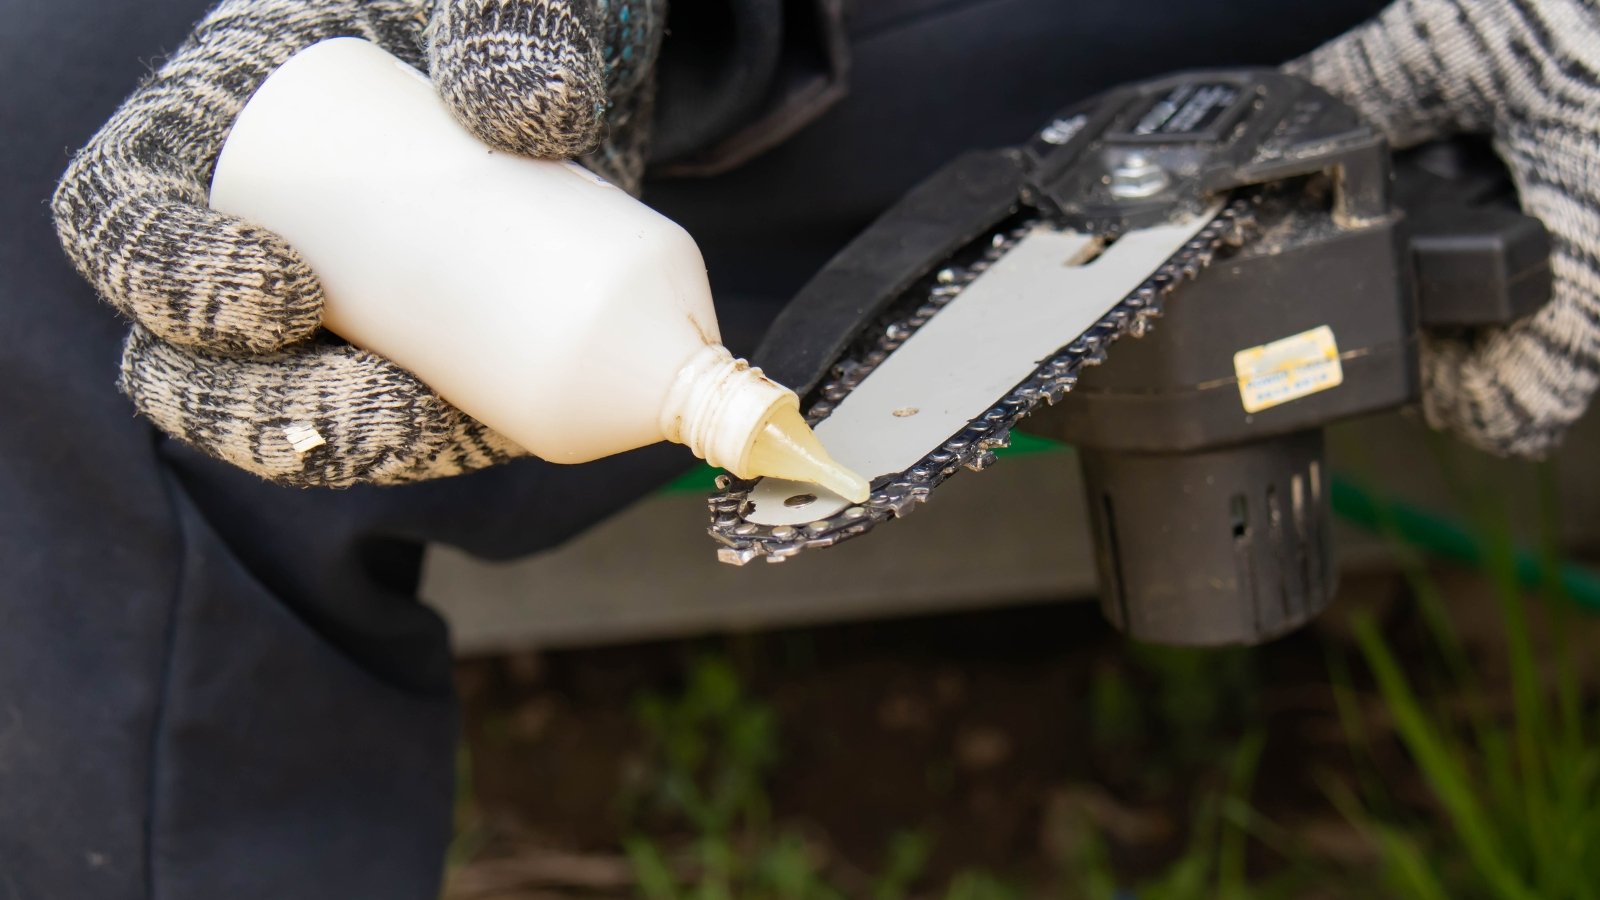
After cleaning and sharpening your blades, add a lubricant to their moving parts, such as the FELCO 980 spray. Simply spray your blades and handles evenly and you’re done. Lubricants such as this help protect, clean, and lubricate the metal so it will last through another season.
Try using boiled linseed oil for your wooden handles. Linseed oil is produced from flaxseed and gives the wood a protective shine and seals in the wood grains. This protects your handles from moisture, dirt, and UV Rays.
To apply, give them a quick sanding first to remove any splinters. Then, add a liberal amount of linseed oil to a clean rag and slowly apply it to your handle. Let it dry, give a light sanding with sandpaper, and apply another coating. After this coating dries, gently sand it one more time and apply the finishing coat.
Inspect Everything Thoroughly

After cleaning, it’s time to inspect all your garden appliances for damage. Look for broken handles, loose screws, dull blades, or other issues that could cause big problems for next season. Take your time and look closely for damages. What looks small and insignificant today could turn into a problem later.
Once you inspect your tools, assess their performance in your garden. If one is in poor condition, it may be time for a replacement or upgrade. Inspecting your favorite gardening gadgets also gives you the time to see what to add for the next season.
Make a list of any repairs you need and see if anything needs to be replaced. It’s a good time to shop for new products to replace anything broken and unfixable. You can also find exciting new equipment for those new garden projects you’ve been planning.
Store Them Inside
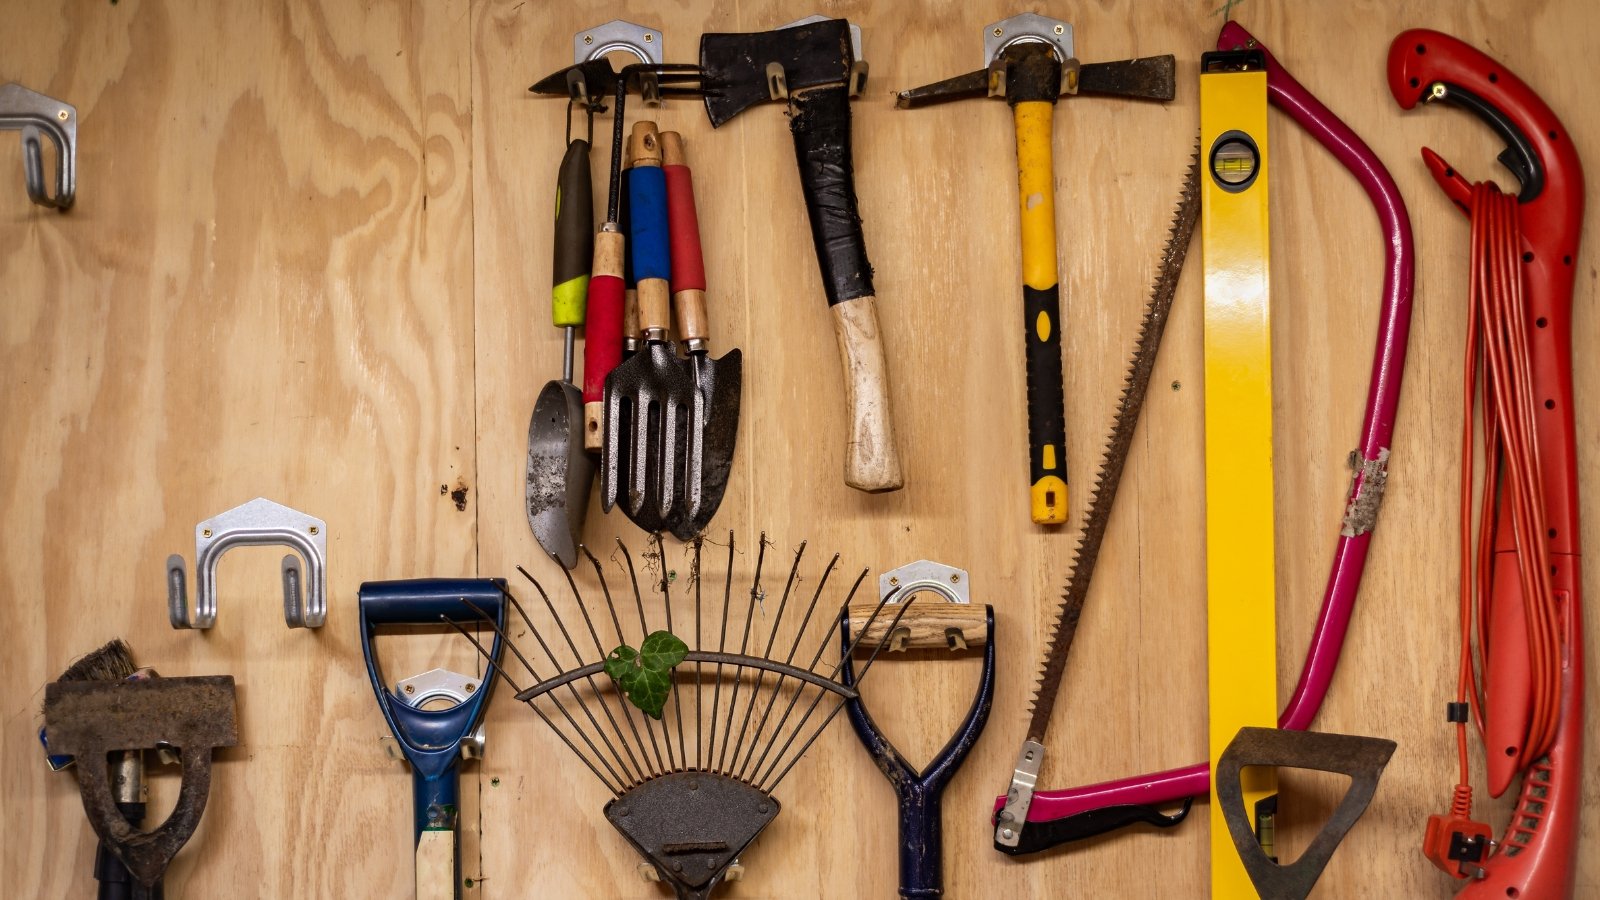
After you’re done gardening for the season, store all your tools on a proper tool rack inside. You can assemble a rack on a wall in your home, shed, or garage. Make sure the space is dry so your metal blades and handles don’t develop rust.
Hanging your gear keeps you organized and prevents any accidents from happening if someone accidentally steps on them. Another great perk is being able to take inventory for the next season. You’ll have a useful visual of what’s missing in your tool collection.
Try using this time to make your dream rack. Have fun planning the design and take your time organizing it how you like it. Giving yourself an organized indoor tool rack that makes sense to you is a gardener’s dream. Say goodbye to missing tools and a lot of unnecessary headaches.
Winterize Your Lawn Mower
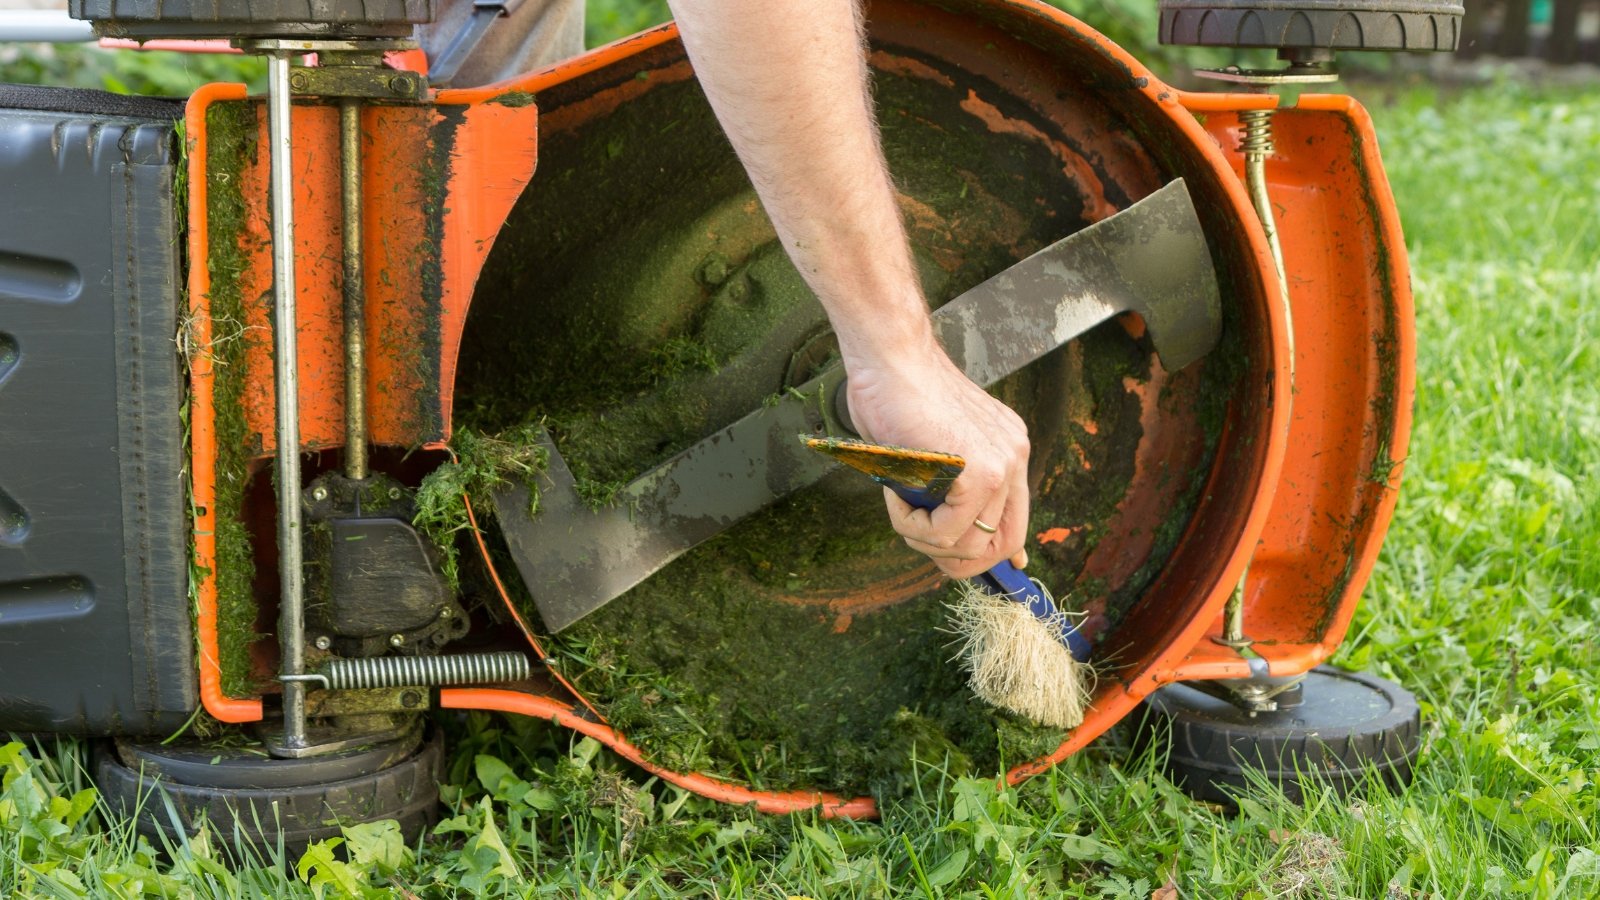
Unless you live in a tropical or subtropical region, your lawn mower won’t be seeing much action during the winter. Scheduling end-of-the-year maintenance on your lawn mower in the fall will help keep it running in good condition for many years.
Once the leaves change and you’ve finished your last cut of the season, let your mower run dry. An empty tank of gas is much safer to store. Fuel can clog your mower’s fuel system and damage its carburetor.
Give your mower’s undercarriage a thorough cleaning. Remove all the caked dirt, grass trimmings, and leaves from deep inside the carriage and around the blades. If you have stubborn grime, take a power hose or dull scraping tool to get the last bits off.
A better alternative to gas or electric lawn mowers is to invest in a reel mower. Reel mowers are human-powered and don’t need expensive maintenance such as replacing carburetors or gas tanks. Most of all, they are environmentally friendly and the best reel mowers do a great job cutting your grass.
Winterize Other Power Equipment
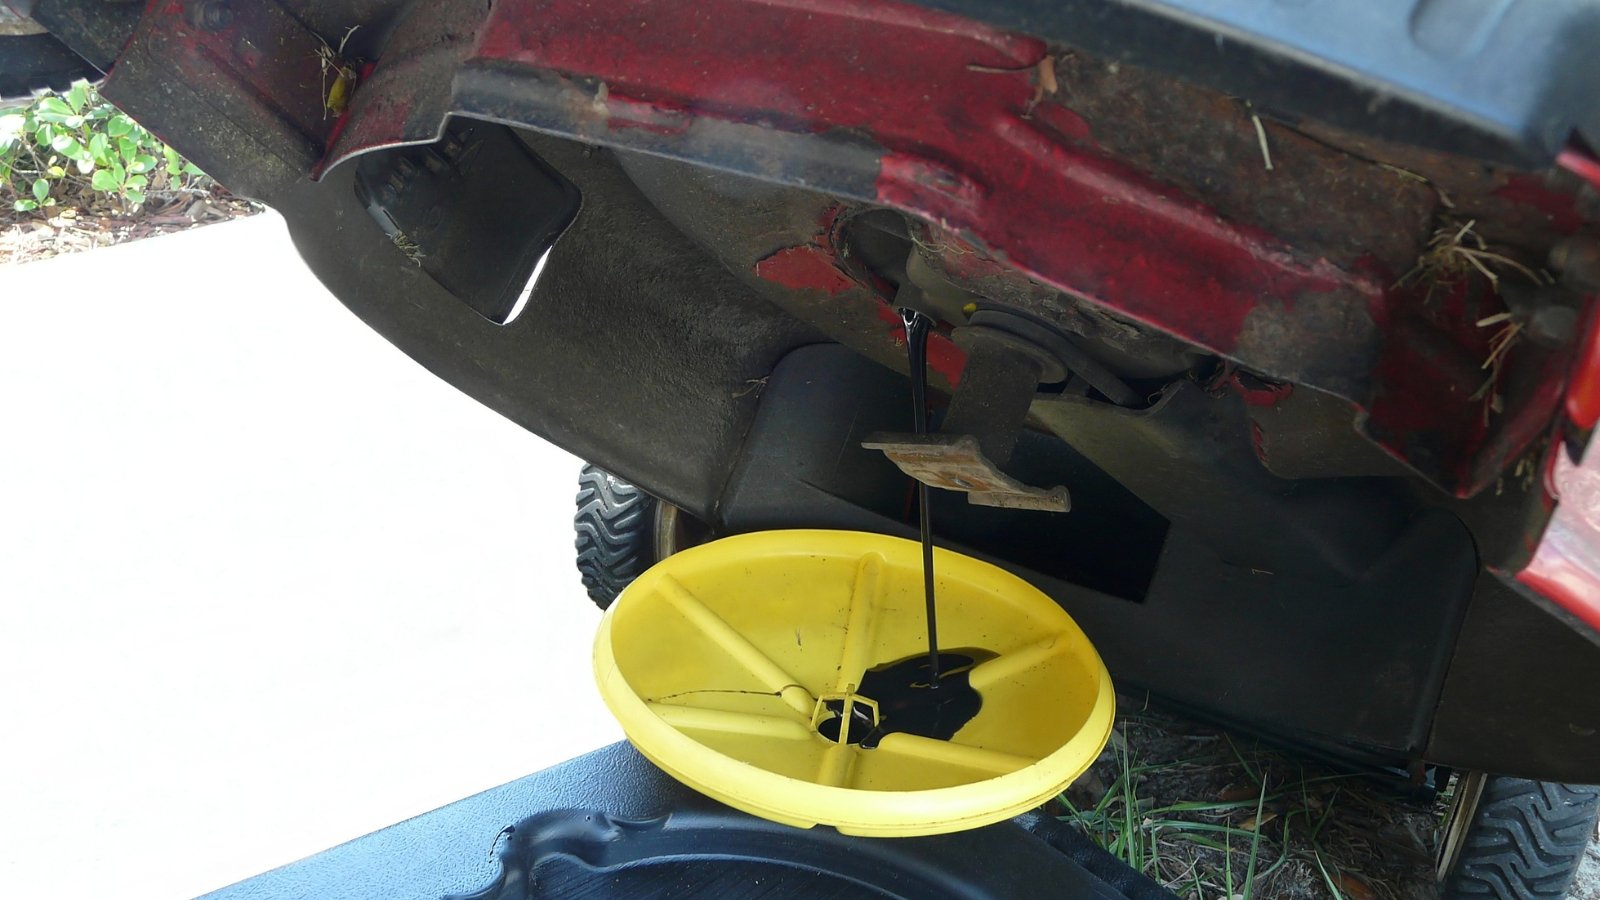
If you have electric or gas power equipment such as chainsaws, hedge trimmers, or blowers, it’s good to winterize them. When you winterize your gear properly, you’ll make sure they are working properly when the next gardening season begins.
For gas equipment, make sure to drain the oil in a pan and dispose of it at a recycling or repair center. Check for any missing parts such as O-rings or screws. Finally, maintain spark plugs, change your oil filters, and add a fuel stabilizer to the gas tank if there’s fuel left.
Winterizing electric equipment like blowers and power planters is a little easier but still shouldn’t be overlooked. Start by removing the battery and storing it in a dark and dry location. Check the power cords to see if there are any rips or holes. If you notice damage to your equipment, you may need to replace it during the winter.
Make Plans for Next Season

Once you’re done winterizing your garden equipment, you can start preparing for the next growing season. Now that your gear is clean, repaired, and neatly organized, you can take a look at your inventory.
Decide what new gardening projects or expansions you’re going to work on when spring comes. Throughout the winter, you have time to plan and get the gear you need for the job. It’s the perfect time to add to your stockpile of helpful gardening appliances.
By making winterizing an annual tradition, you’ll always have what you need when it’s time to start planting. No more worrying about where your equipment is and what condition it’s in. You’ll be able to start the gardening season well-prepared and stress-free.


