Weld is a must-have plant if you want to transform beige yarn and cotton into brilliant shades of yellow. Natural dyers love this biennial due to its ability to produce bright, sunny yellows. All above-ground parts of the plant yield a vibrant dye, and the yellow flowers add an attractive look to your garden.
Although this plant is fairly easy to grow, it has some specific requirements for planting. I’ll cover everything you need to know to end up with large plants perfect for dyeing.
Weld Overview
|
|
What Is It?
In the past year, I’ve become enamored with natural dyeing. Not only is it amazing to watch flowers, leaves, and roots add color to fabrics and yarns, but I’ve found all of these hues fit together seamlessly. The yellows, reds, and greens created by plants share a common background that store-bought fabrics lack.
When it comes to creating yellow, natural dyers have a few options. Marigolds and dyer’s chamomile produce deep yellows with hints of gold. But if you’re looking for an intense and crisp yellow, weld is your best option.
It’s also the most lightfast of the yellow dyes, making it an excellent option for long-lasting color. People call weld by a number of other names. You may hear growers refer to it as dyer’s rocket, dyer’s mignonette, Reseda luteola, or dyer’s weed.
Characteristics
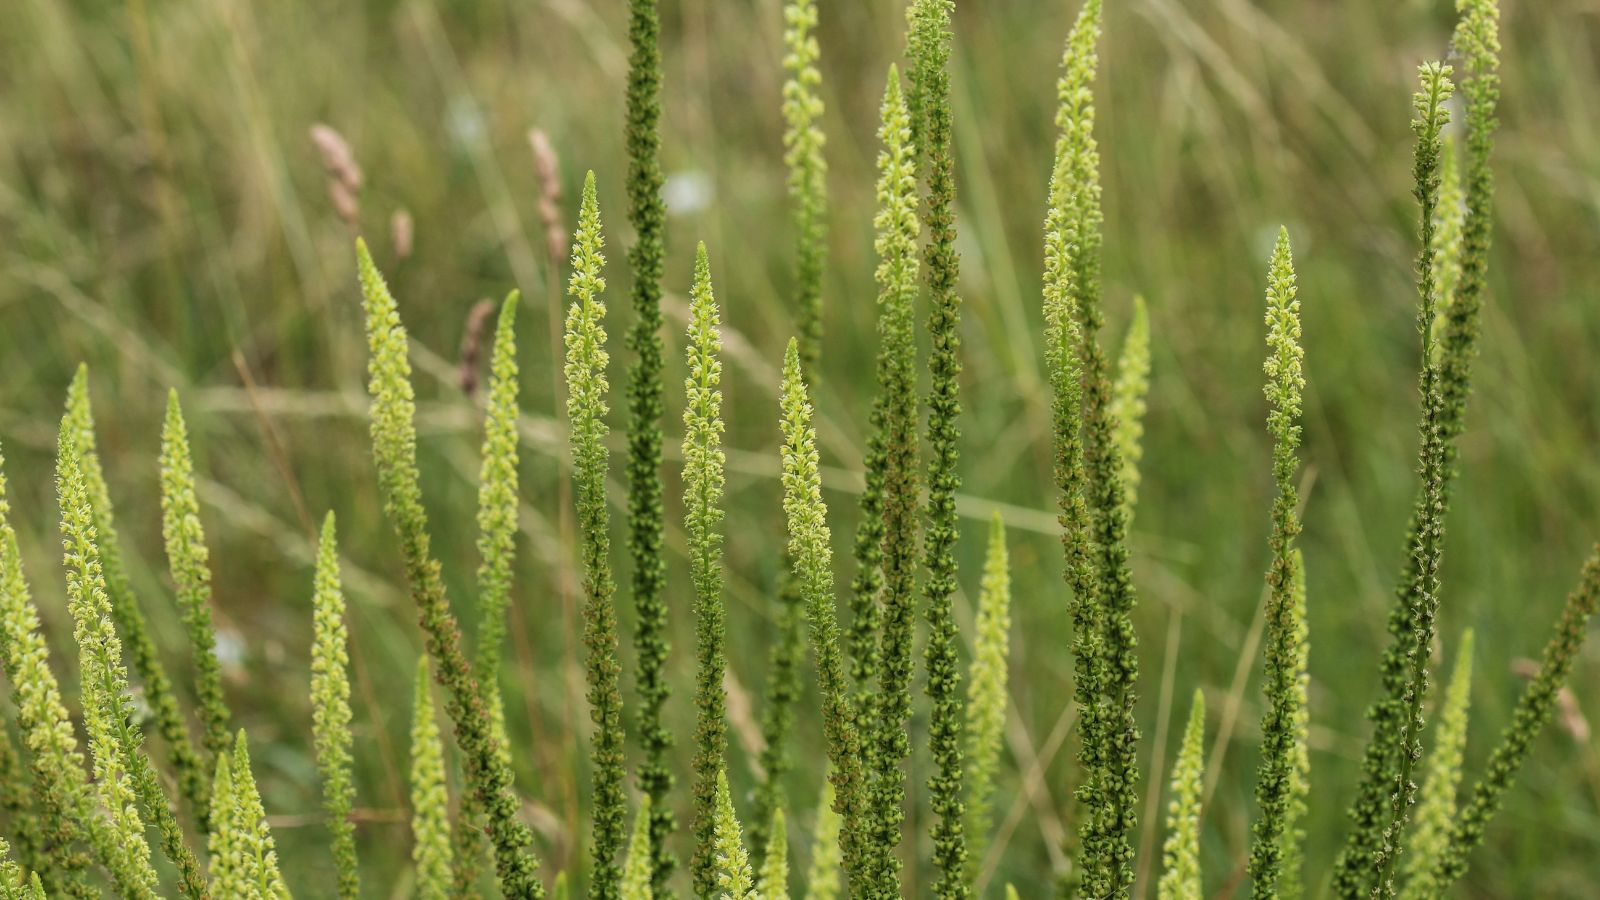
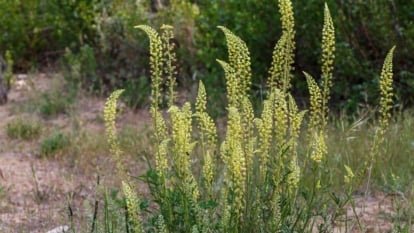
When you look at these scraggly, biennial plants, you may not expect them to produce bright colors. Many people pass them over, thinking they’re just another weed.
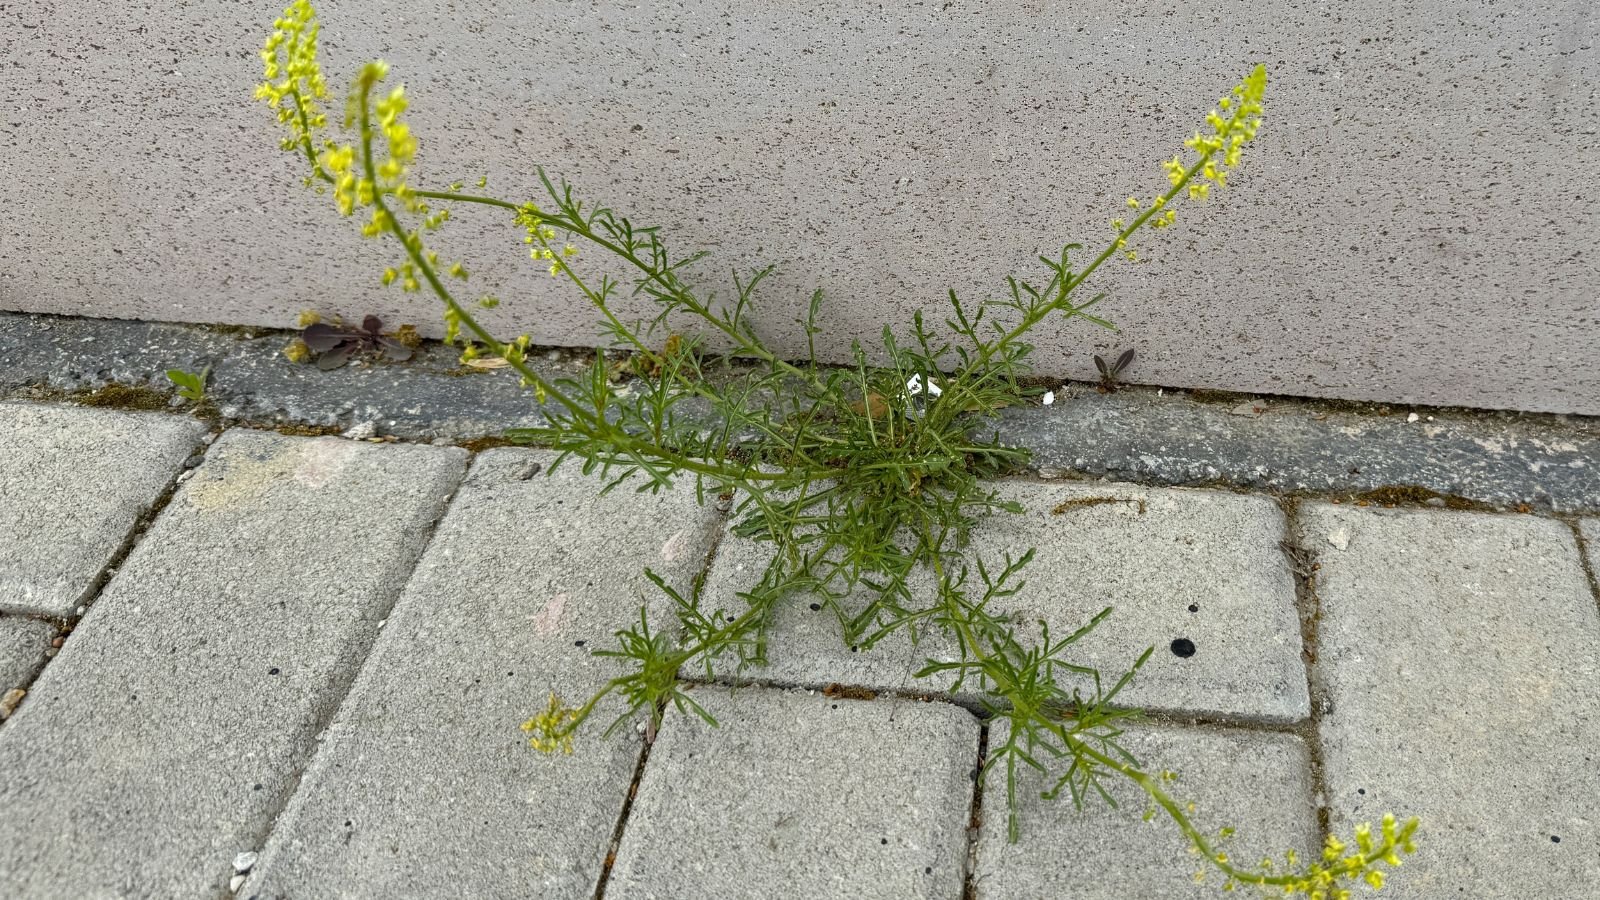
Since they’re biennials, their growth habits vary from year to year. They produce a low-growing rosette of long, thin leaves in their first year. The leaves have slightly wavy margins and rounded tips. Each rosette can grow about a foot wide.
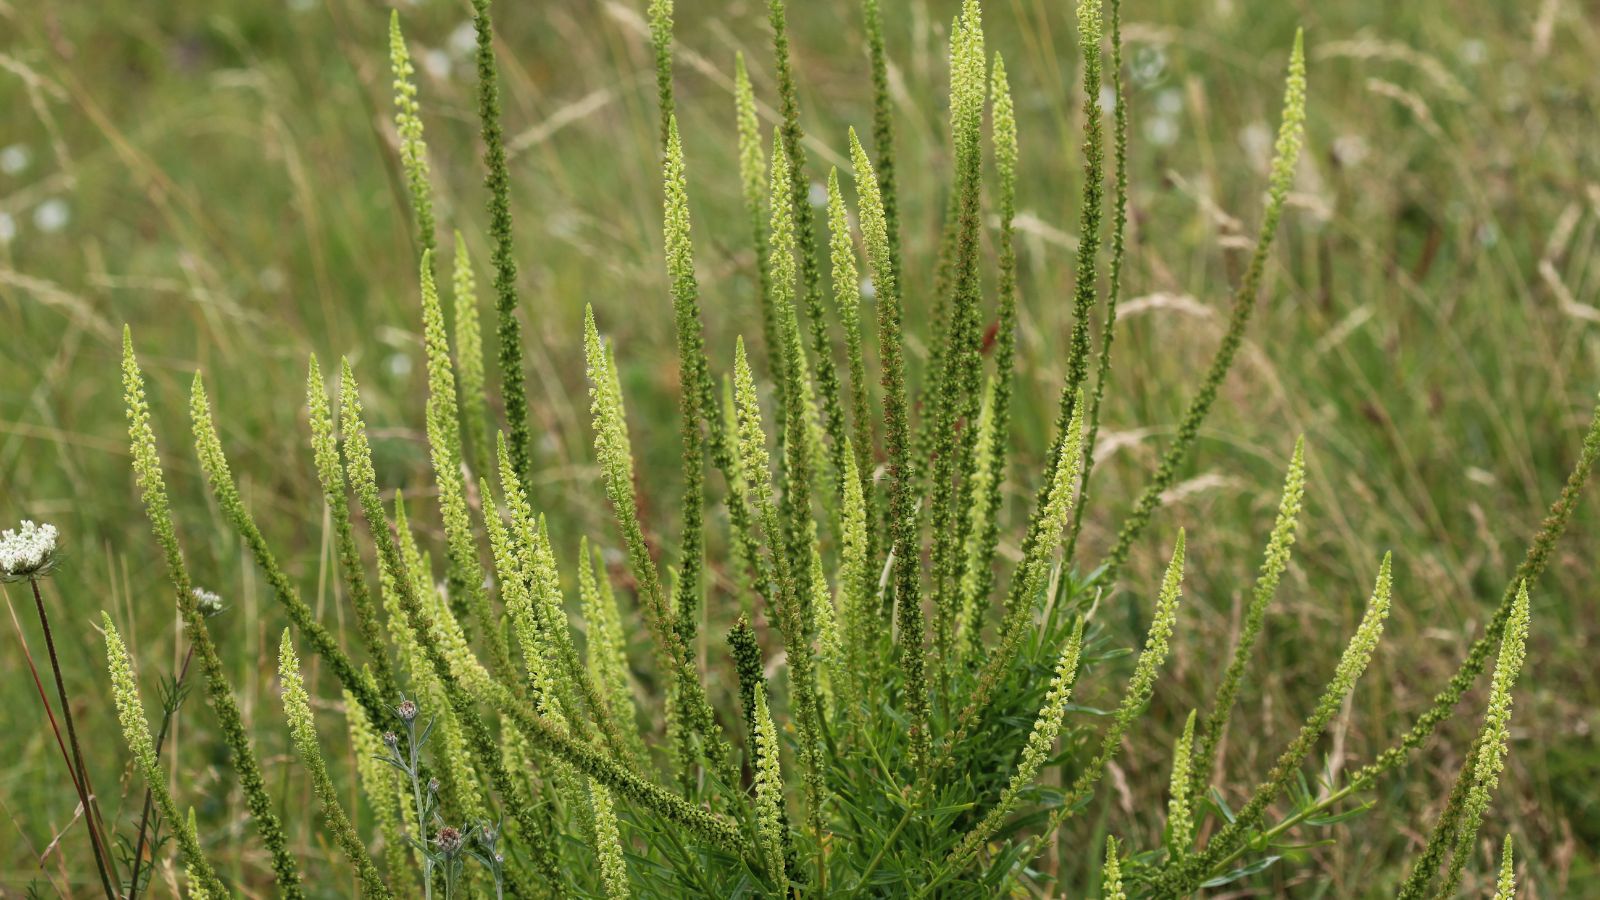
In the second year, the plants send up flower stalks. These stalks can reach up to five feet tall but often remain shorter.
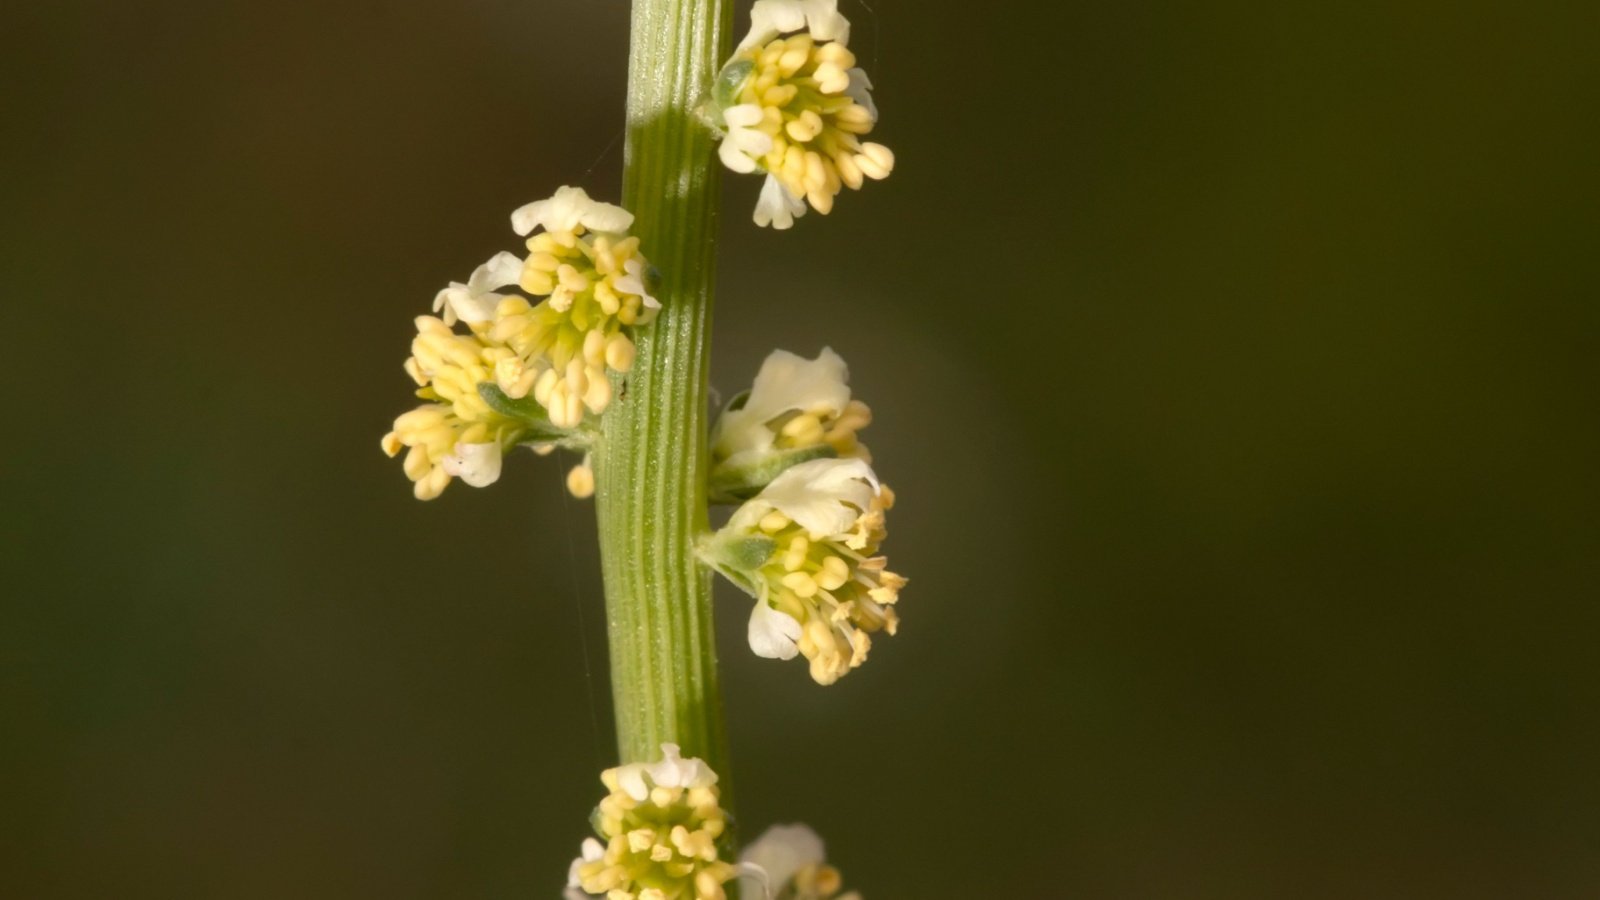
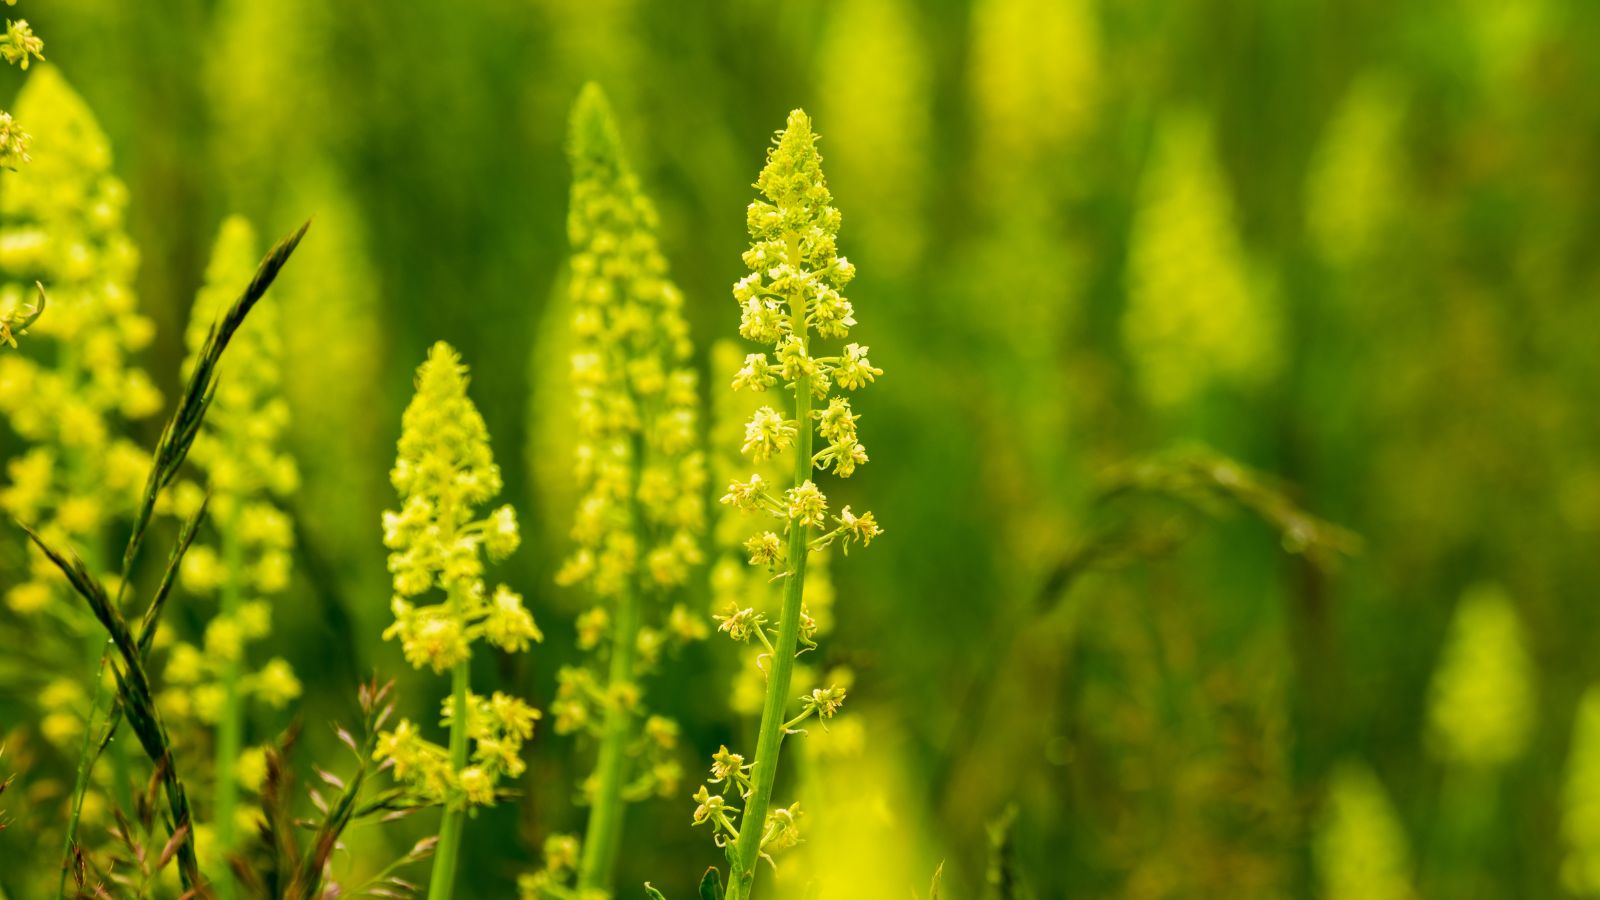
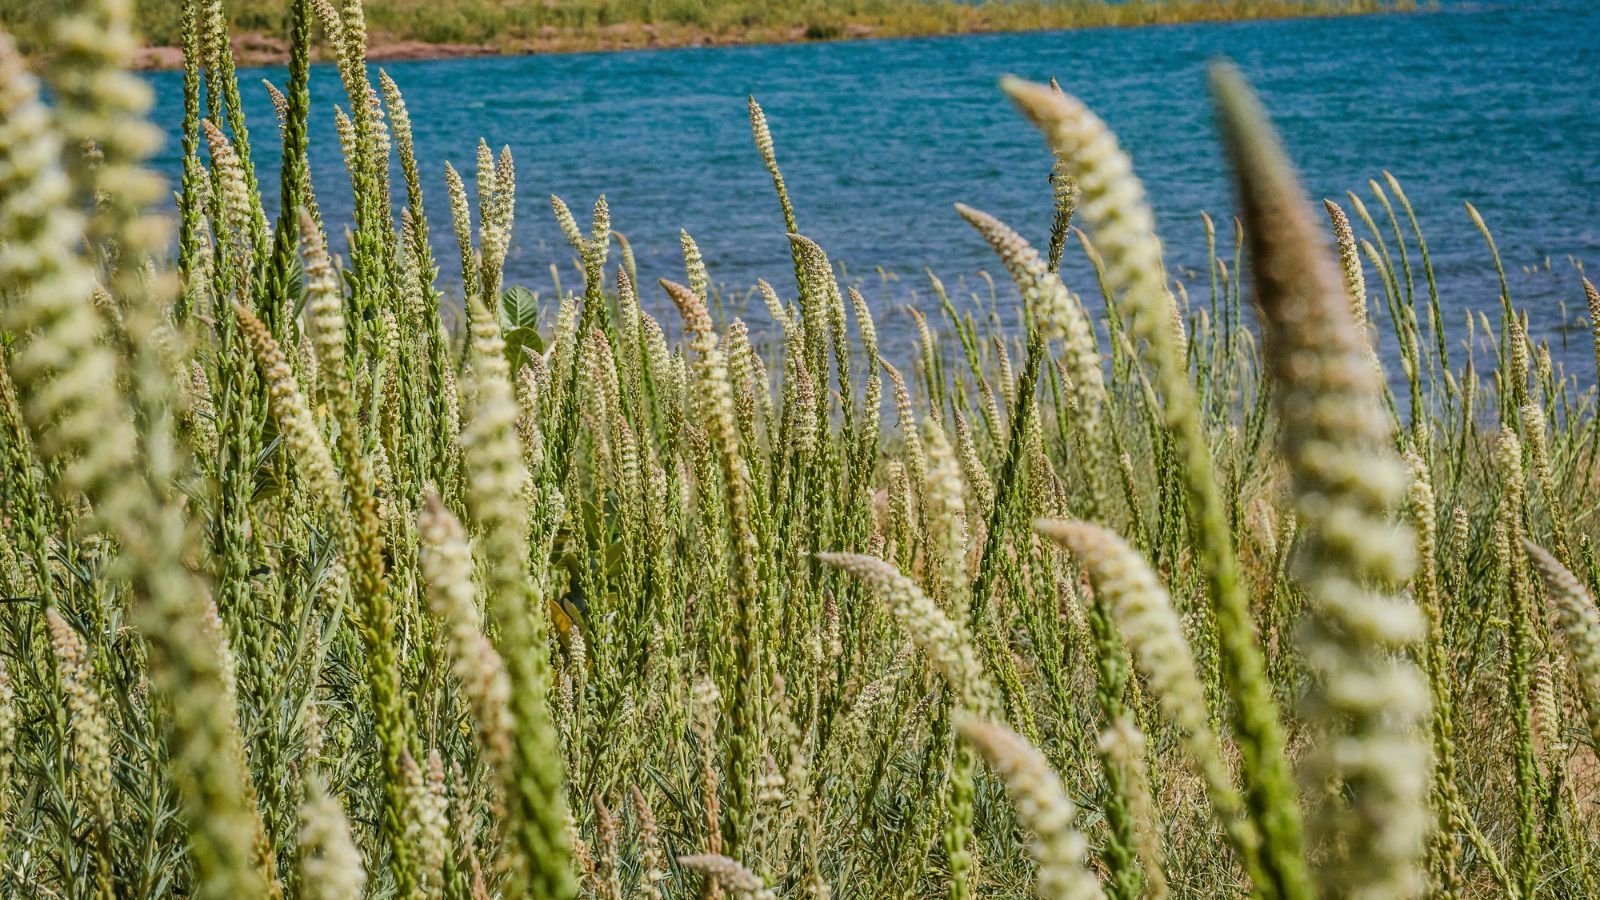
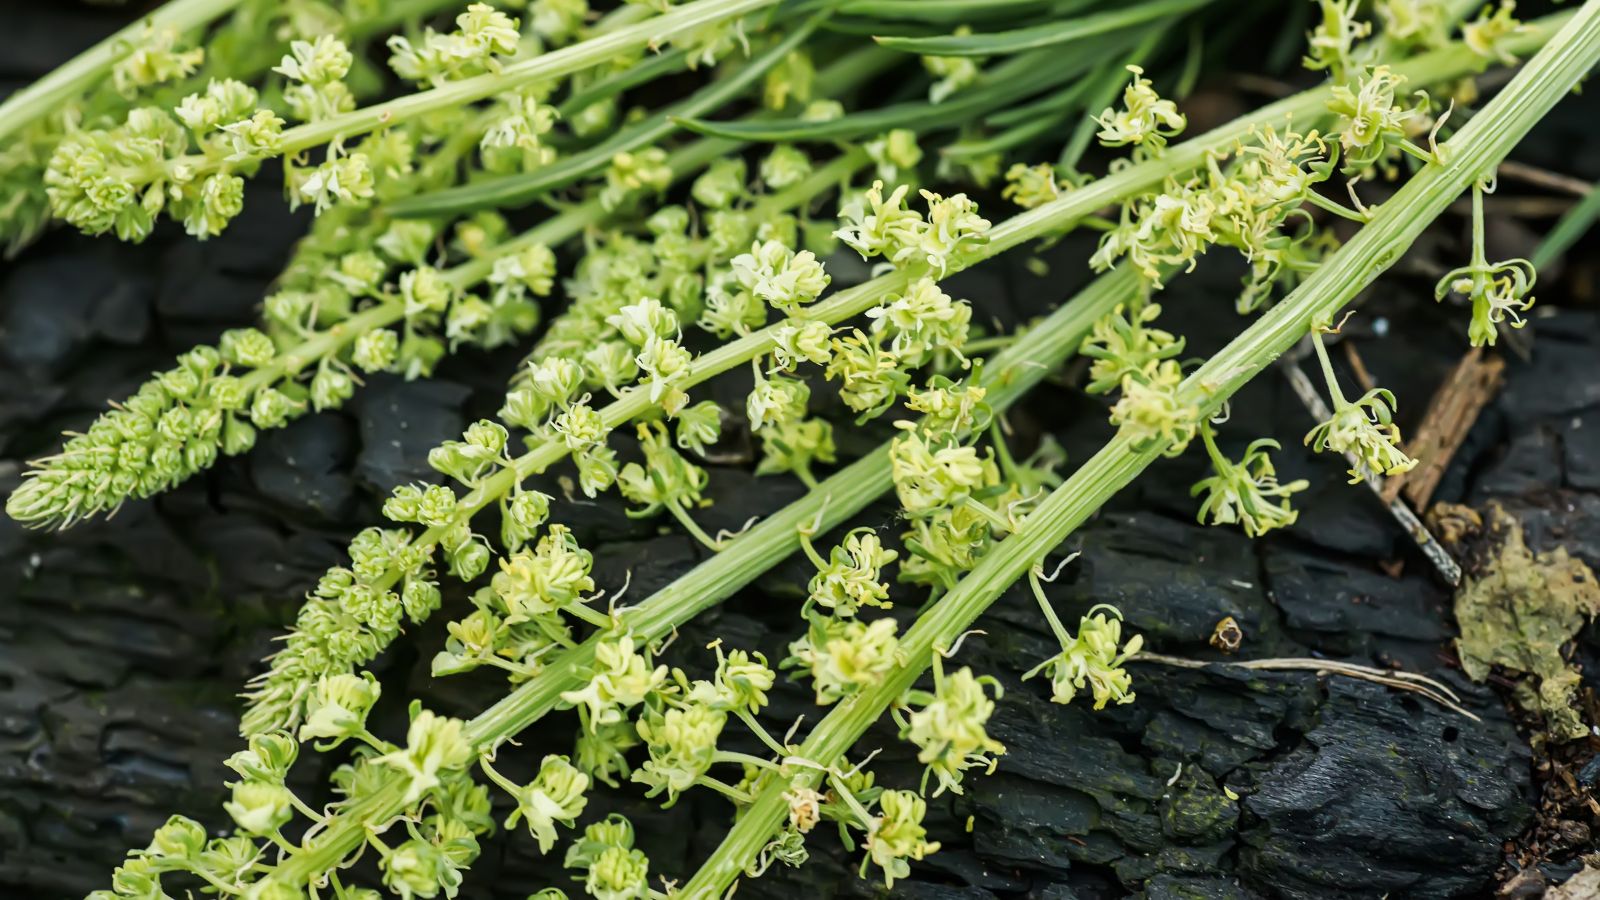
The elongated leaves are alternatively arranged along the stalk, and the top of the stalk contains small flowers that range in color from cream to light yellow. The flower buds typically appear in the late spring to early summer, and the plants are in full bloom sometime in the summer.
If left on the plant, the flowers will mature and produce small, brown seeds. After going to seed, the plants die. However, the seeds often fall to the ground and produce new plants the following spring.
Native Area
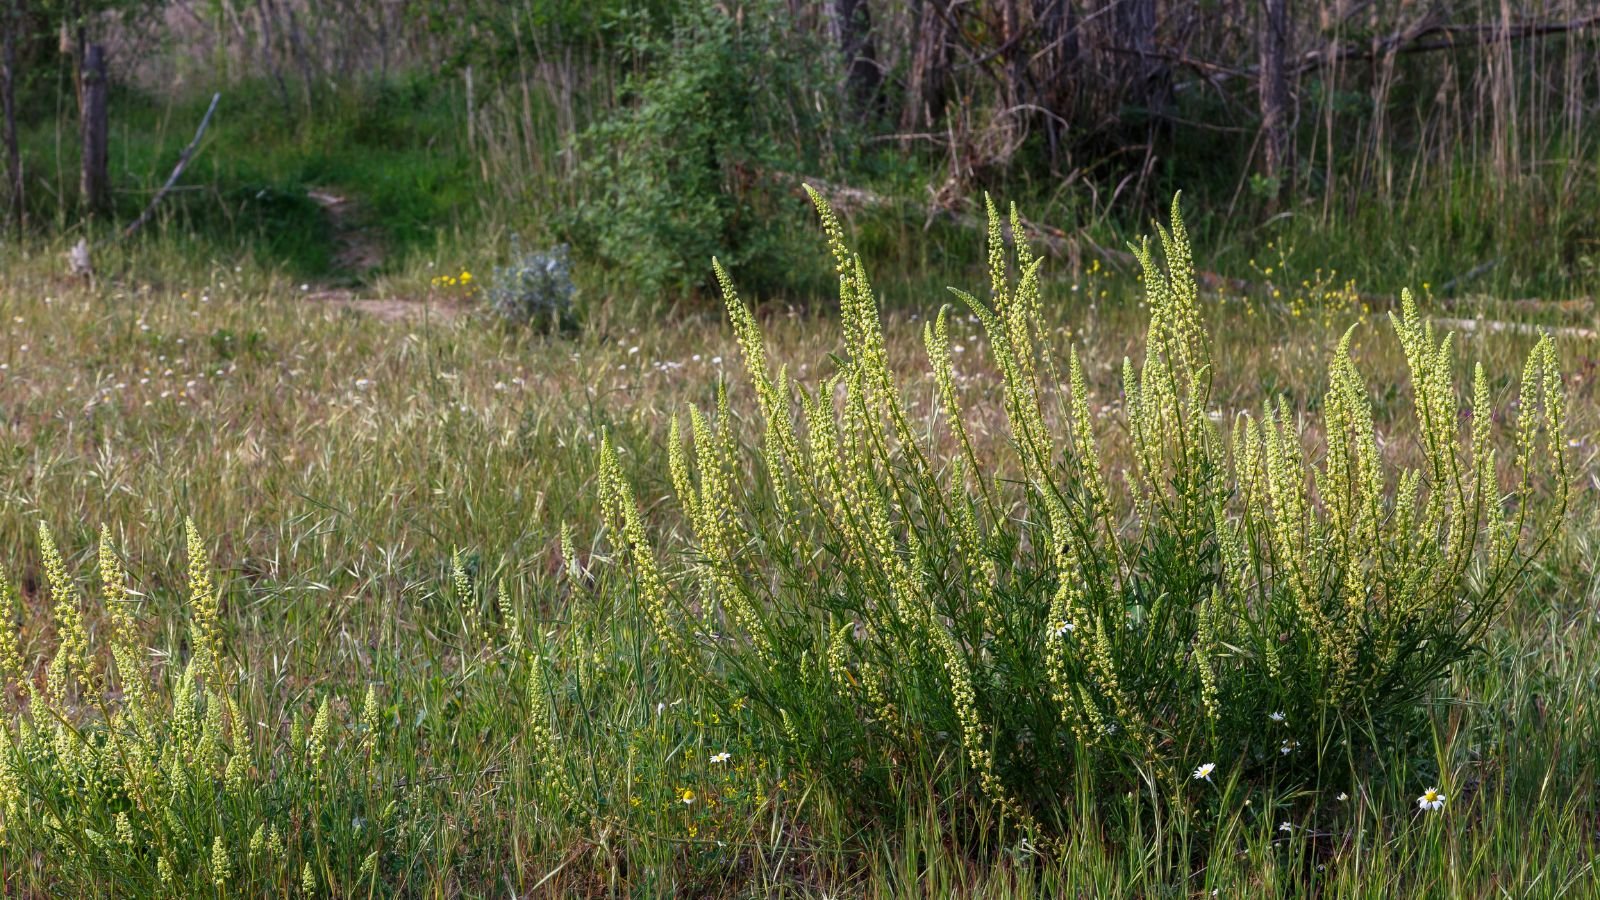
People think this biennial originated in parts of the Middle East and North Africa. However, it eventually spread throughout Europe and central Asia. Although it’s not native to the United States, you can find it growing wild in many states.
Planting
Weld is known for popping up in disturbed sites and thriving without much care. This may make you think the plant is easy to grow, but watching it grow in the wild and planting it in your garden are two different things!
If you want to grow a few in your garden, you have to recognize and respect the species’ sensitivities to transplanting. Here are a few different ways you can grow weld in your garden.
Direct Sowing
Directly sowin in your garden is my preferred way of planting. This method eliminates the frustration involved with transplanting the sensitive roots. Plus, it’s easy!
Spring is the ideal time to direct sow, but you can also plant seeds in the fall. No matter when you sow, leave them uncovered since they need light to germinate.
Although spacing between ten to fifteen inches is ideal, I recommend overseeding. It’s easier to remove extra seedlings than it is to fill in empty gaps.
Before you sow the seeds, make sure the ground is free of weeds. Sowing is as easy as sprinkling on the soil surface. Once the seeds are in place, water well and keep the soil moist until they germinate. Weld can take up to a month to germinate, so be patient.
After the seedlings emerge, keep the soil moist and free from weeds. They will grow into a rosette their first year and form a flower stalk the following year.
Transplanting
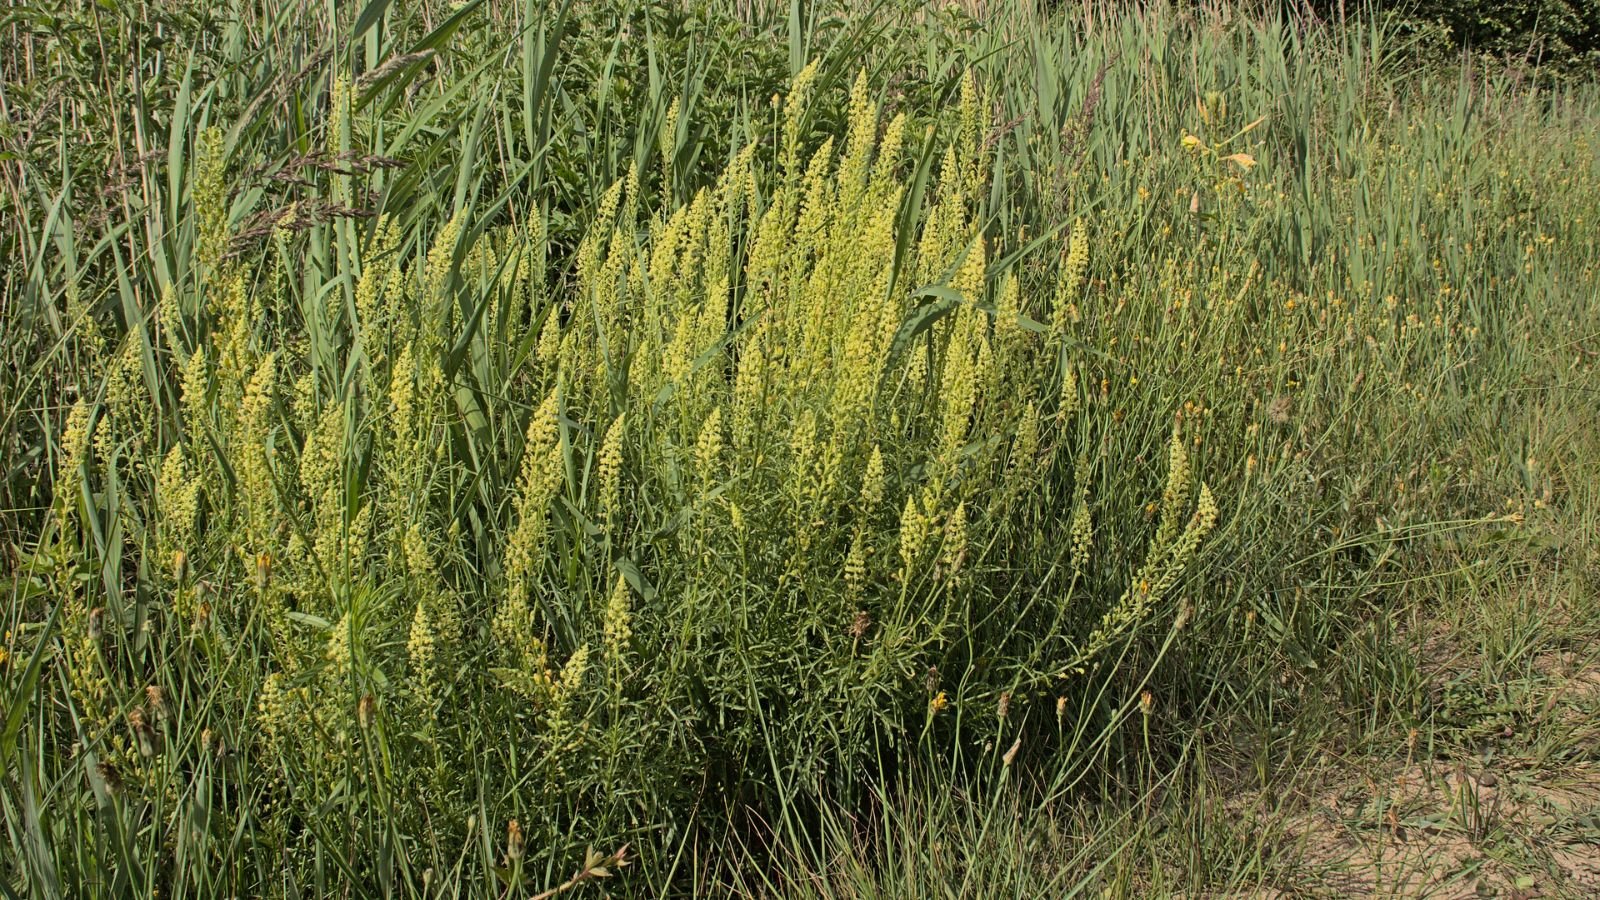
One option involves starting the seeds indoors and later transplanting the seedlings into your garden. This method is often preferred by gardeners who don’t have the space to devote to a patch of slow-to-germinate weld seeds. It also allows you to plant the seedlings earlier in the spring.
Begin by filling seedling trays with well-draining soil mix. Sprinkle the weld seeds on top of the soil and leave them uncovered. Water well and place the trays in a location between 60-80°F. The seeds often take multiple weeks to germinate, so make sure to keep the soil moist during this time.
After seedlings emerge, place them somewhere with at least ten hours of bright light. A grow light works well if you don’t have access to a bright window.
The seedlings are ready to transplant when they are about an inch tall. Weld is extremely sensitive to transplanting, so it’s best to transplant the seedlings when small. If you wait until the seedlings are larger, you’re more likely to disturb their sensitive taproot.
When transplanting, handle the seedlings carefully and avoid disturbing the roots as much as possible. After transplanting, keep the soil moderately moist for a few weeks. It’s normal to lose a few seedlings during transplanting, so don’t worry if a few die.
How to Grow
Weld is easy to grow in most gardens. Providing the following environment and care will help keep it happy and lead to a sizable harvest.
Light
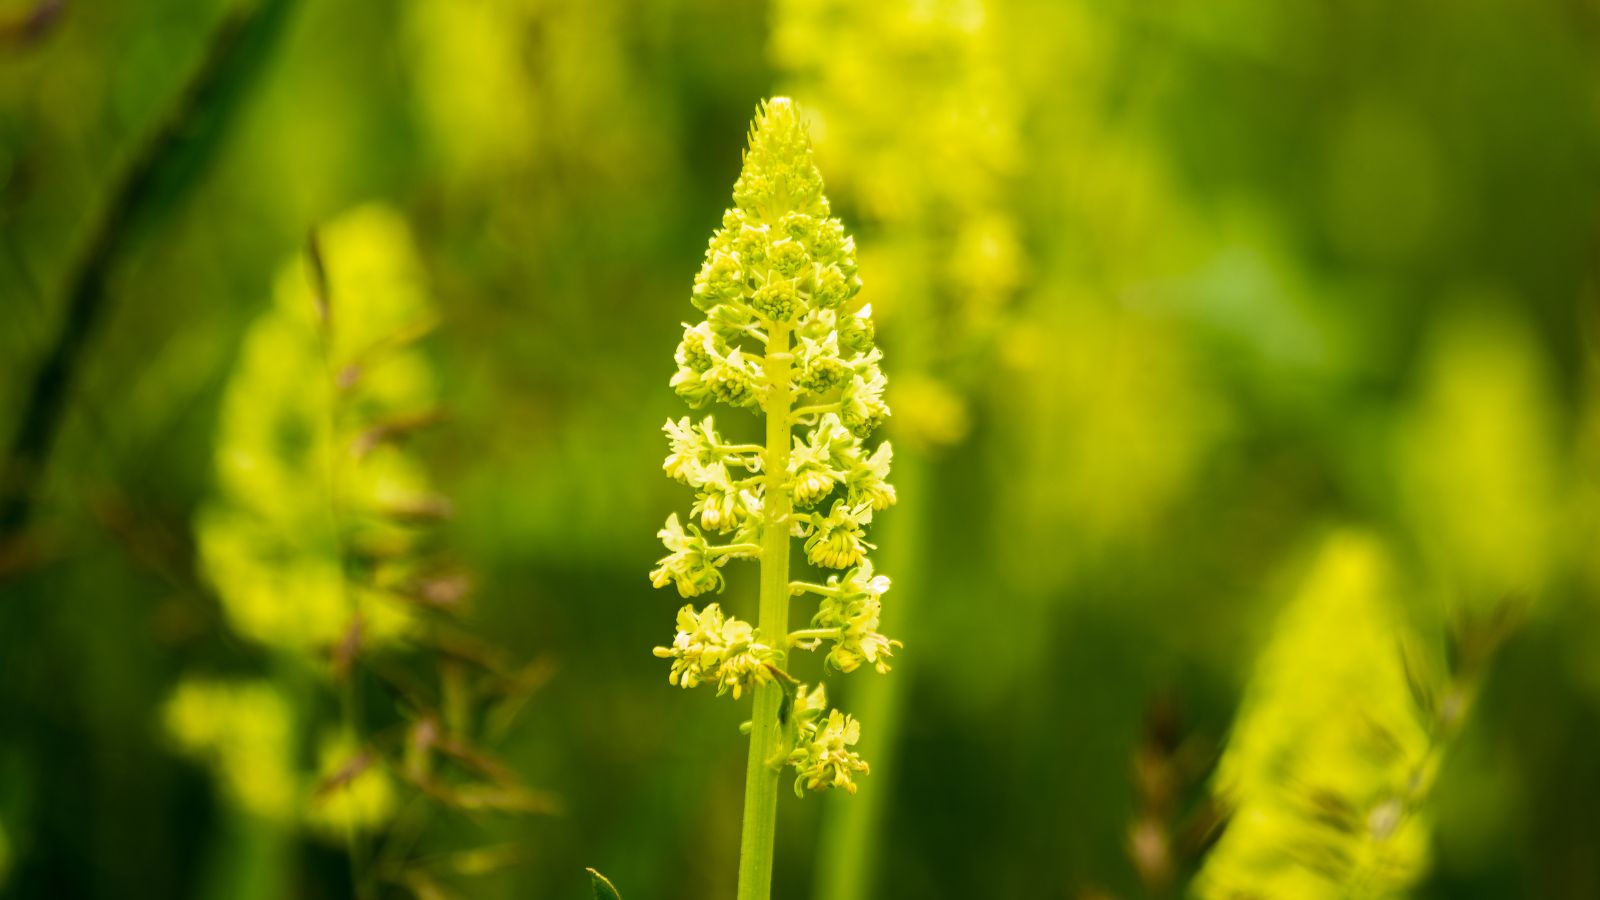
Place them in an area with full sun to partial shade. Aim to provide at least six hours of daily light to encourage healthy vegetative growth and flower production.
Water
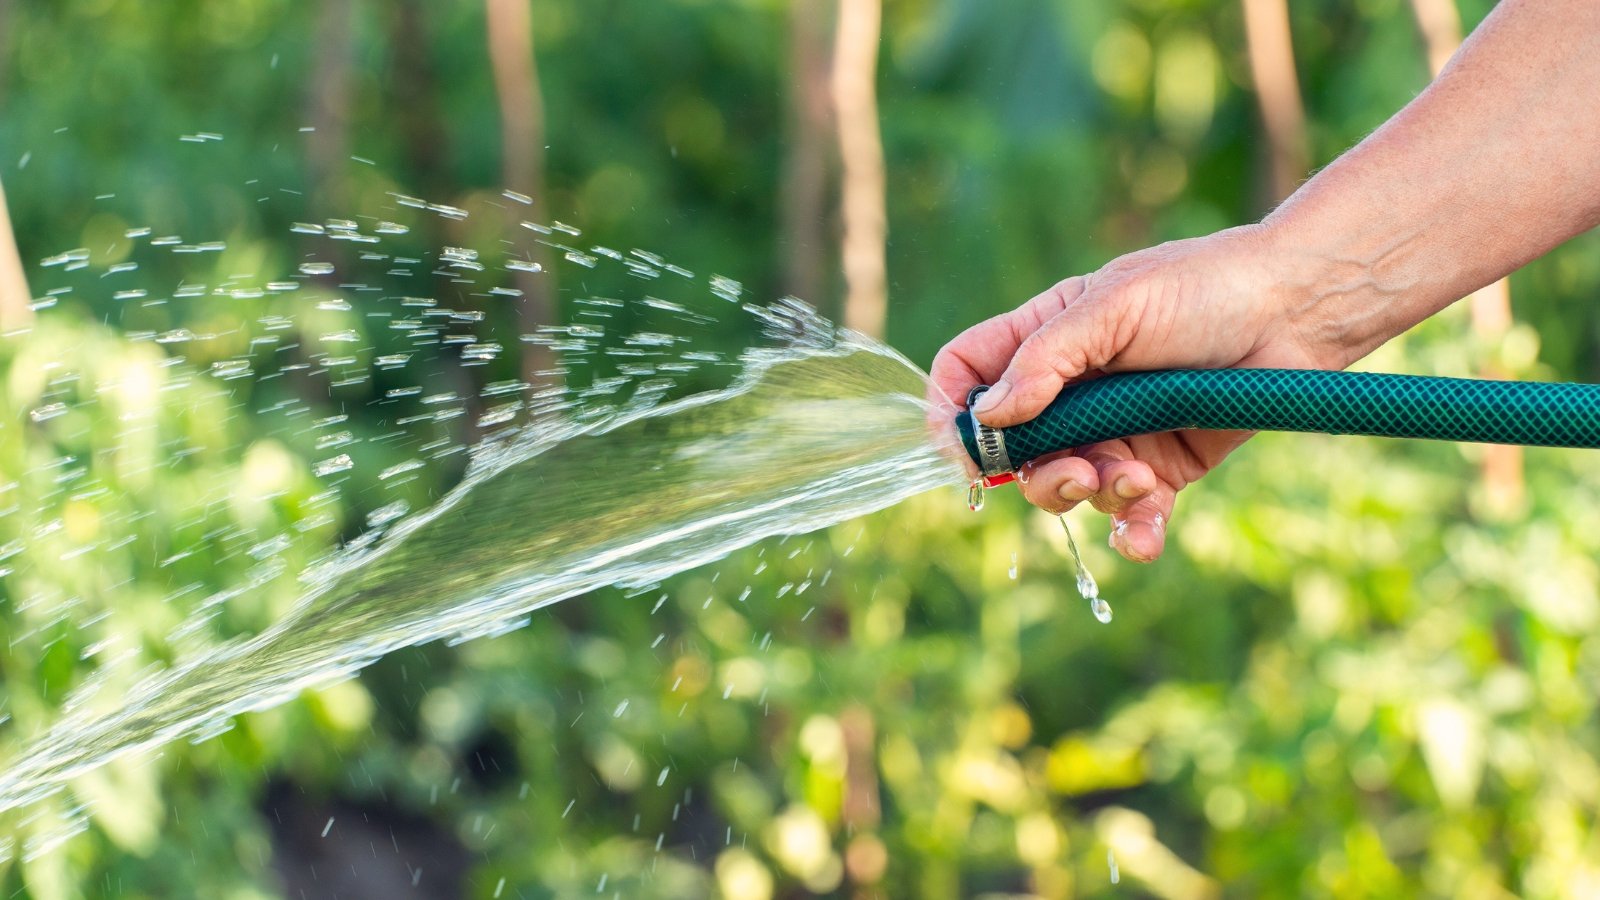
Weld prefers moderate moisture. Once they are mature, these biennials can tolerate slightly dry soil and brief periods of drought, but they’ll appreciate water during summer droughts that last more than a week. They don’t like sitting in wet soil, so allow the soil to dry between waterings.
Soil
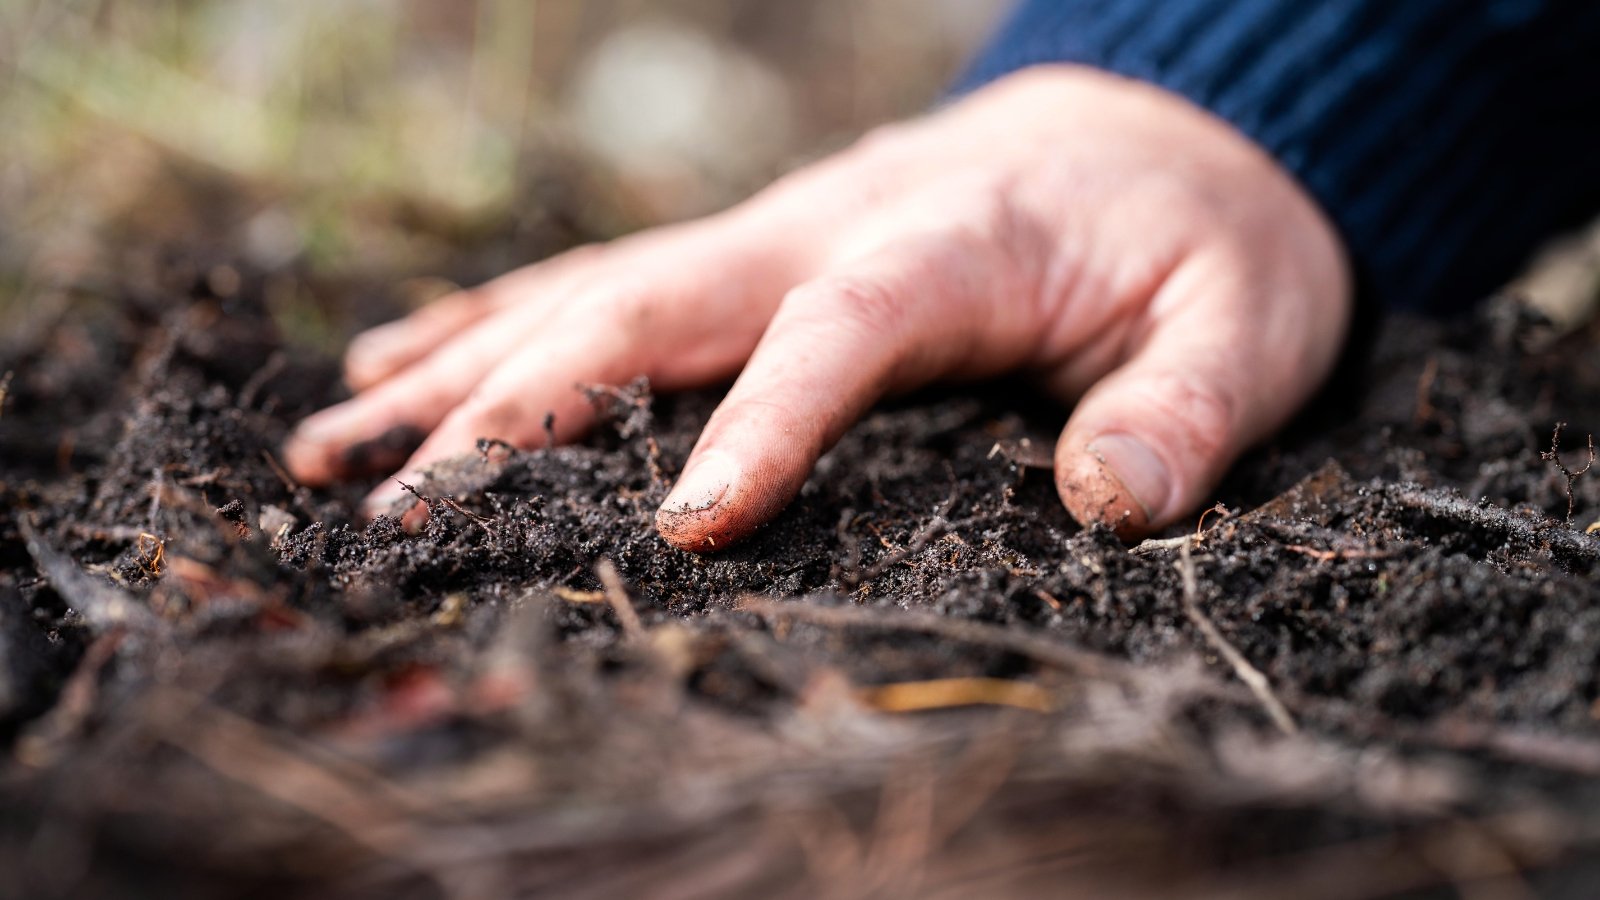
Weld isn’t picky about the soil type, but it prefers well-draining ground. It can grow well in clay, silt, and sand as long as you provide the appropriate amount of water. It doesn’t need a high amount of organic matter, and a high amount of nitrogen can lower the quality of the dye.
Temperature and Humidity
This natural dye plant is hardy to zones 5 through 9, so it has no problems surviving harsh winter frosts. The foliage will die back in the winter, but they’ll regrow in the spring when days lengthen and temperatures warm. They can tolerate high temperatures but benefit from extra water during hot periods.
They’re not sensitive to humidity levels and can thrive in both humid and dry conditions. High humidity increases the chances that fungal diseases will occur, but weld isn’t super susceptible to diseases like powdery mildew.
Fertilizing
Weld doesn’t require much fertilizer to thrive. In fact, it thrives in poor soil. If you’re growing other species in the same area, you can add an inch of nutrient-rich compost before planting. If you don’t have access to quality compost, you can mix a heavy dusting of worm castings into the top few inches of the soil.
Maintenance
Besides watering and harvesting, this biennial is low maintenance. There’s no need to prune or trellis, and they will happily grow without much human intervention. However, many gardeners like trimming back the flower stalks in the fall to keep their gardens tidy.
How to Harvest for Dyeing
If you’re growing weld, you’re probably interested in natural dyeing! Fortunately, these flowers and leaves are easy to harvest and use as dyestuffs. Although all above-ground parts of the plant produce yellow pigments, most dyers find it best to harvest the plants just as they begin to flower.
With this information in mind, leave the plants untouched during their first year. Watch them during the second year and look for the moment they send up their tall stalk.
A few weeks after the stalks appear, you’ll notice the small flowers. They often begin blooming in the late spring or early summer.
As soon as the flowers appear, it’s time to harvest! While you can harvest when the flowers are fully open, it will yield less intense colors. The best way to harvest is to grab a pair of clippers and cut the stalk near the ground. You can always cut a plant into multiple pieces if you find the entire plant is too large.
Both the flowers, leaves, and stalks contain pigment for dyeing, so don’t worry about separating different parts of the plant. You can dye with the fresh plant material or hang the stalks to dry for later use.
If you want to save the foliage for later use, make sure they’re completely dry, then place them in an airtight container and store them in a cool, dark location.
When dyeing with weld, use 20-30% weight of fabric (WOF). If you’re dyeing a piece of fabric that weighs 200 grams, use 40-60 grams weld in your dye bath.
Propagation
The easiest way to propagate weld is to grow from seed. You can either collect and plant the seeds or let them self-seed.
Collect Seeds
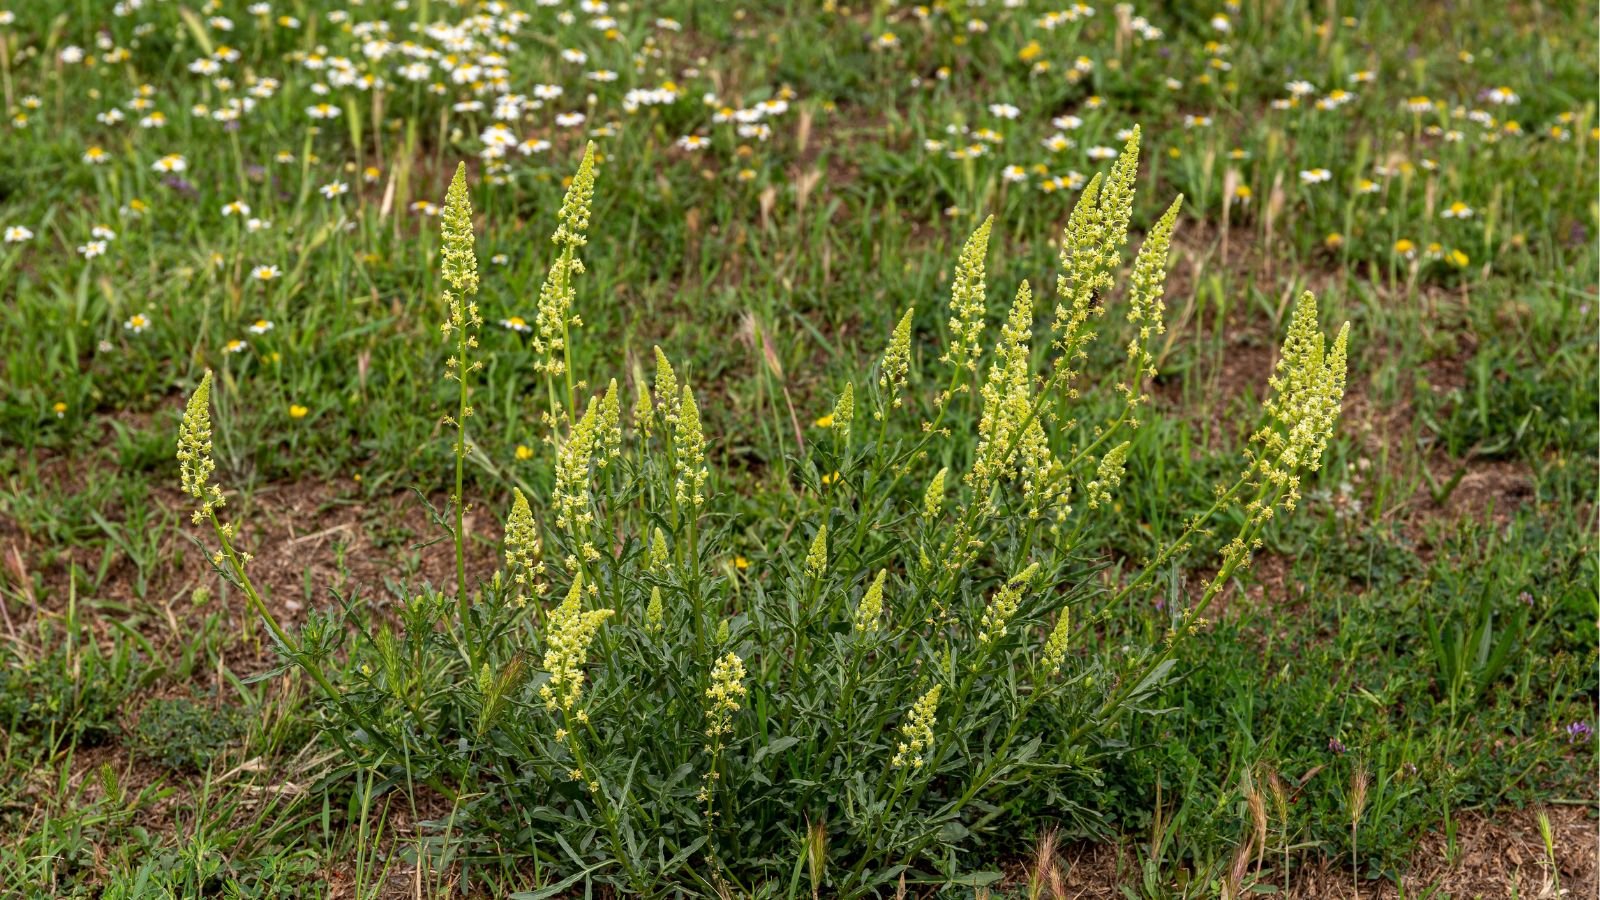
If you want to collect seeds, wait until the fall. You should see small, round, dark brown seeds on the top of the flower stalks. One way to collect the seeds involves cutting the stalks and shaking them over a tarp. The tiny seeds will fall on the tarp, allowing for easy collection.
You can also leave the stalk intact and collect the seeds while they’re still on the plant. Just place a paper bag over the stalk and gently shake to remove the seeds.
No matter how you collect the seeds, make sure to store them in a cool, dark place until you’re ready to plant. You can plant the seeds indoors and transplant the resulting seedlings or directly sow the seeds in your garden.
Self-Seed
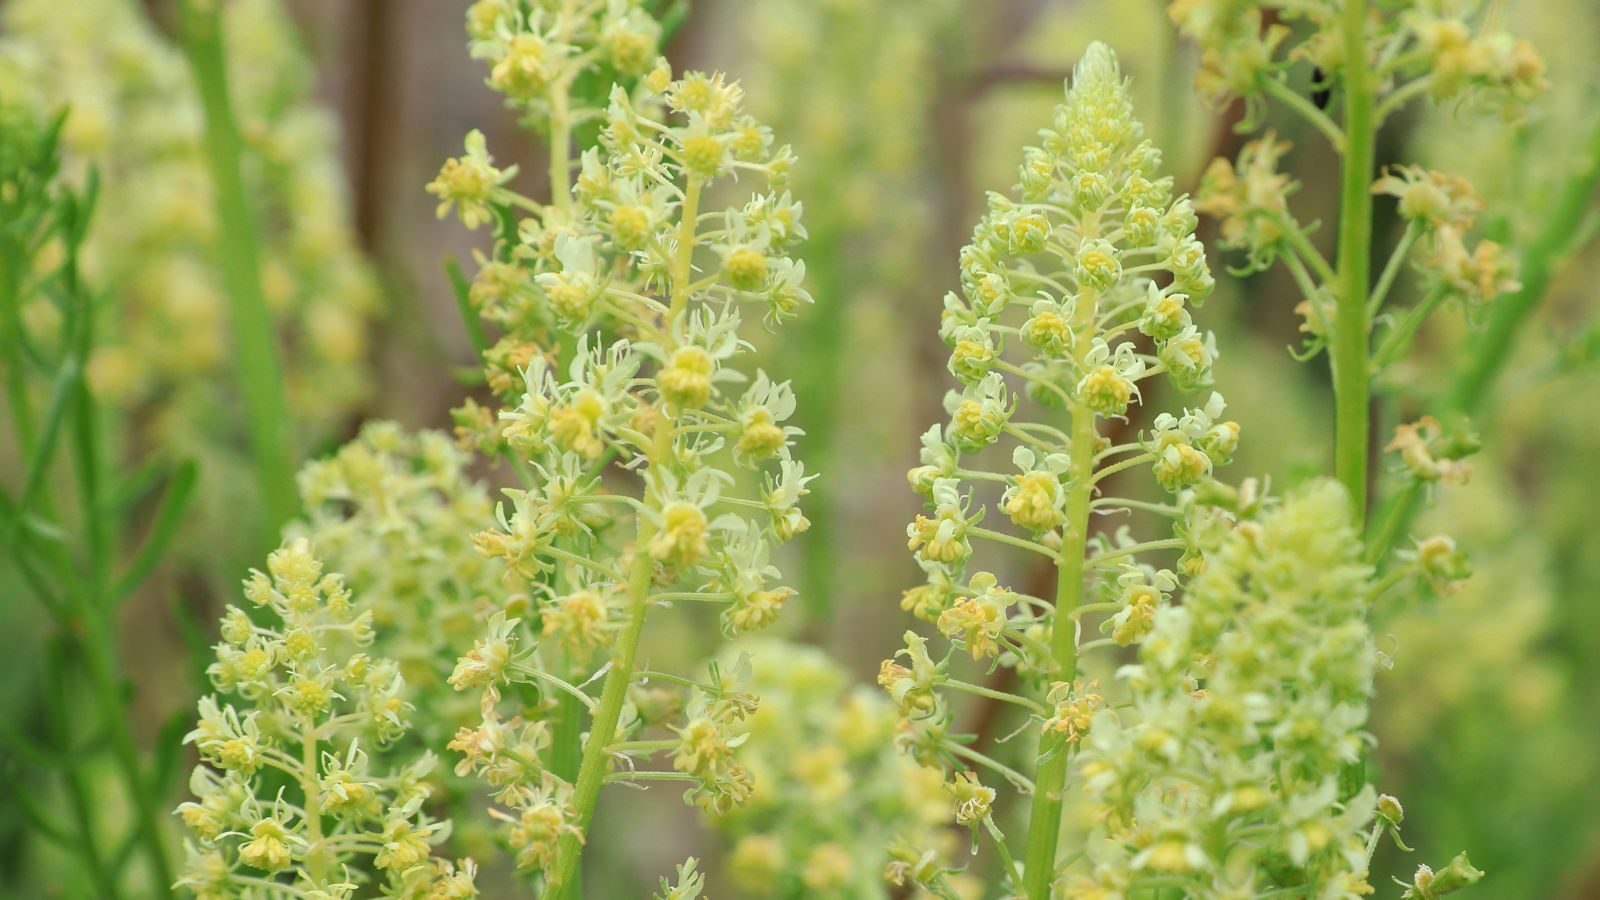
If you leave the flower stalks on your plants throughout the winter, the seed will drop to the surrounding soil. When spring comes around, you’ll be greeted with new weld seedlings! If you find there are more than you’d like, you can simply pull out the extra seedlings.
The only problem with letting the plants go to seed is the plant’s tendency to take over other parts of your garden. Therefore, you should pay close attention to your garden in the spring and remove unwanted seedlings while they’re still small.
Common Problems
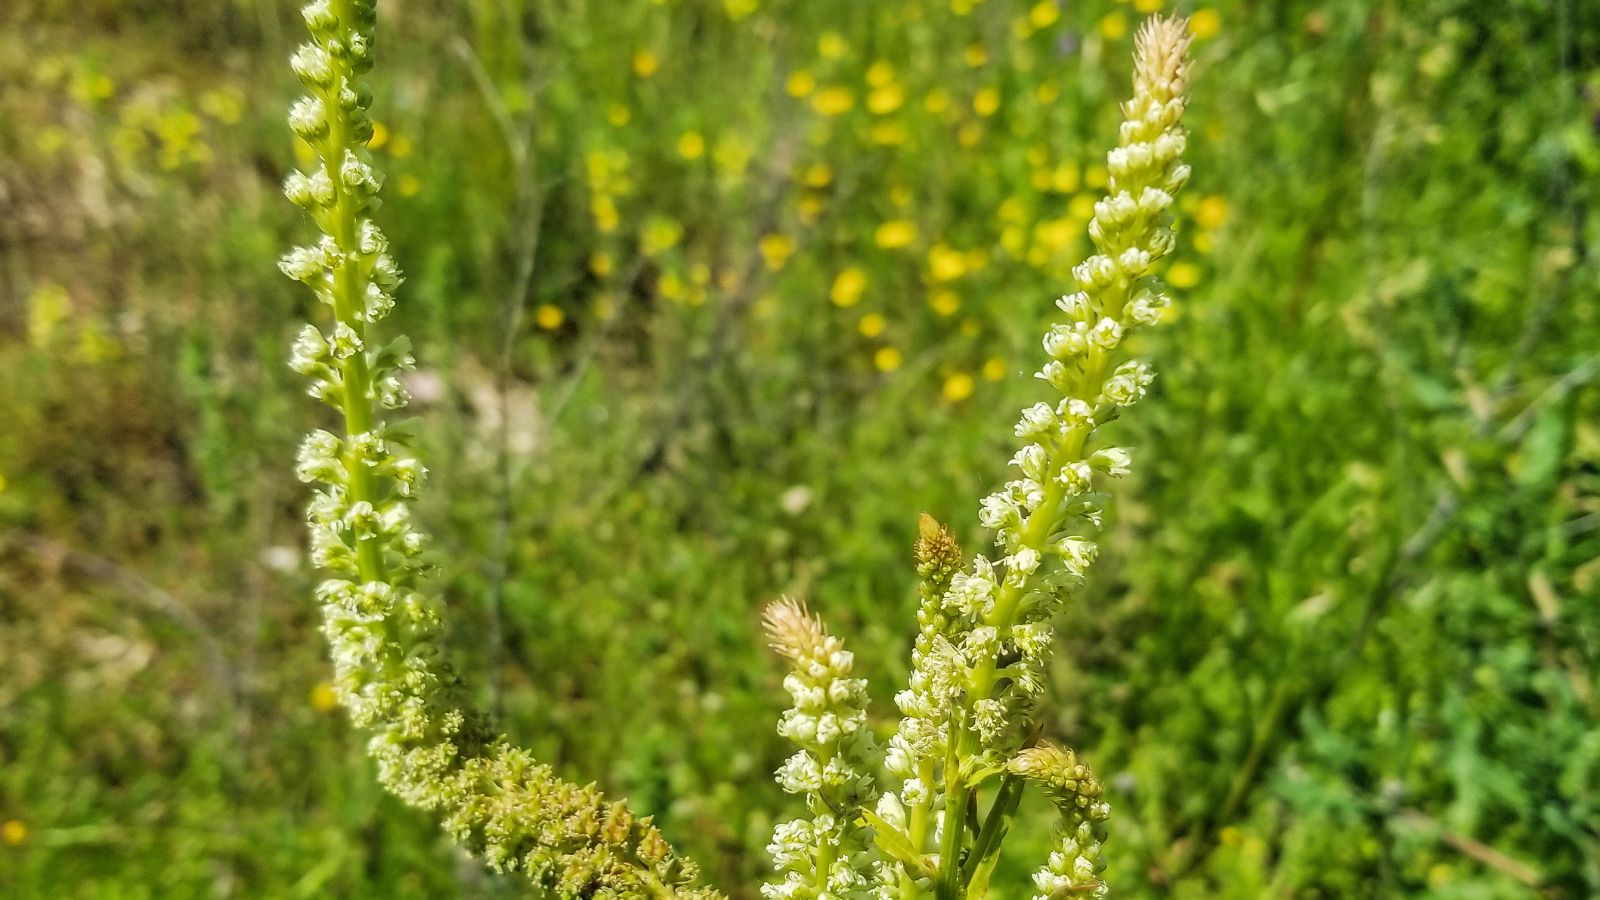
Fortunately, weld doesn’t face many serious diseases or pests. If you’re growing young plants, you should keep an eye out for slugs and snails.
Although these pests are unlikely to seriously harm mature plants, they devour seedlings overnight. Sprinkling slug bait around the seedlings is an easy way to control the pests.
Frequently Asked Questions
Weld is a biennial. It produces vegetative growth in the first year, flowers in the second year, then dies. However, some plants may flower in their first year.
Since weld is a dye plant, consider other pigment-rich plants nearby. Marigolds, black hollyhocks, coreopsis, and cosmos make great companions.
Weld grows as a biennial, with a vegetative rosette the first year and a flower stalk the second year. It forms a taproot.

