Hedges need maintenance to grow robustly and keep their shape. A big part of this maintenance is trimming. This easy method controls their growth and keeps them healthy.
Healthy hedges provide the best natural boundaries for your home and garden, so keeping them trimmed and cared for is important. When you trim your hedges, you’re containing their growth by lightly pruning new growth that’s less than a year old. This not only preserves their shape and size but encourages dense foliage to grow towards the middle of the plant.
There are a few important things to consider to care for your hedges the right way and avoid common mistakes. Let’s look at 11 steps to trim your hedges so they stay striking and vigorous for years.
Felco 701 Garden Gloves
Lightweight and comfortable, these gloves made of knitted HPPE fiber guarantee high resistance to cutting. The fingers and palm are coated with nitrile rubber to provide excellent grip and greater strength. Ideal for precise pruning work by winegrowers, landscape gardeners, fruit growers or nurserymen.
Step 1: Gather What You’ll Need

Before you begin, make sure you have the equipment you’ll need. This includes cutting tools, safety equipment, and cleaning tools. Below are a few examples of what you’ll need.
- Good-quality boots
- Thick gardening gloves
- Safety goggles
- Ear plugs or noise-canceling headphones
- Power trimmer, hand sheers, and clippers
- Loppers or a chainsaw (for thick growth)
- Stakes and strings
- Cloth bags, tarps, or old sheets (for collecting the trimmings)
- Sturdy rake
- Plenty of water and sunscreen
Step 2: Understand Your Plants

The second step to successfully trimming is knowing what you’re trimming in the first place. Gardeners often overlook this seemingly easy step.
Hedges can be deciduous or evergreen trees or shrubs. Some are hardier than others and can be trimmed more frequently. The time you trim depends on if and when they lose their leaves, the time they put on new growth, and other factors such as when they fruit and if they’re home to any animals.
If your yard or garden has several species growing together, you should give each plant its own maintenance routine. This way, each hedge will grow evenly and stay healthy regardless of the season.
Step 3: When You Should Trim
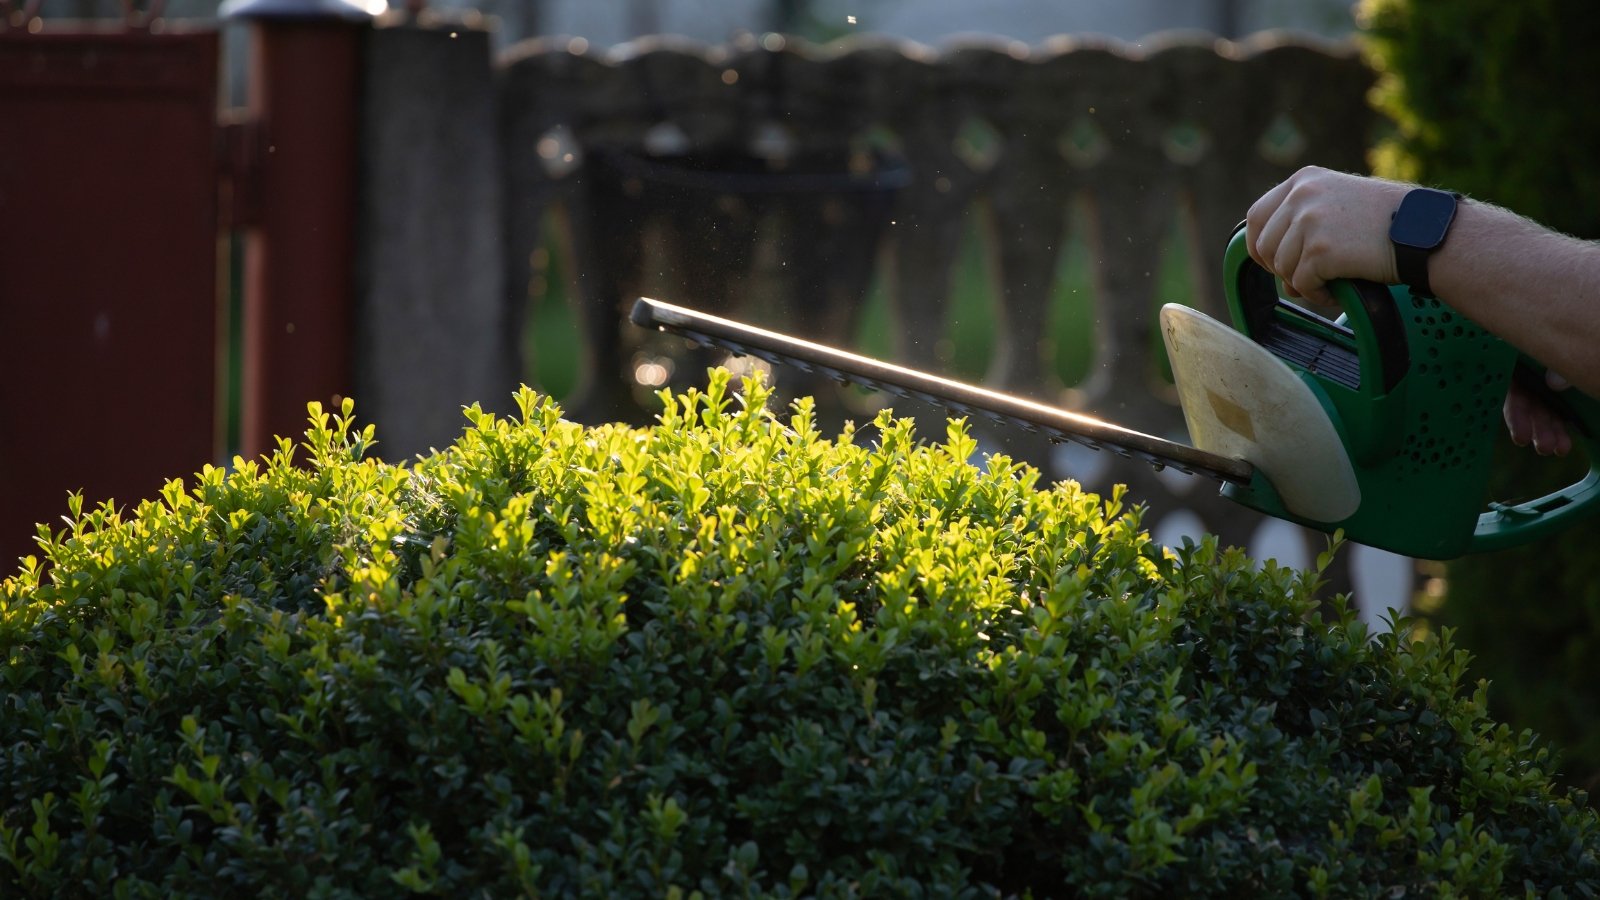
Each plant species has an ideal season for trimming. For most plants, it’s best to trim before the summer, shortly after the last frost. Depending on the climate of where you live in North America, this can be as early as February or as late as May.
By timing your trimming, you’ll give them the right amount of time to take in nutrients and sunlight for new growth and not stress them out. Below are a few guidelines to follow for different types of common hedge plants.
Evergreens
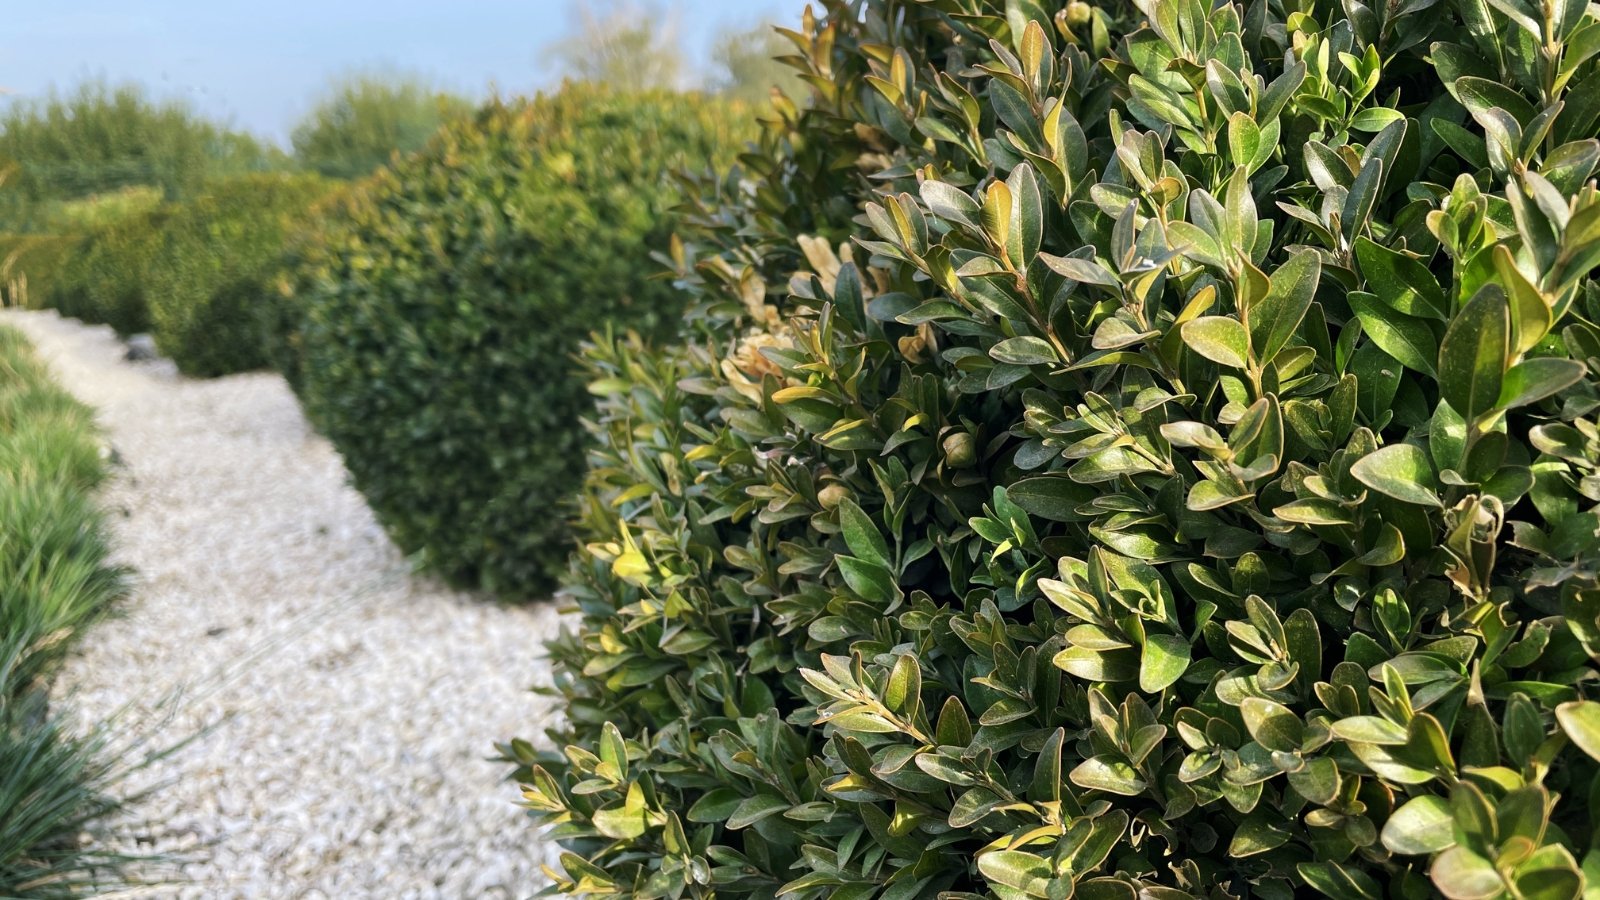
Evergreens such as cedar, boxwood, and emerald green arborvitae should be trimmed in early spring, just after the last frost and before they put on new growth. This will encourage new shoots to grow just as the days get longer and the risk of frost damage subsides.
Lightly prune your trees and shrubs throughout the summer to cut down on overgrowth and keep them evenly shaped. Always check for nests before pruning in summer to avoid disturbing them, as these plants make the perfect habitats for birds and many other animals.
Flowering Shrubs
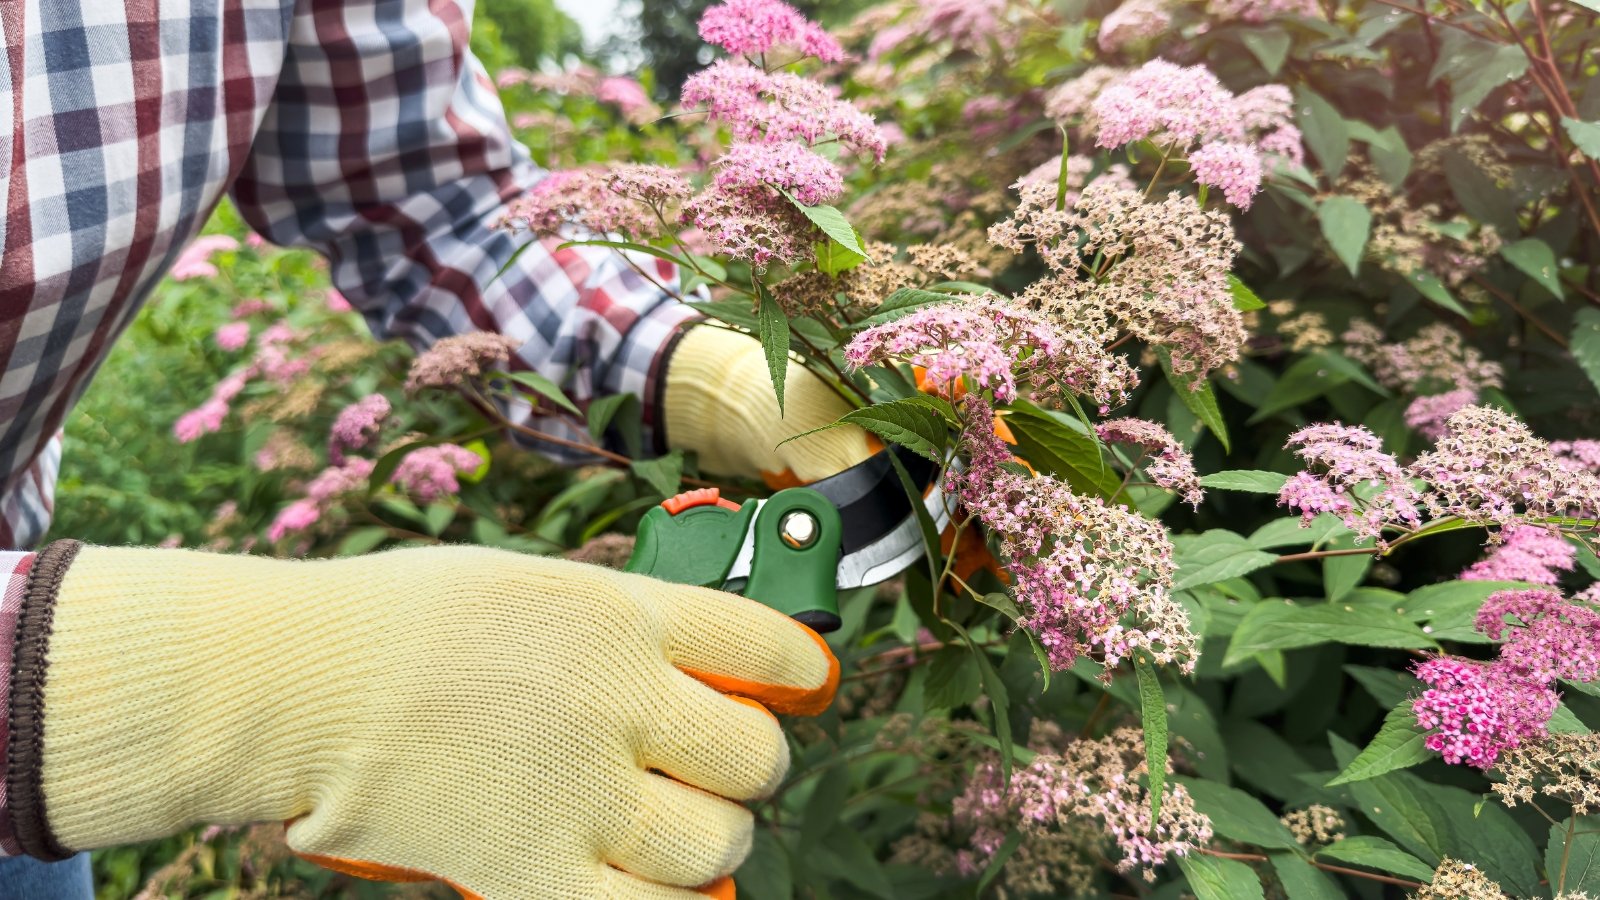
Flowering shrubs such as hydrangeas make beautiful hedges. For these plants, time your trimming around their blooming times. No matter when they flower, trim them shortly after they finish blooming.
Be careful not to cut your flowering shrubs too early or too late. This could prevent them from flowering during the next season.
Deciduous Trees and Shrubs
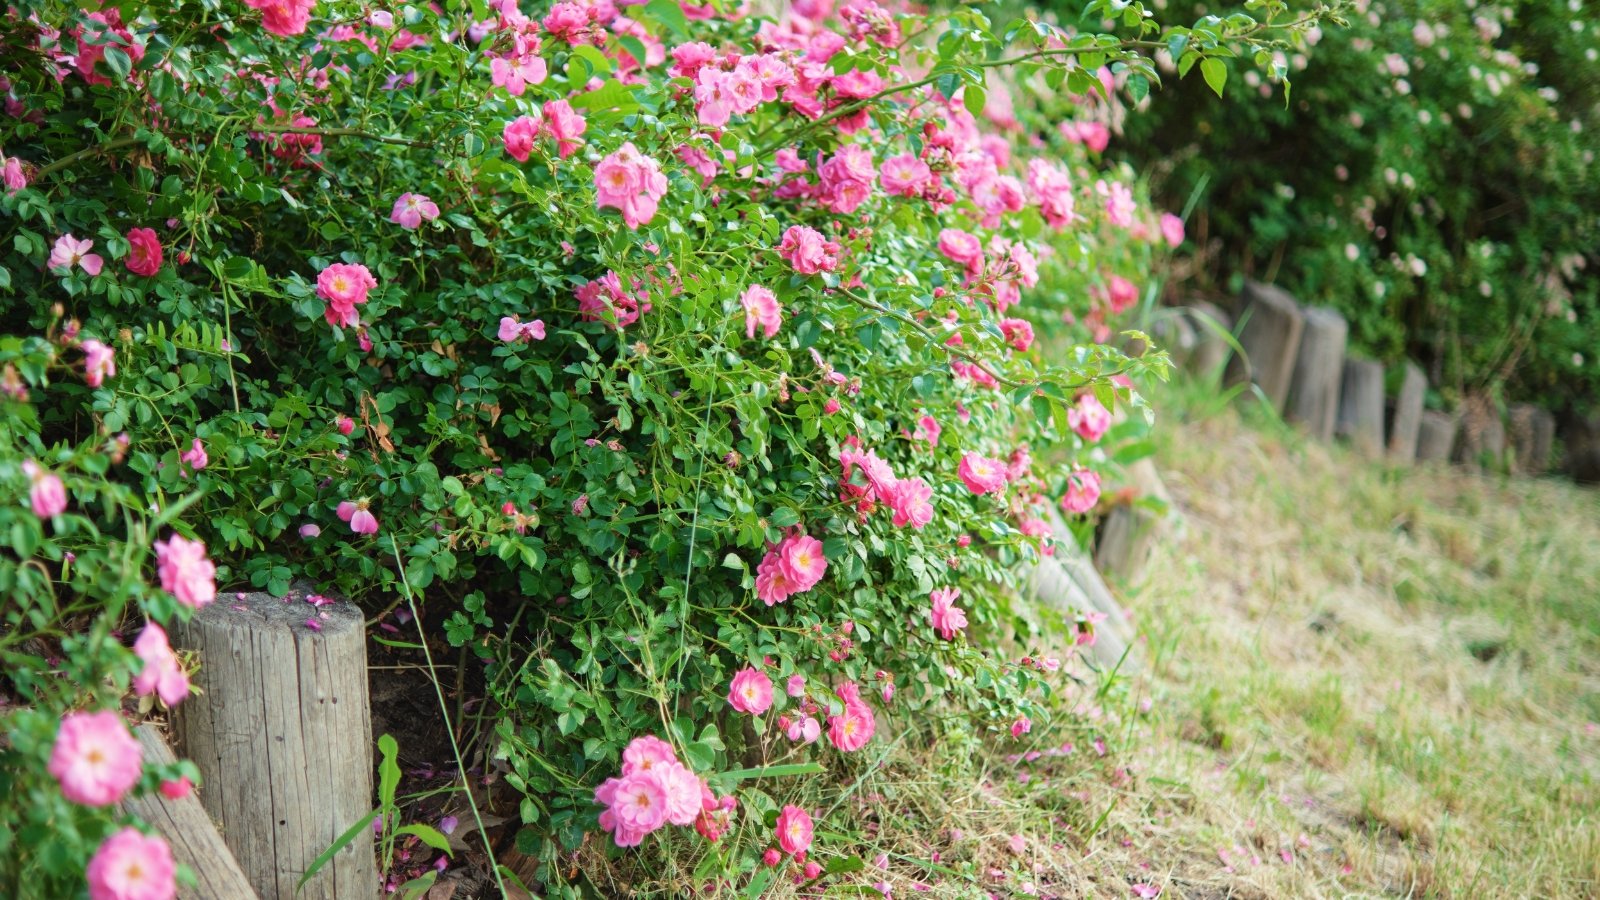
Trim deciduous trees and shrubs when they’re dormant in late winter and early spring. When the plants are ready, they will produce new growth in the areas you trimmed.
Fruit Trees
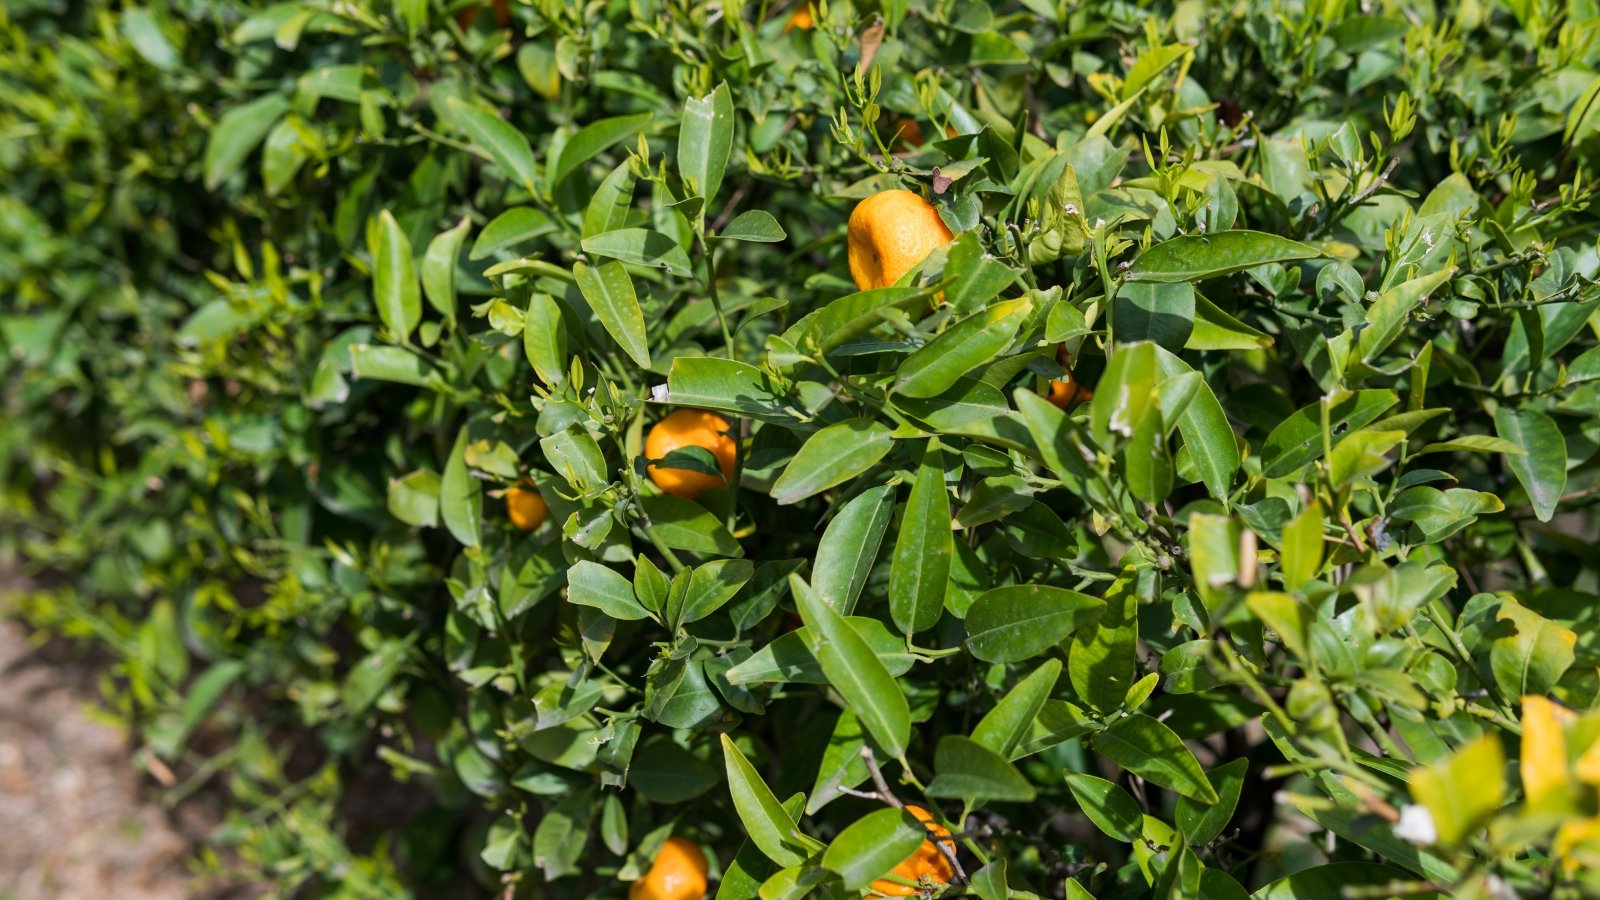
Some fruit trees, such as figs and citrus, make excellent natural barriers in your garden. It’s best to trim them in late winter or early spring before they flower. In the summer, lightly prune areas of new growth to keep them looking even.
Step 4: Check for Animals
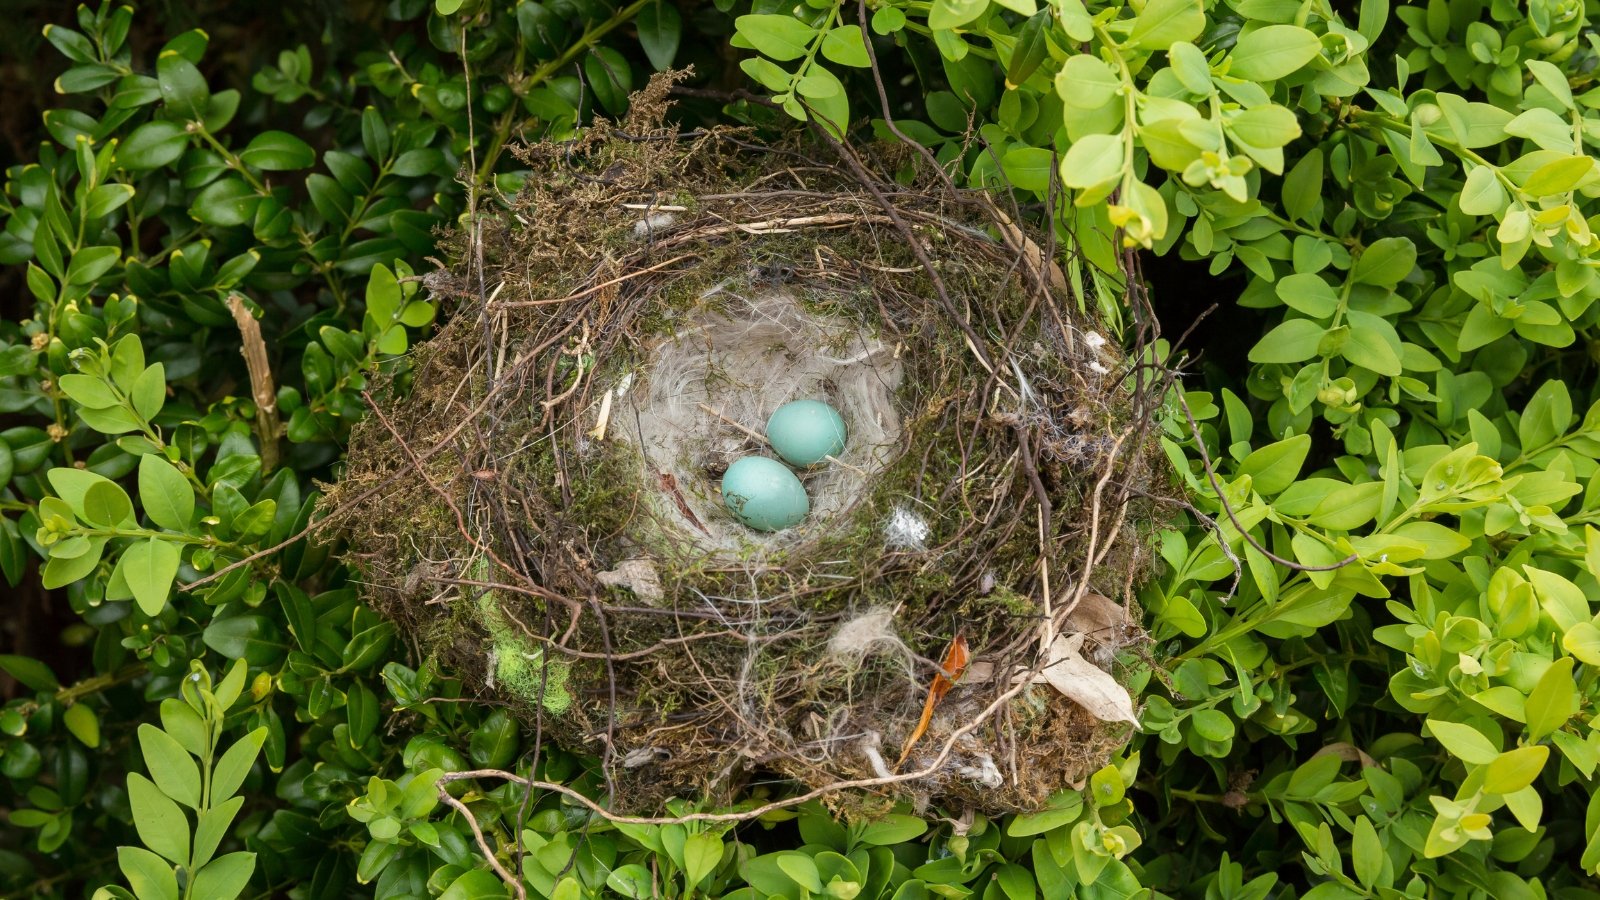
As mentioned before, hedges make great homes for birds and other wildlife. To avoid disturbing a nest, carefully check inside your plant’s dense foliage for nests or signs of animals in late spring and summer.
If you see an active nest, leave it alone until the animals are gone. This may take several months, so be patient and check on the animals regularly. Once they leave, you’re good to go.
Step 5: Analyze Their Shape and Condition
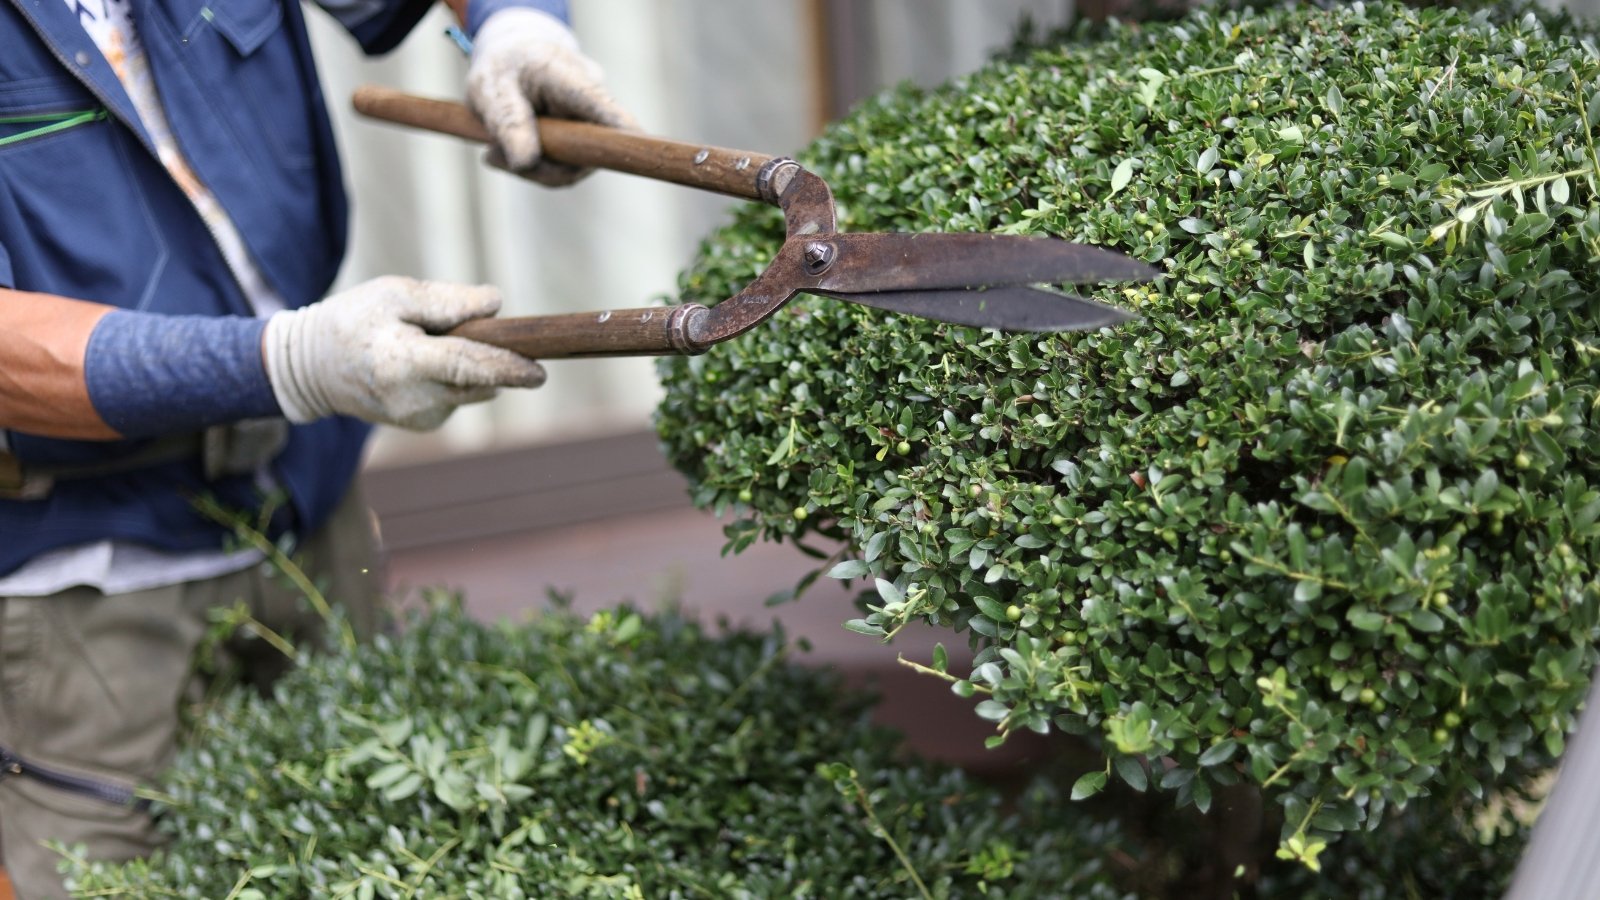
Before trimming your hedges, check each plant’s shape and condition. If you see any signs of diseases or pests, it’s a good time to take note and treat your plants accordingly.
Walk around the sections you plan to cut and look for areas that grow faster than others. Check for any bare foliage around the base of your plants and get rid of dead branches and twigs.
Step 6: Set Up Your Base Markers
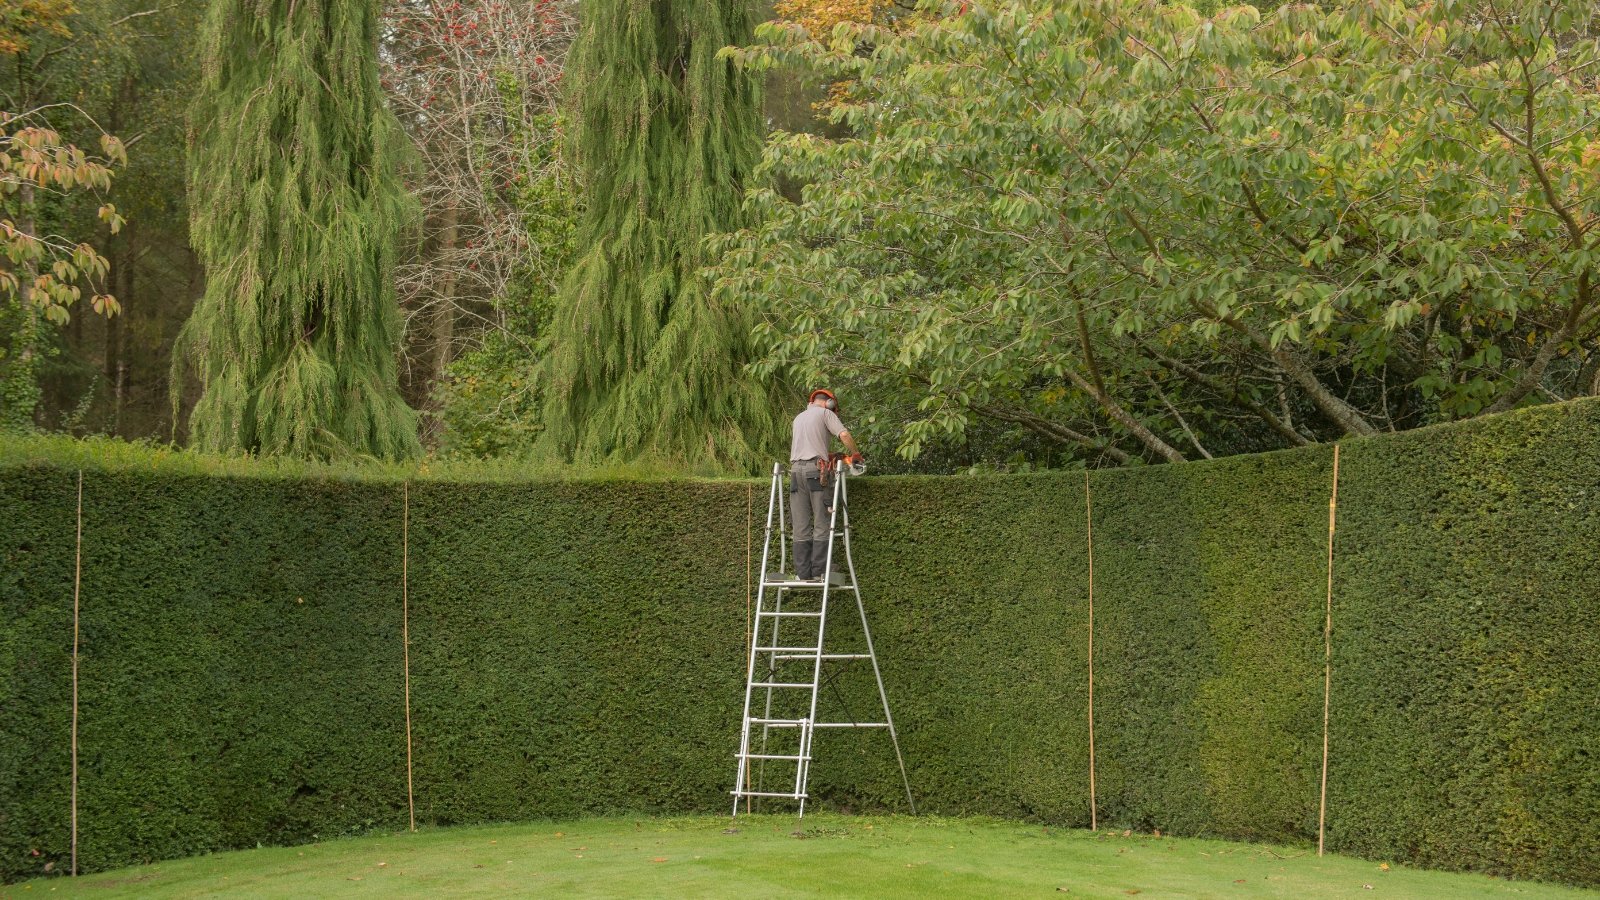
Hammer in straight markers or stakes at the base of your plants where you want the edge to be. The markers should be just inside the longest branches sticking out from the base. You can use one stake on each side of the section.
Run a line or two of taut string between the stakes as a guide. This will keep you within the boundaries and prevent you from cutting too much. Do this around each section you want to trim.
Step 7: Decide What Styles of Hedges You Want

There are two types of hedge designs that gardeners choose to cut. Each one has its purpose and depends on what you want in your garden.
Informal Hedges

Informal styles are the easiest to cut. What makes them informal are the loose boundaries and lines that you need to trim. Choose these hedge designs to add a softer and more natural look to your plants.
Formal Hedges
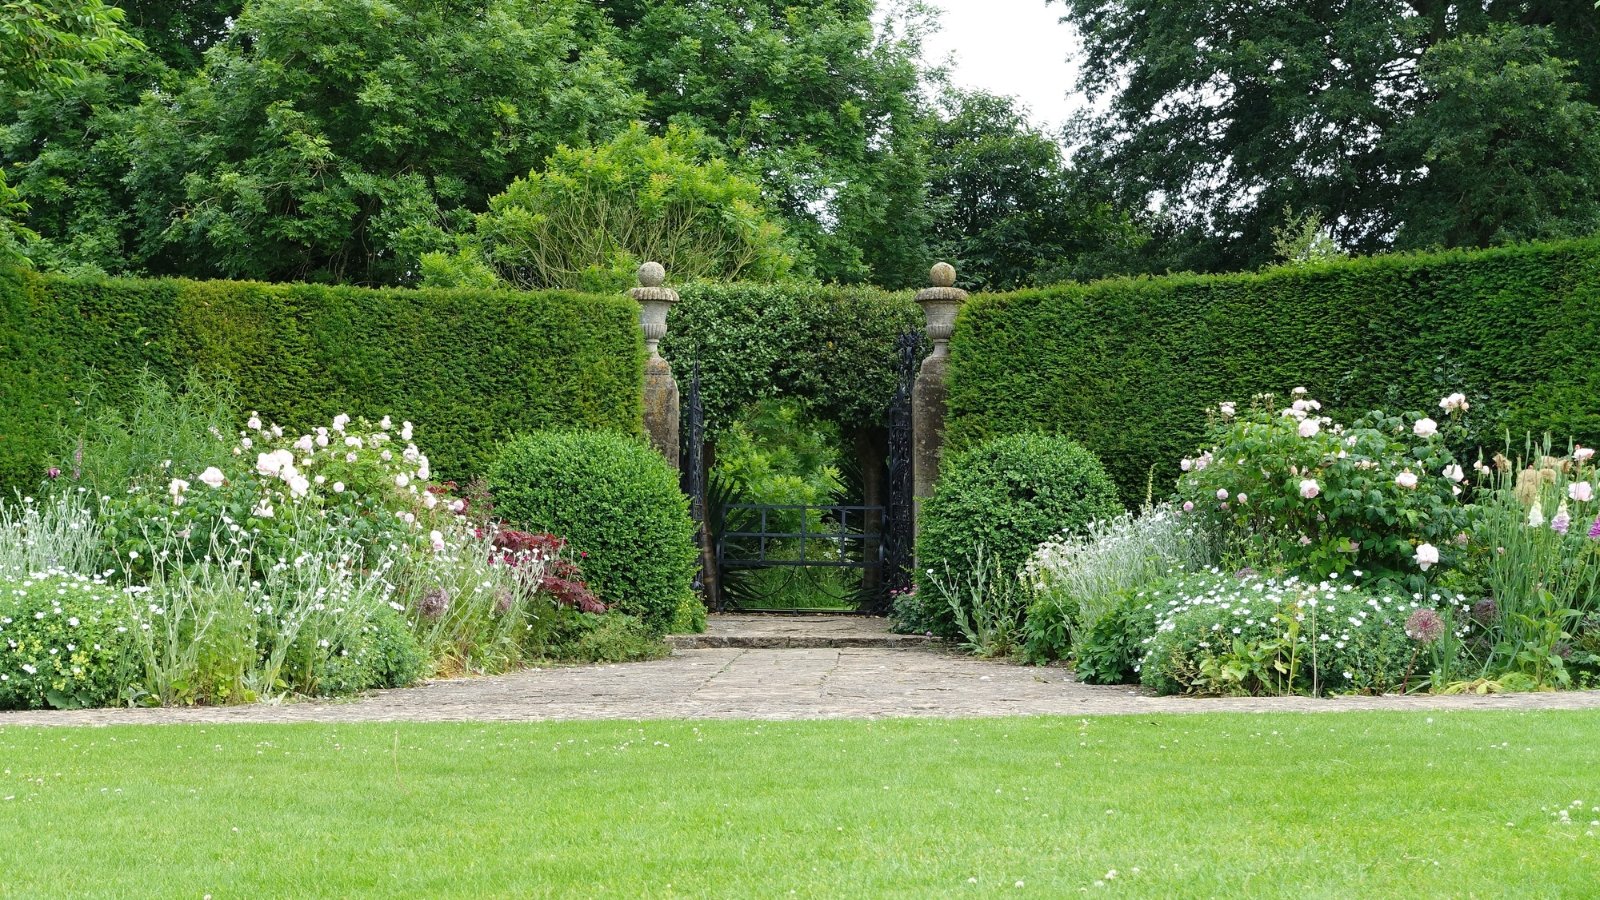
Formal styles are cut to create sharp lines and shapes, including spheres and cubes. Choose these designs if you want a more rigid look for your plants and clear boundaries in your garden.
These designs need more pruning to keep their shape. During the summer, after checking for nests, simply trim the areas of overactive new growth with your hand pruner.
Topiary

Topiary is an advanced style of hedging that trains your plants to form intricate shapes, geometric figures, and even figures like faces and animals as they grow. This style of hedging takes time to perfect, but looks amazing.
Like formal hedges, topiaries need constant pruning to maintain their appearance. The best way to do this is by clipping branches and leaves that start to stick out throughout the season. This encourages new growth toward the center of the plant, keeping it dense and perfectly shaped.
Step 8: Get Ready to Trim
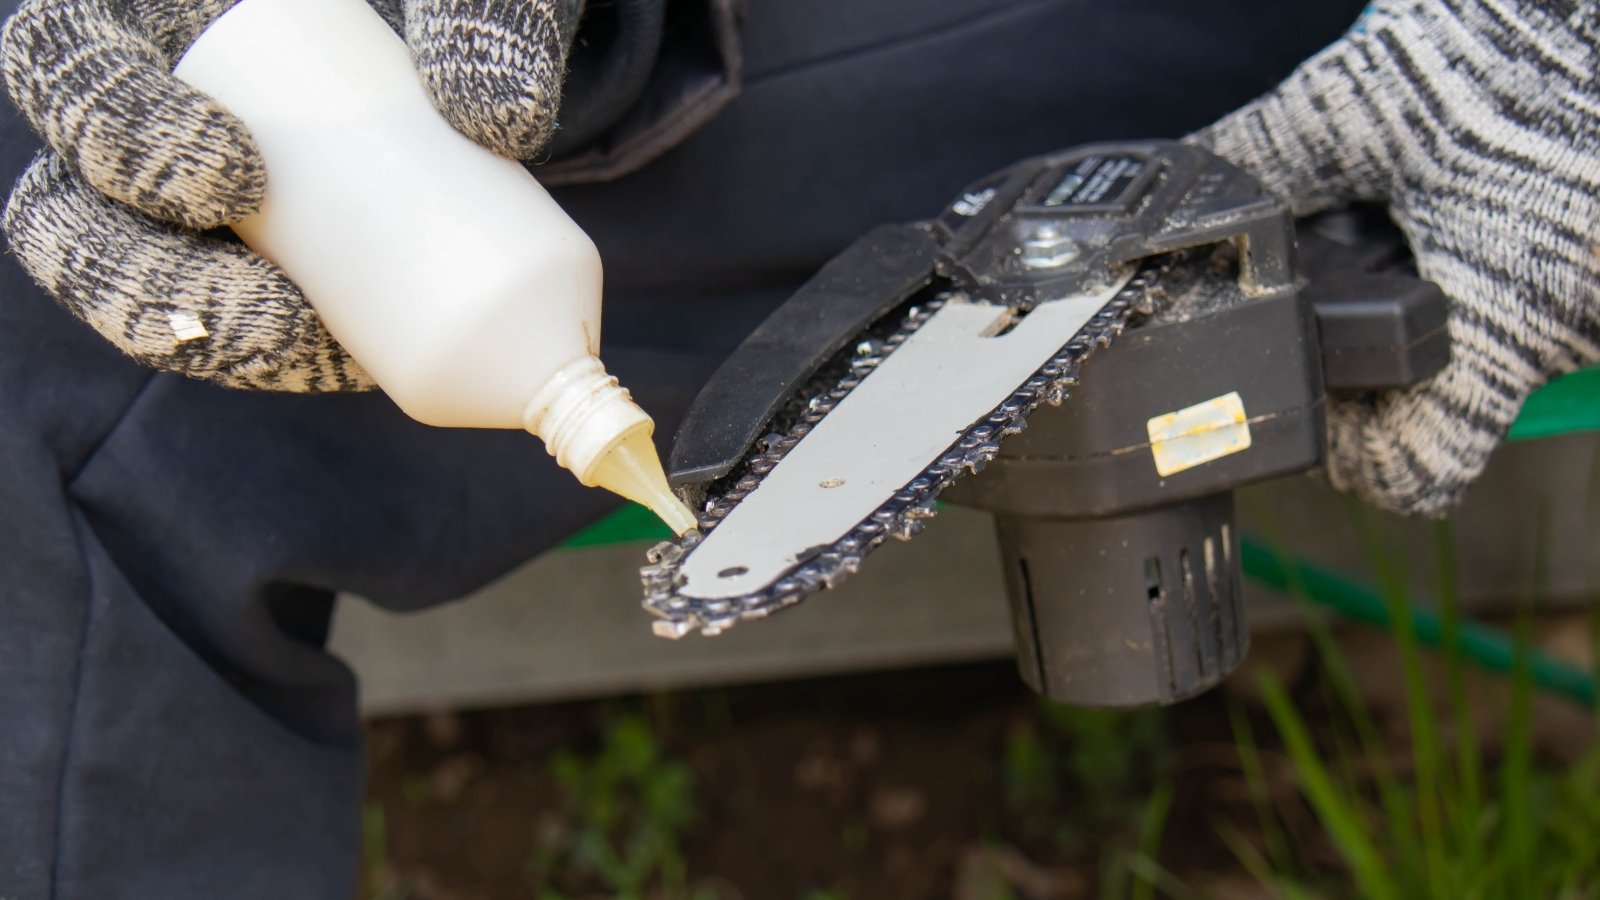
Before you begin, make sure your equipment is ready. Check that your power trimmers, hand pruners, and sheers are well-lubricated, sharpened, and clean.
Make a checklist before you begin, and start preparing. Scout for any obstacles in your way and set up canvas bags under your plants to collect the trimmings.
Step 9: Work Your Way Up From the Bottom
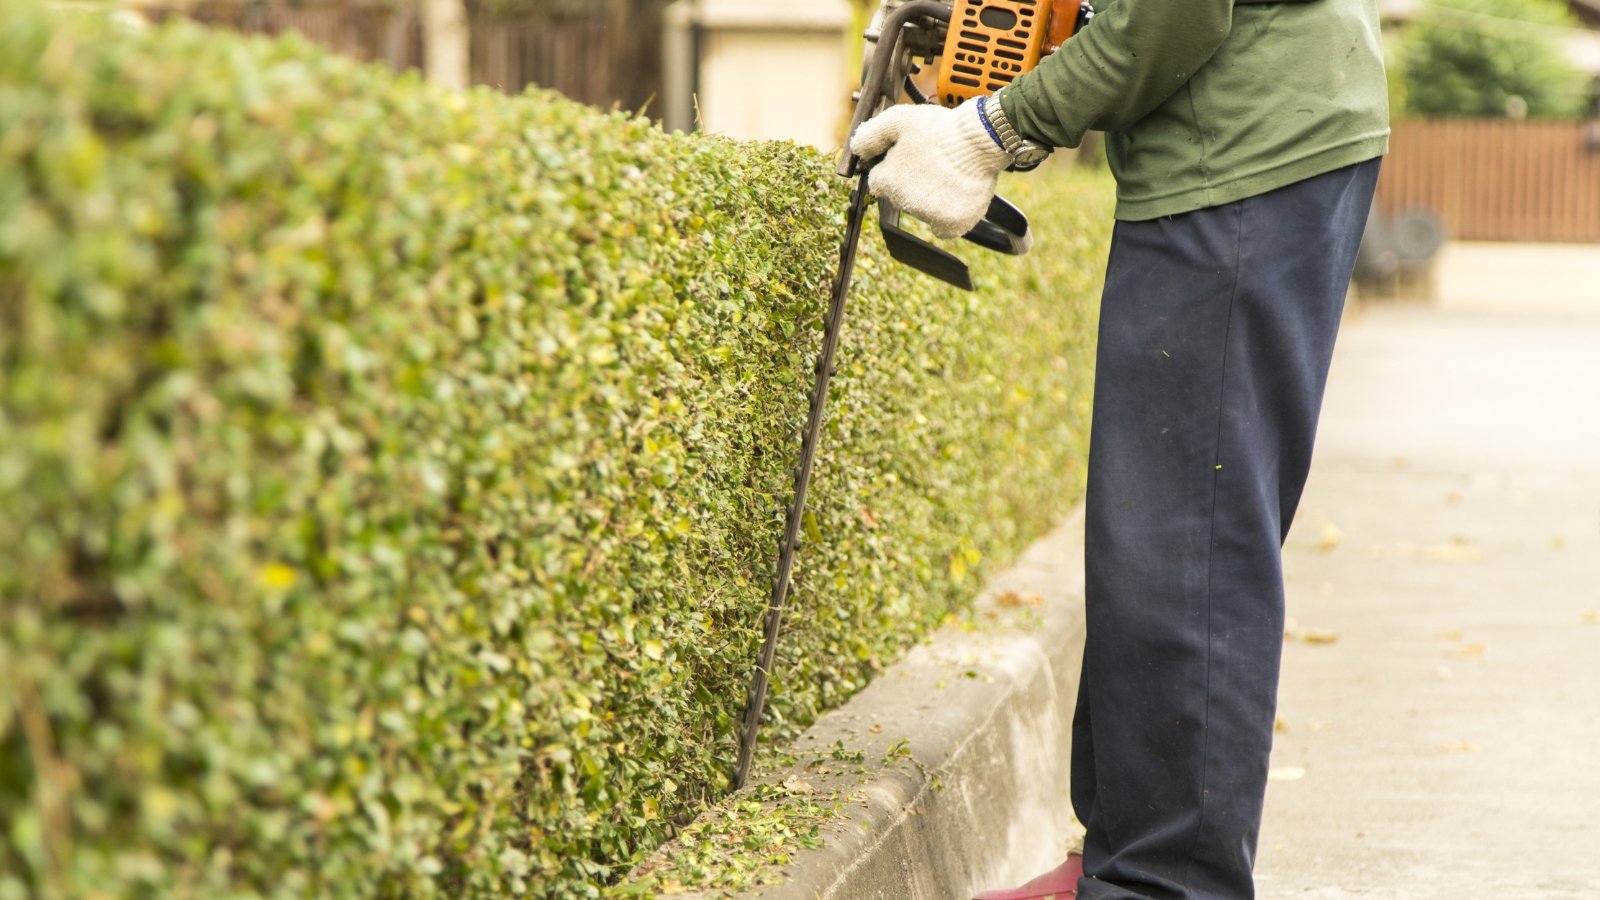
Begin by slowly cutting your plants from the bottom up with your blades parallel to the edges of your plants. Slowly progress your cutting parallel with your straight marker guide or stakes.
Safety is the main reason why cutting from the bottom of your plant to the top is important. If you’re using a power trimmer and it gets stuck on a branch, forcing it down may cause you to lose control. This is one of the main causes of severe injuries when trimming hedges.
Move slowly and take off a little growth at a time. If you come across branches that are too thick for sheers or power trimmers, consider using loppers or a chainsaw to cut the thicker growth before finishing with your lighter equipment.
Step 10: Taper Your Hedges
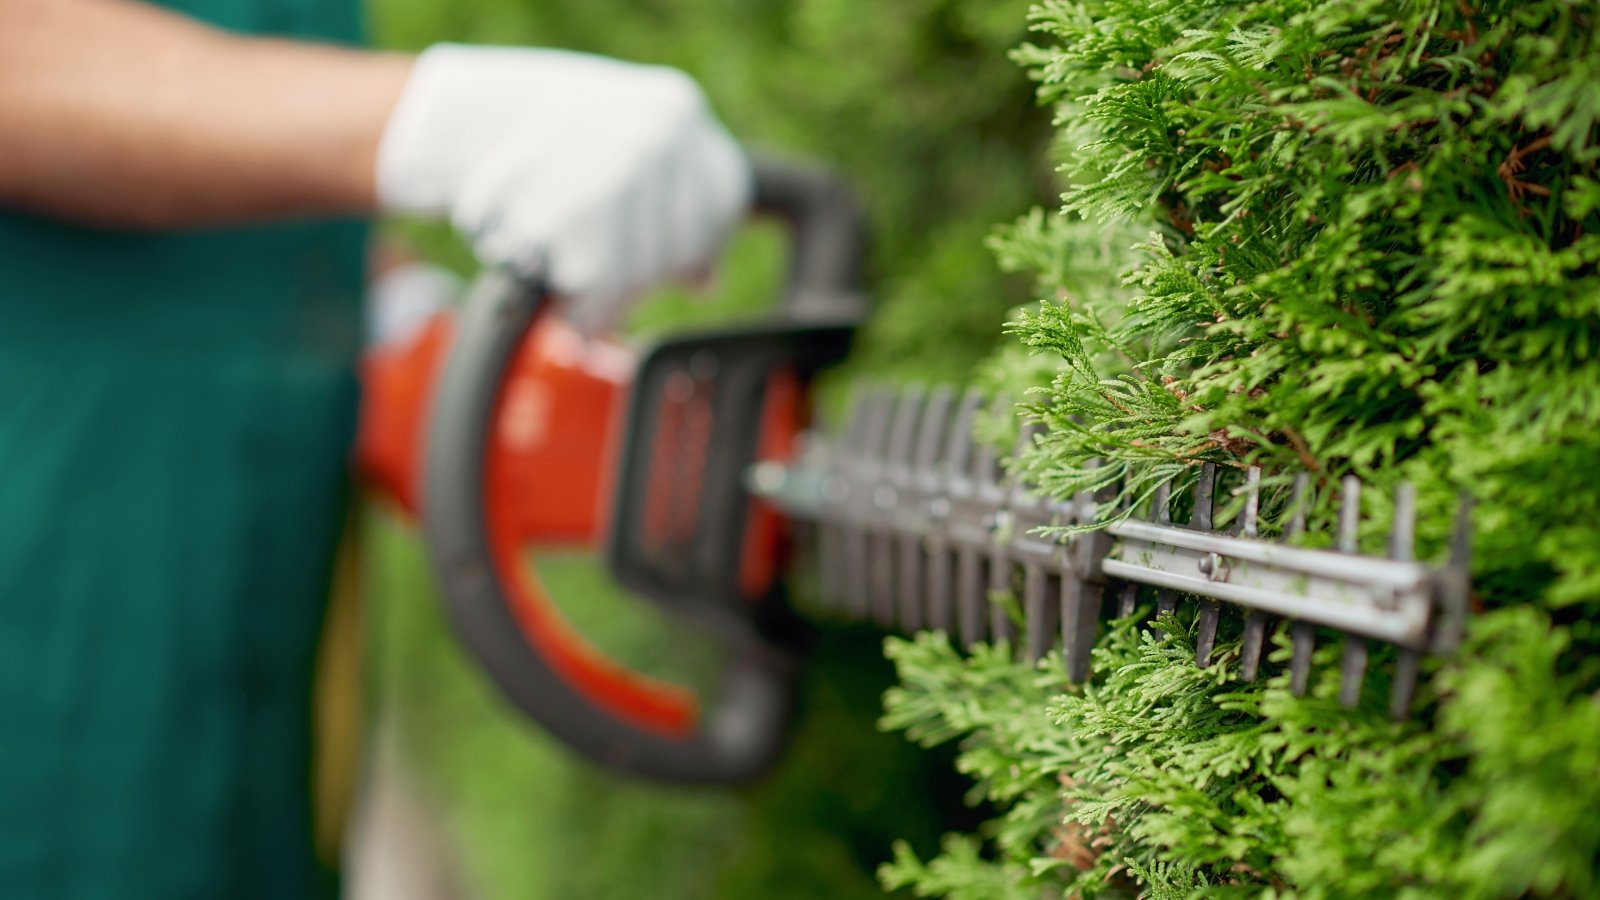
Taper taller shrubs towards the top so the base is always wider. This not only keeps your plants looking good but lets sunlight penetrate deep into the base foliage, keeping the lower branches healthy.
If you live in cold climates with a lot of snow, having a tapered top makes it easier to remove heavy snow piles. If you have a flat top, snow will accumulate and weigh down your plants, which could break branches or even snap the entire hedge.
Step 11: Check Your Work Frequently

After trimming each section, stop and check your hedge’s shape. Make sure it’s aligned with your markers and there’s no uneven growth.
Stand at different angles and distances to notice any irregular shapes or cuts. After assessing your progress, go in for another go and repeat this step until you’re finished.
Step 12: Clean up Your Trimmings
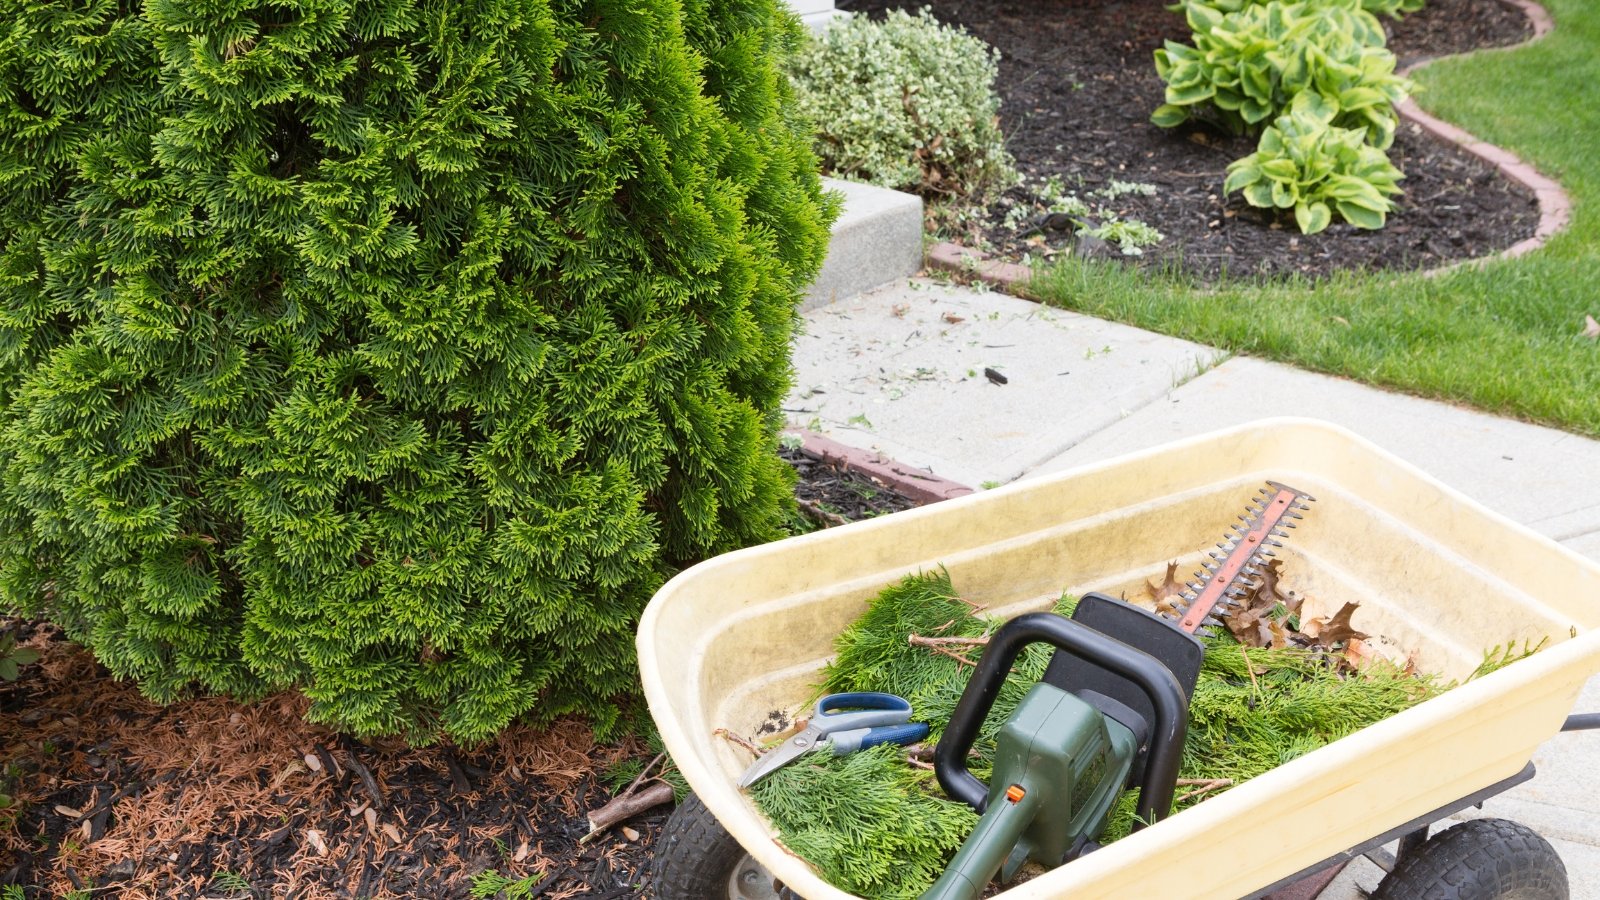
Rake any excess leaves and branches into your trimming piles over your tarps or bags. Simply bundle up your hedge trimmings and carry them away.
One great gardening tip is instead of disposing of your clippings, try using them in compost. Combine your hedge clippings with grass clippings and other organic materials to get a rich dark compost over time that you can use as a fertilizer.
Step 13: Check on Your Hedges Regularly

After you finish, check in regularly to see how your hedges are growing after trimming. Look for any bare sections, pests, or browning of the leaves that could signal disease or malnutrition.
To keep your plants extra healthy after your trim, try adding mulch and compost around the base of your plants in early spring. This will keep nutrients in the soil around your shrubs and help them flourish for years to come.


