When you look at a madder plant, it may not look like more than a scraggly weed. But when you dig up a mature plant and look at its bright red roots, you’ll see why this herb is so special. These roots create a vibrant red dye that you can use to color wool, linen, cotton, and other fibers.
Madder is easy to grow at home, but it takes numerous years of growth before it’s ready to harvest. That means the earlier you get it in the ground, the better! I’ll cover how to plant, care for, and harvest this dye herb.
Overview
|
|
|
What Is It?
Madder is an herbaceous perennial in the same family as coffee and bedstraw. Natural dyers use the plant’s bright red roots to produce hues ranging from brilliant crimson to peachy coral. Although synthetic dyes have largely replaced the use of madder in the modern textile industry, it’s still a beloved plant in the natural dying community with a history that dates back 15,000 years.
Characteristics
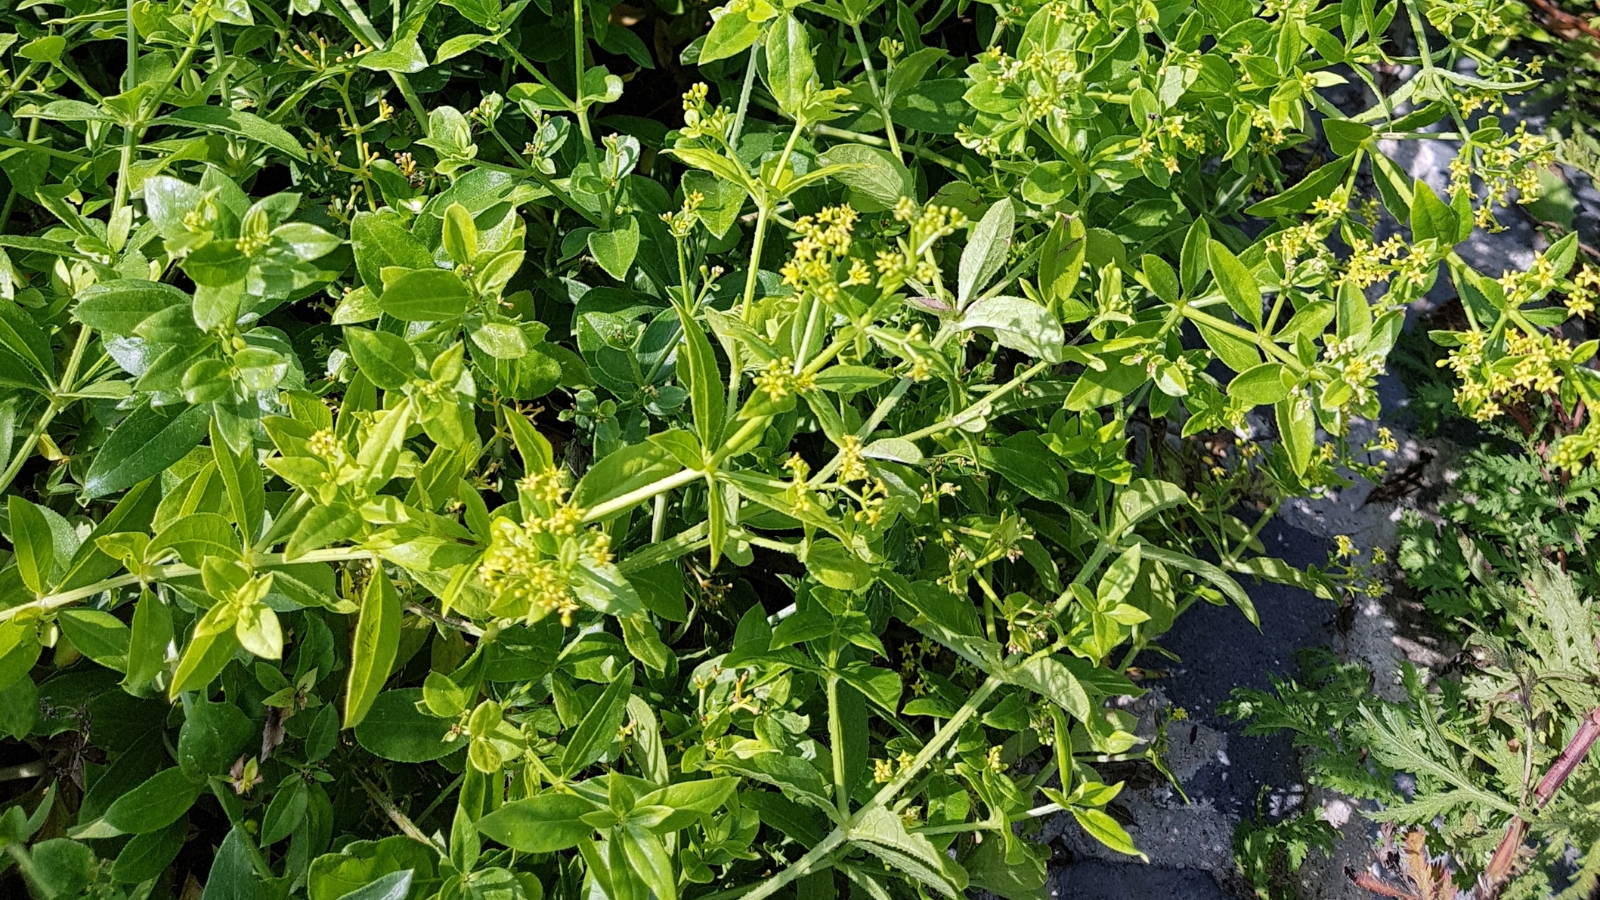
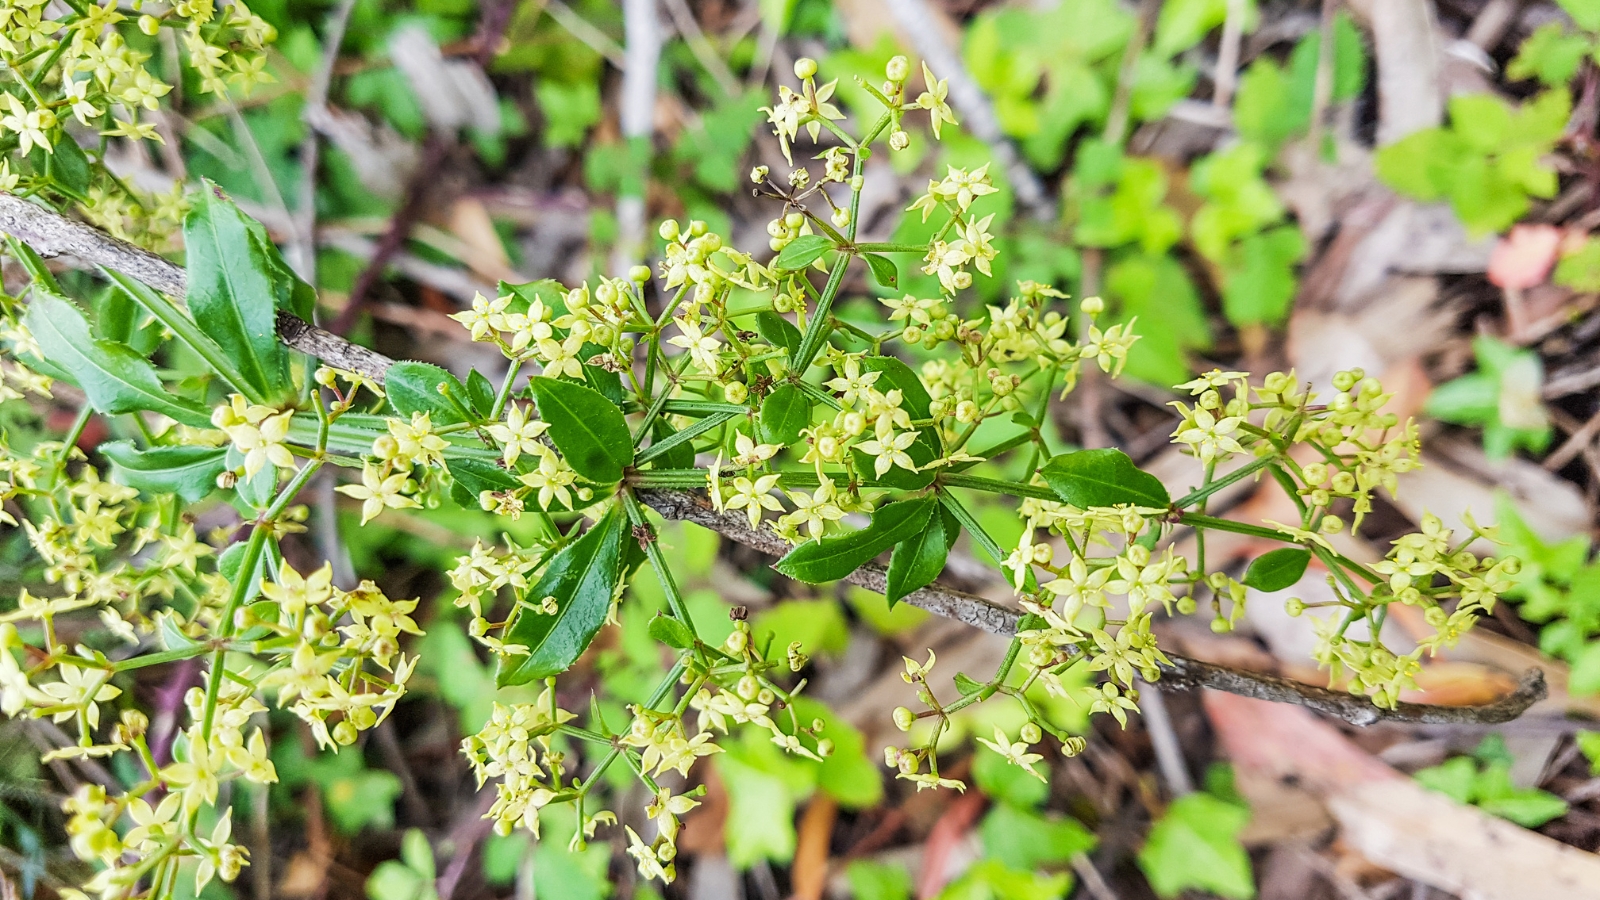
Madder is a perennial herb with thin, branching stems. The stems are covered by ovular leaves that appear in groups of four to seven in a whorled pattern. Both the stem and leaves are covered in short, scratchy hairs similar to those found on common weeds like cleavers, also known as bedstraw. These hairs make the leaves stick together and also cause the plant to cling to your clothing and irritate tender skin.
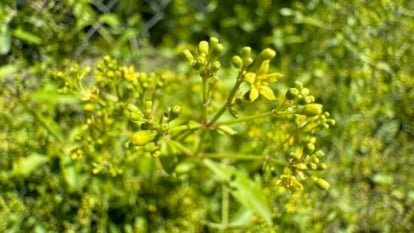
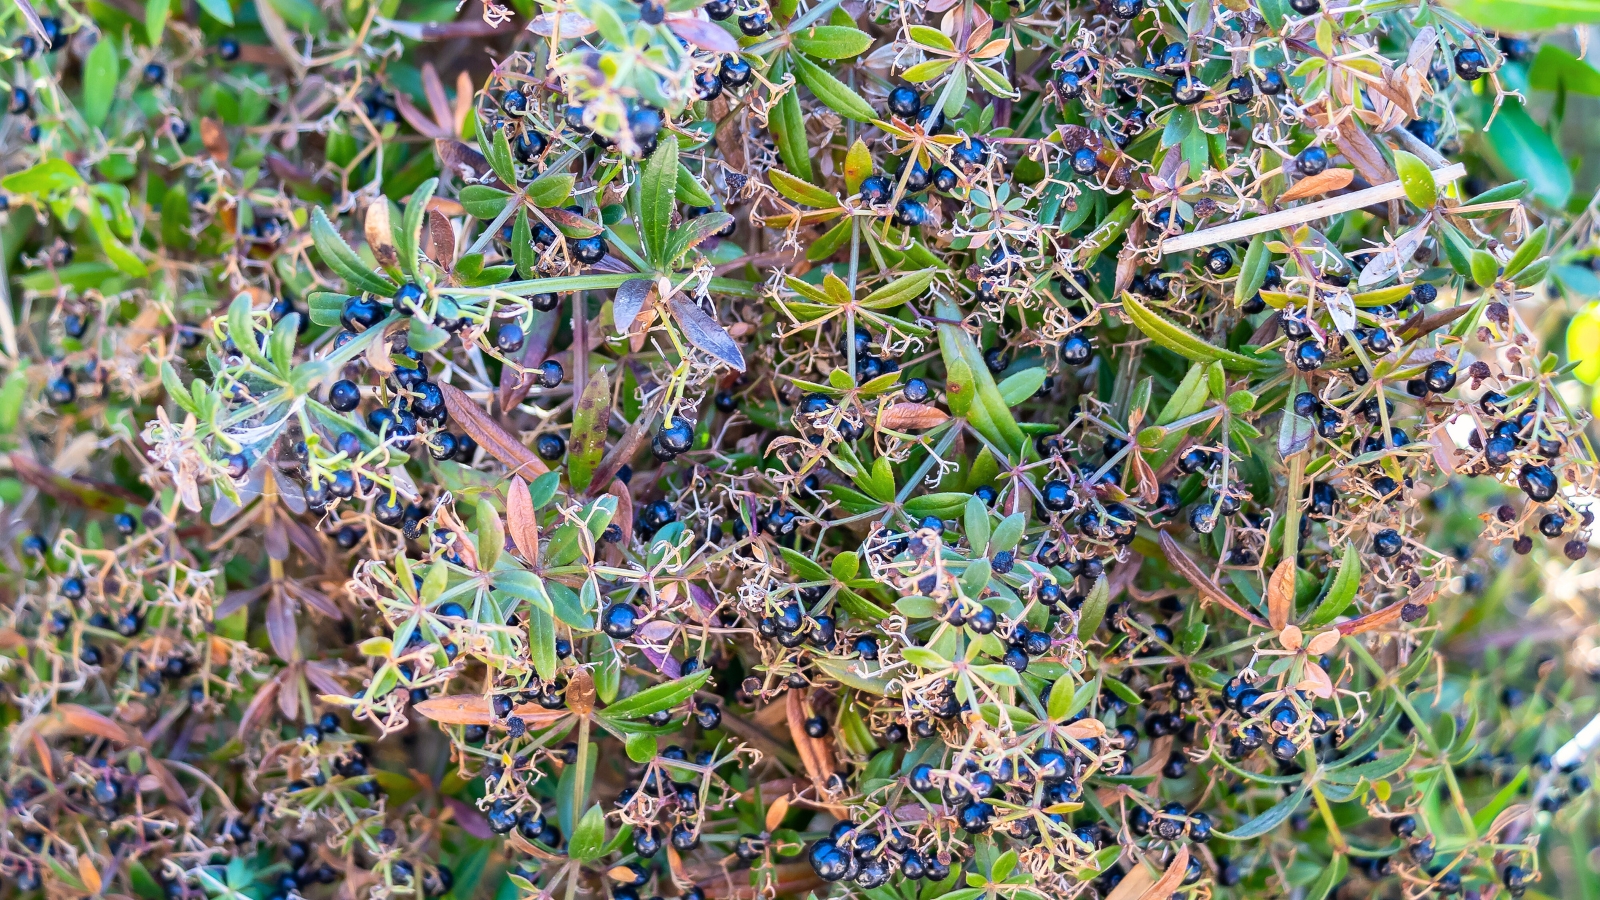
In the summer, the plants produce clusters of small yellow flowers that eventually give way to deep red berries. As the plant ages, its bright red root system becomes more robust. Madder roots can grow up to three feet long and half an inch wide, but it takes multiple years for the roots to become this large.
Native Area
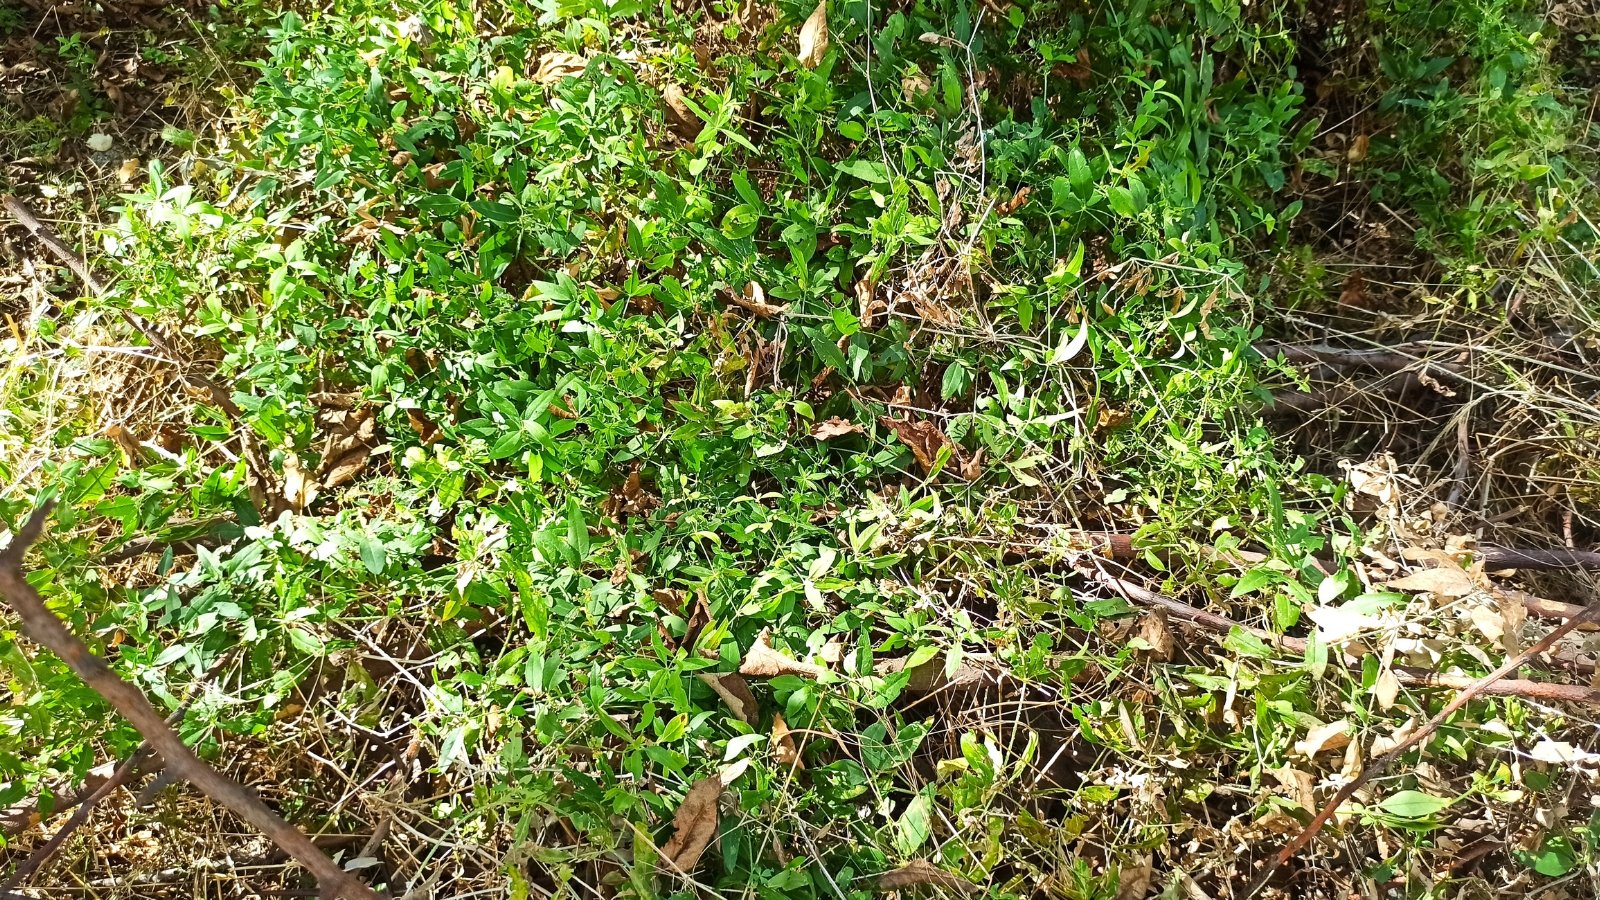
Common madder (Rubia tinctorum) is native to parts of Europe, Northern Africa, and Western Asia. People in these areas have long used the plant’s roots to create vibrant red dyes. Madder-dyed cloth was found in Egyptian tombs, and some iterations of British redcoats were dyed with these roots.
Other madder species are native to the same region, and separate species call East Asia home. Many of these species produce deep red roots that you can use as dyestuff.
Planting
The best time to plant madder outdoors is the spring after the danger of frost has passed. You can also plant these herbs outdoors in the early summer as long as you keep the soil moist as the plants become established.
Growing from Seed
Since madder plants aren’t as commonly grown as veggies and cut flowers, it can be difficult to find seedlings. Therefore, growing from seed is often the best option.
One of the keys to successfully growing these herbs from seed is starting the seeds early enough in the year. Madder seeds are slow to germinate, so planting the seeds in late winter is the best way to ensure the transplants are large enough to go into the ground by the time the danger of frost has passed.
Madder seeds are round, and a few millimeters wide, so you don’t have to worry about them getting lost during the planting process. Start by filling a seeding tray with potting mix. Then, make a hole about half an inch deep. Place one or two seeds in the hole, cover with soil, and tamp down lightly. Continue this process until your seedling trays are filled, then water them well.
Place the seeds somewhere between 65-80°F (18-27°C) and keep the soil moist but not soaking wet. Madder seeds can take weeks to germinate, so patience is key. Many of these seeds fail to germinate, so don’t be discouraged if you end up with low germination rates.
Once you see seedlings poking through the soil surface, move them somewhere that receives 10-14 hours of partial sunlight. If you don’t have access to a warm outdoor area, an indoor area will work well. A partially shaded greenhouse is ideal.
After the last spring frost has passed, you can begin moving the potted seedlings outdoors. Slowly increase the amount of time they spend outdoors in order to properly harden them off and avoid excess stress.
Growing from Seedlings
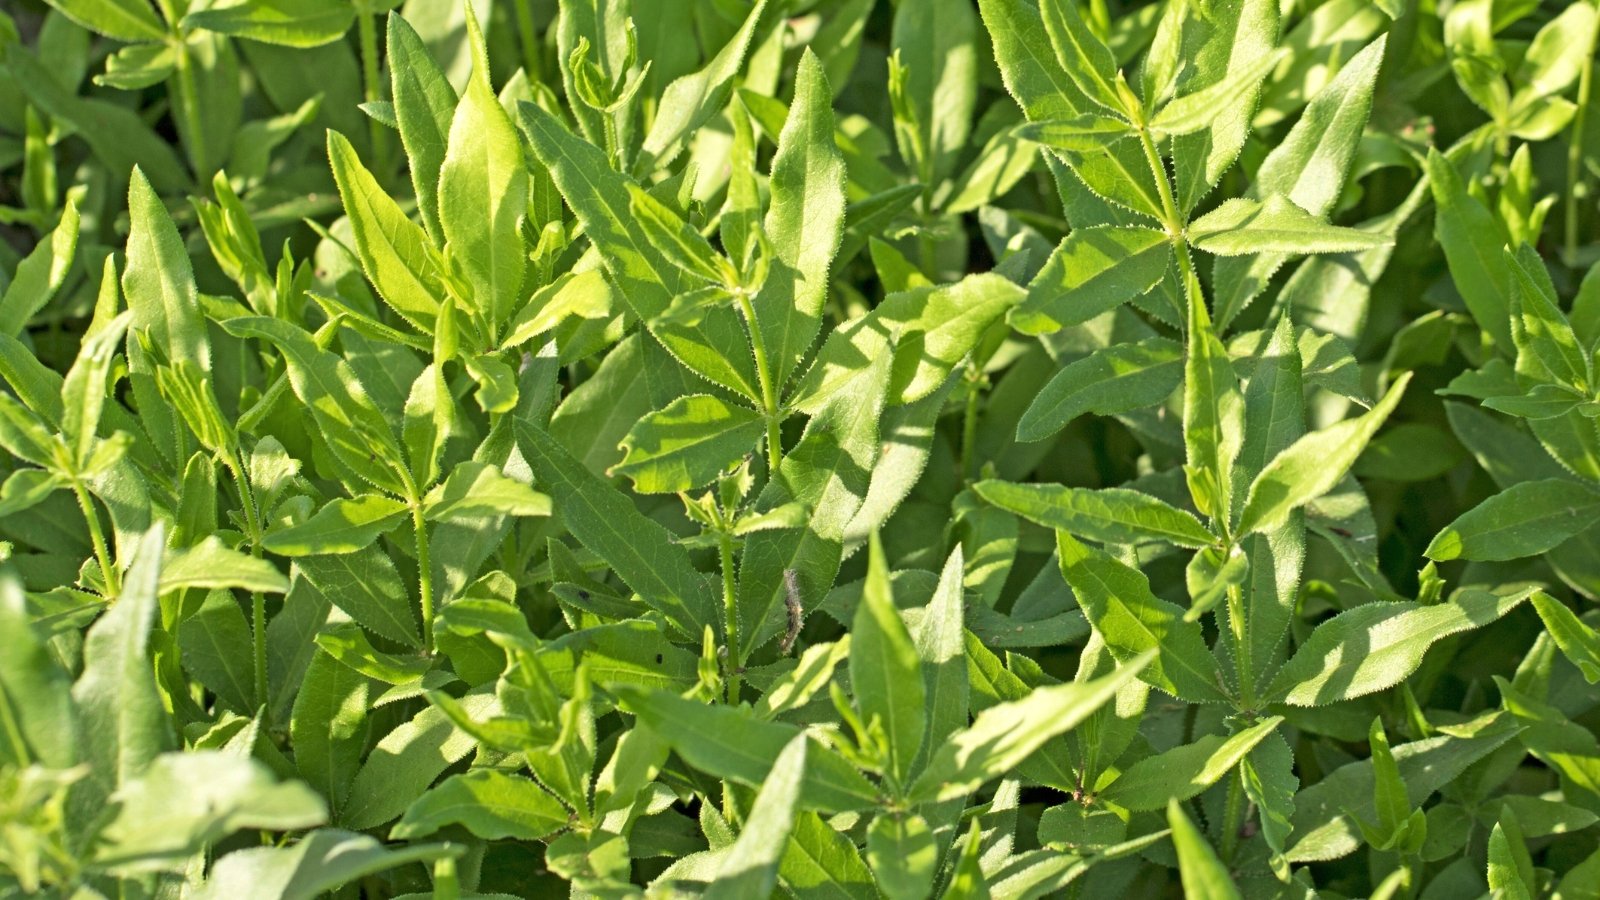
If you’re lucky enough to find madder seedlings, scoop them up! Starting with a transplant saves you the time (and potential frustration) involved in starting madder from seed. Even if you can’t find madder seedlings nearby, you may be able to mail-order the plants from a nursery.
Once you receive your seedlings, take time to acclimate them to their new home. Allow the plants to remain outdoors for a few days before you plant them in your garden.
How to Grow
Once the seedlings are in the ground, madder is fairly easy to grow. Following these care tips will help keep the plants happy and lead to robust root systems.
Light
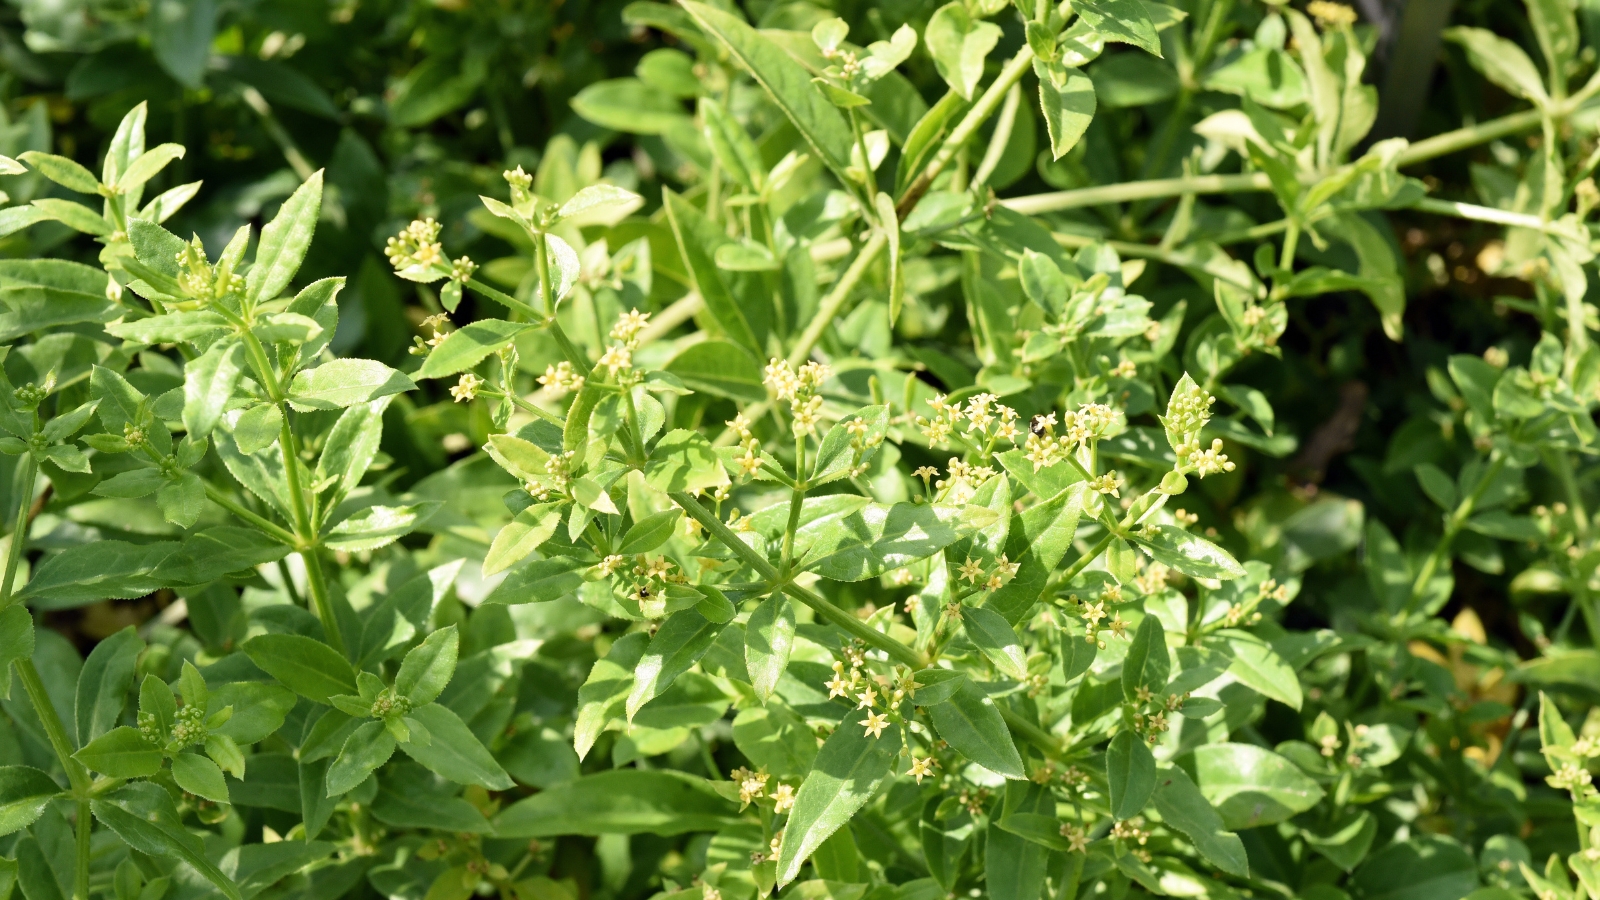
Madder grows best in full sun to partial shade, so choose a spot that receives at least eight hours of bright light. If you only have access to partial shade, you can try to grow madder in this area. Just be aware that the plants will grow slower than if you plant them in full sun.
Water
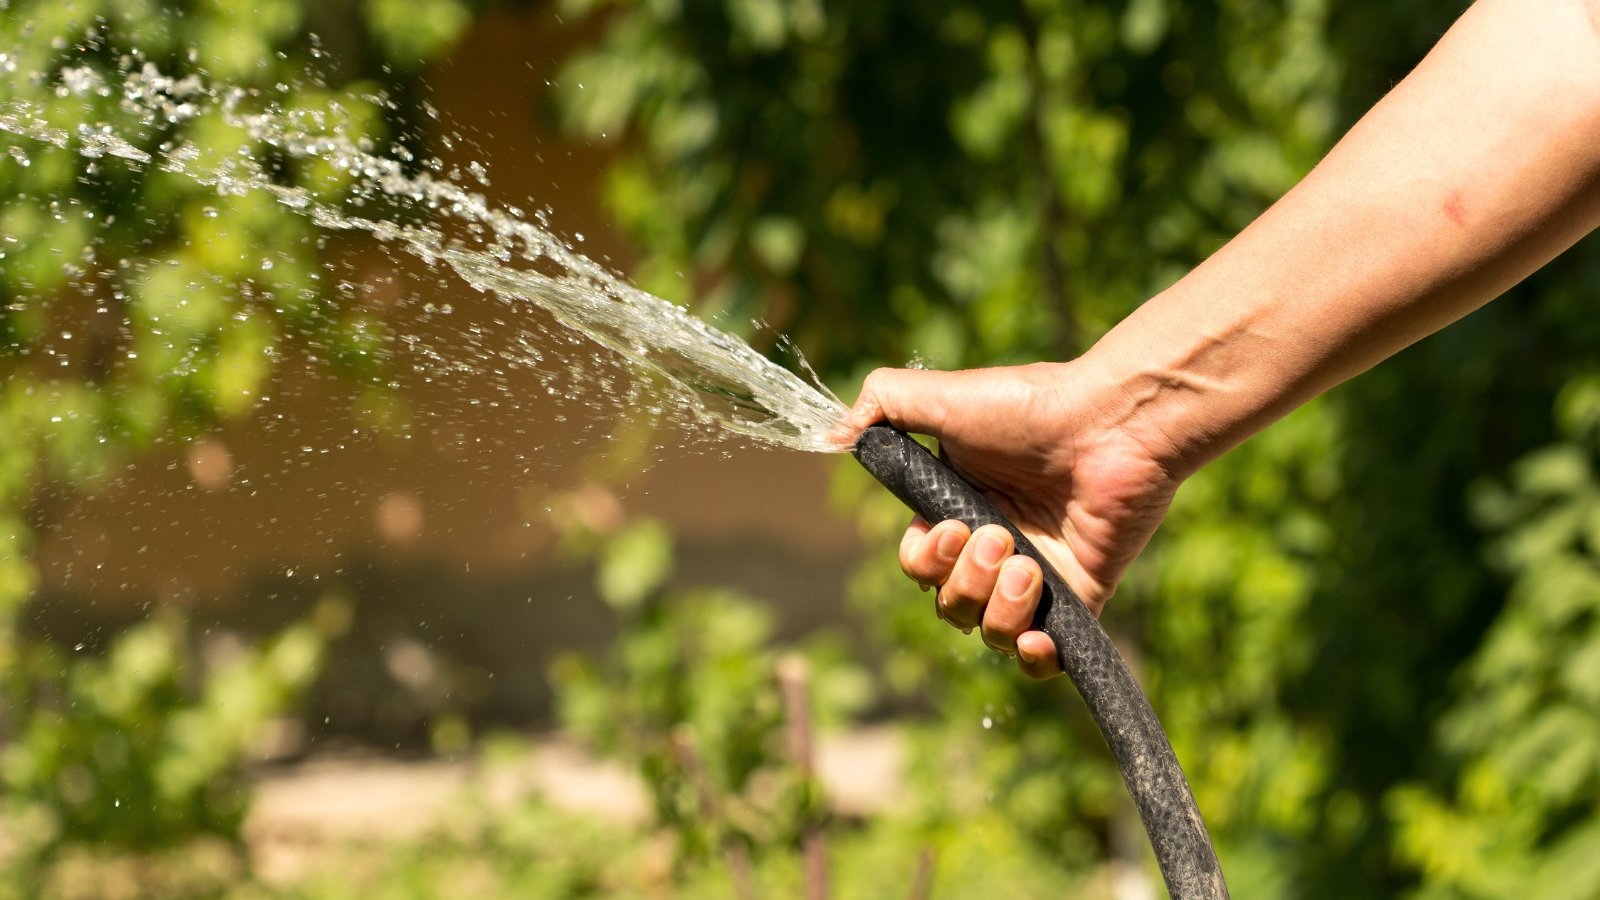
Keep the soil moist the week after you plant the seedlings in the ground. This will help them acclimate to their new home without the additional stress of drought. However, avoid saturated soils since this can stress the plants as much as dry soil.
Once the transplants have settled into their new environment, you can decrease the amount you water them. The goal is to keep the soil moderately moist and prevent it from drying out completely. Temperature, wind, sun, and soil type will all impact how often you should water. In general, expect to water your madder plants one to three times per week.
Applying mulch to the top of the soil will trap moisture and decrease the amount you need to water. The mulch will also help keep weeds down and limit your need to come into contact with madder’s scratchy stems and leaves.
Soil
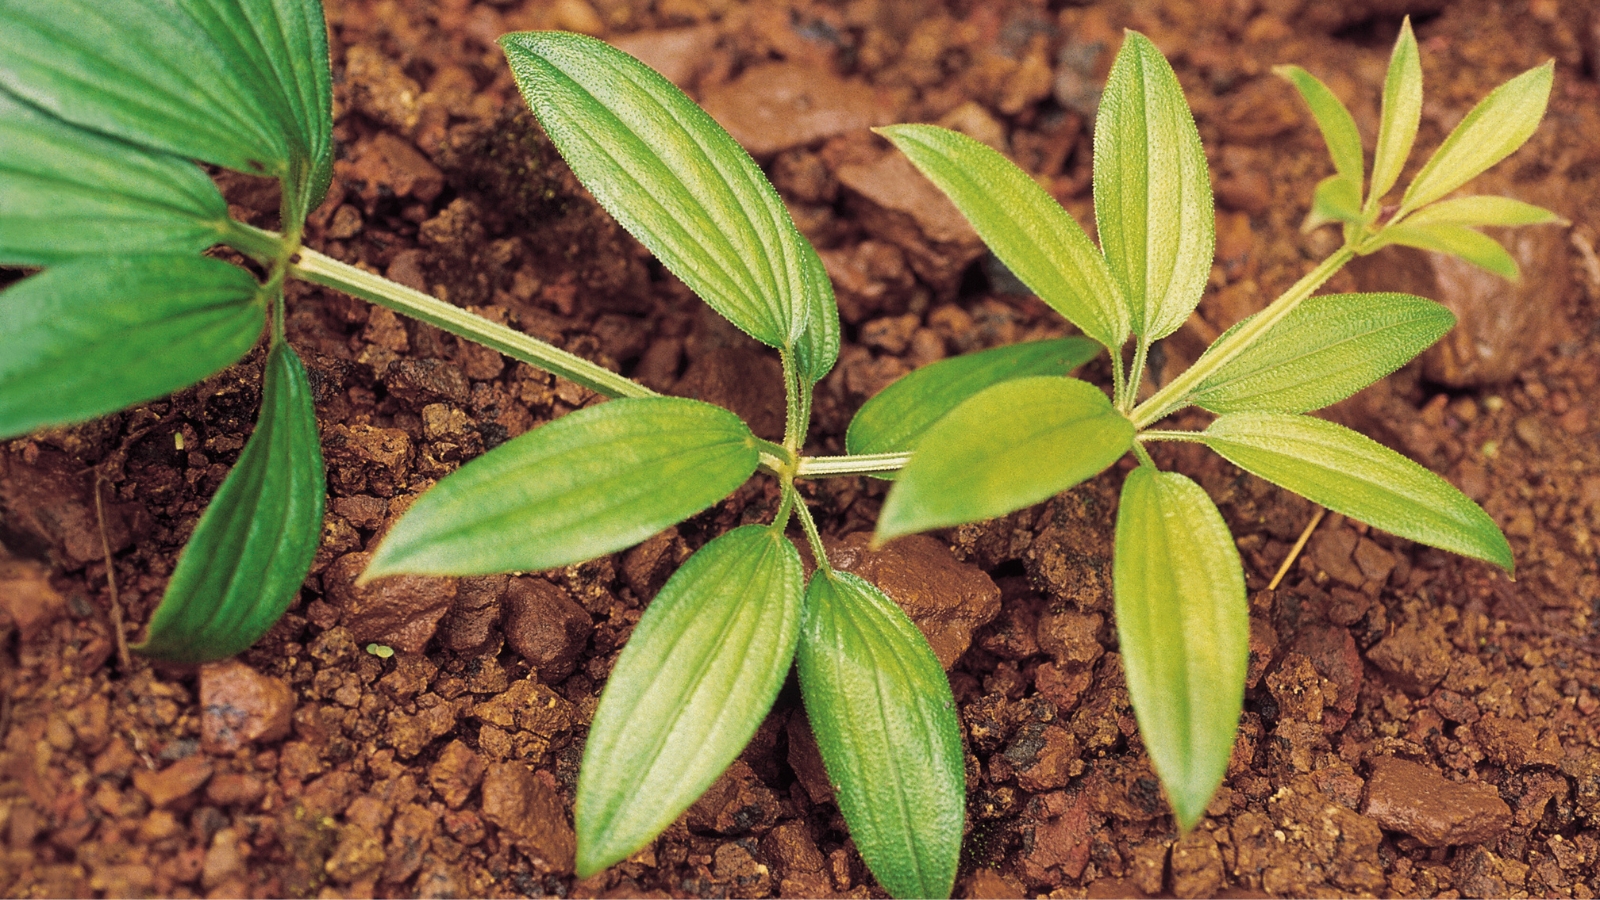
Madder can grow in a variety of well-draining soils, but it will be happiest in a loose, well-aerated loam. Avoid any low-lying wet areas since this perennial dislikes sitting in wet soil.
If you’re working with compacted soil, you should loosen and aerate the soil before planting. There are many ways to improve compacted soil, including planting deep-rooted cover crops, loosening the soil with a broad fork or digging fork, and double-digging beds. Mixing in organic matter in the form of compost also helps improve soil aeration and drainage.
You should also try to remove any large rocks before planting. Since people grow madder plants for their roots, you want to make sure nothing is inhibiting the plants’ underground growth.
Temperature and Humidity
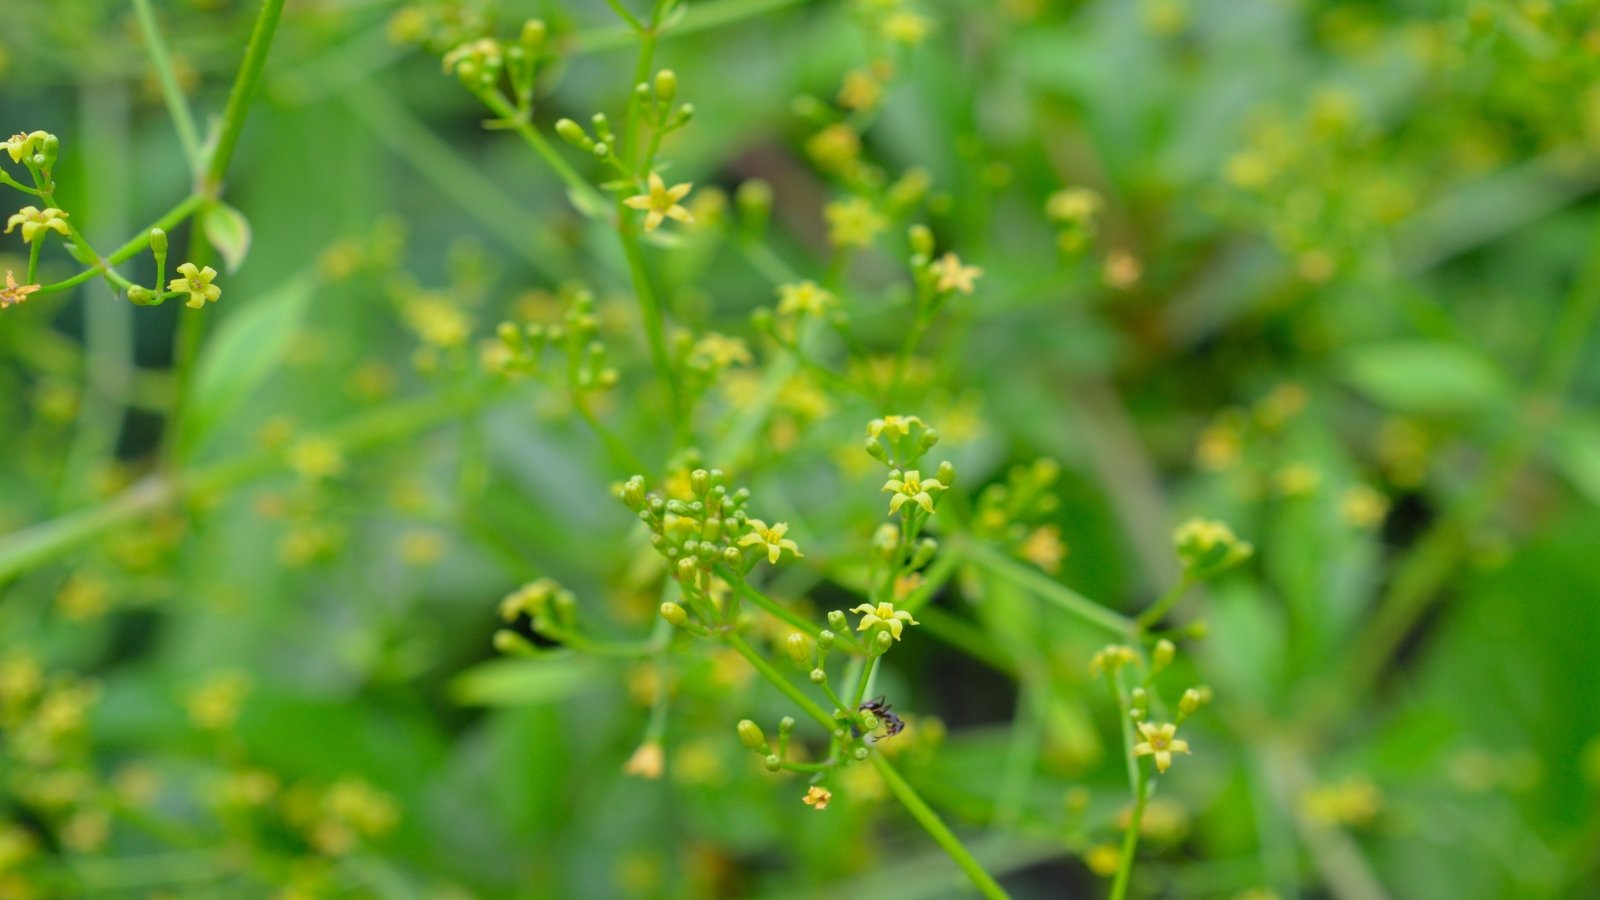
Madder can grow in a variety of climates in zones five through nine. As long as you provide the proper moisture, it can tolerate high humidity and dry heat.
When cold spells arrive in zone five, the plants may require extra winter protection. Covering the plants with row cover or a layer of straw mulch will help protect them from the cold.
Fertilizing
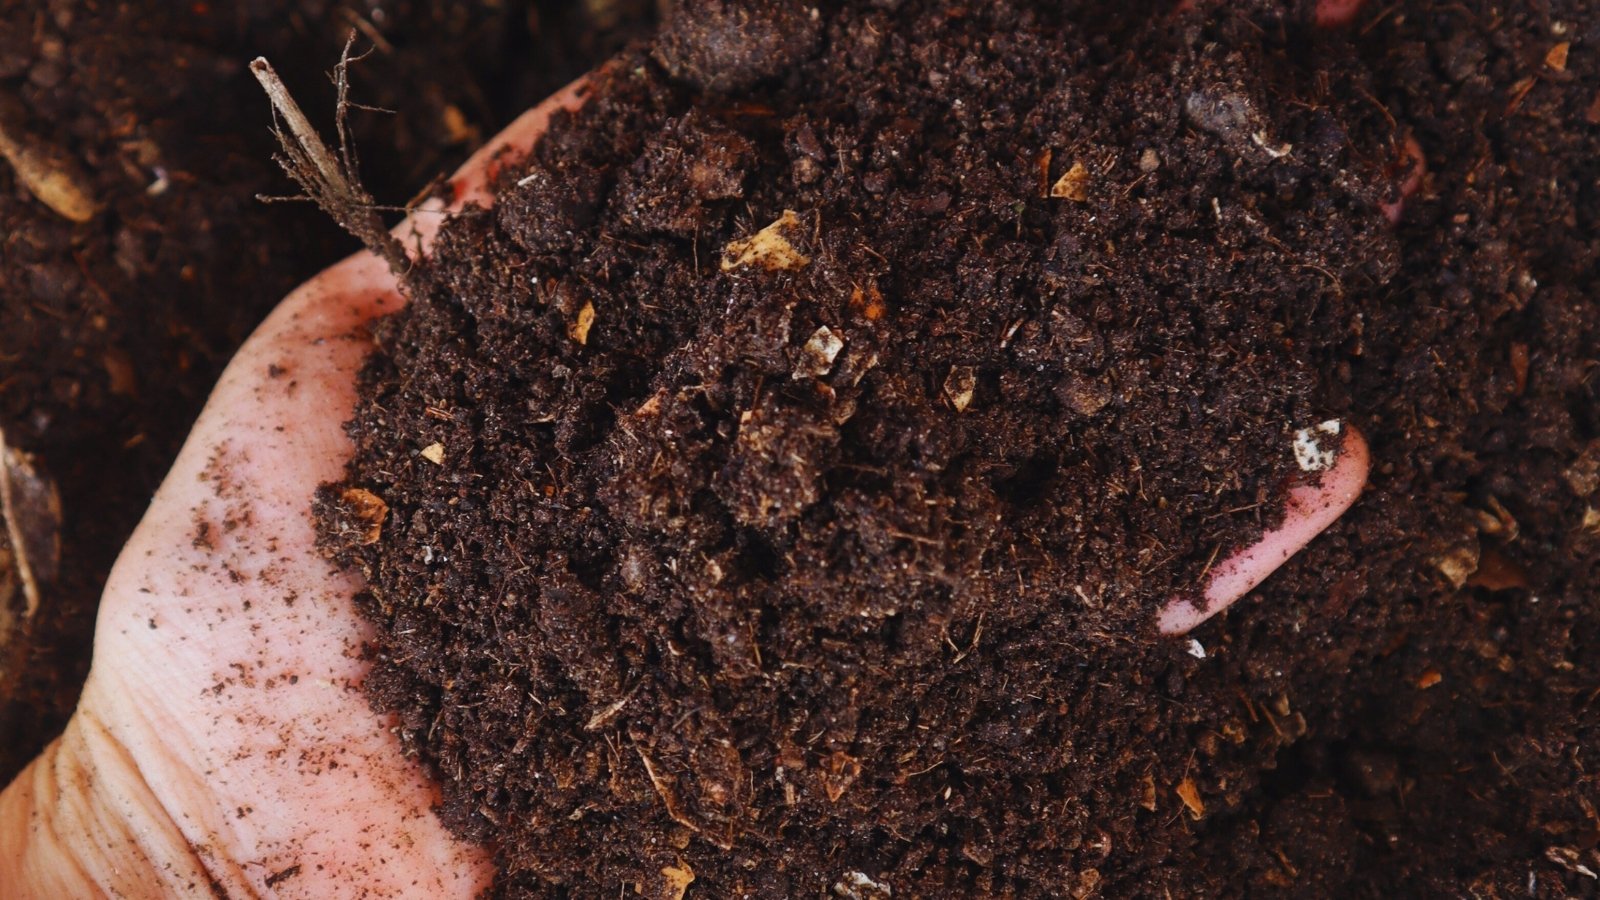
Madder is a light feeder, so it doesn’t require fertilizer to thrive. Applying a biologically rich compost to the top of the soil in the spring will add beneficial microbes and nutrients. You can also apply a light layer of worm castings to help improve plant health and soil moisture retention.
Maintenance
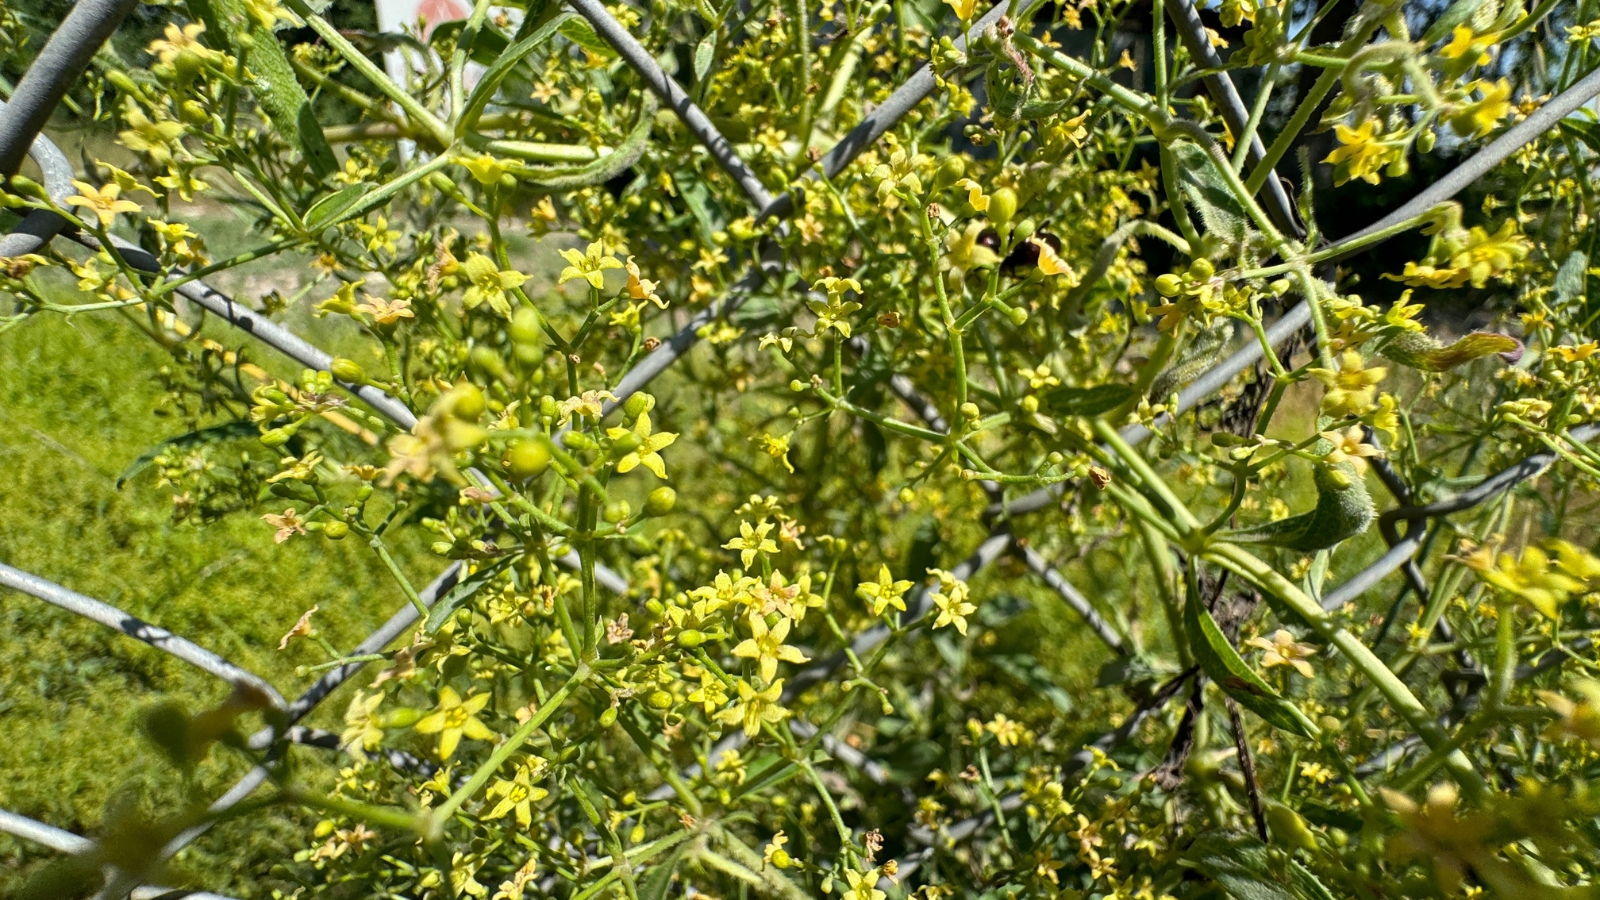
The amount of work you want to put into maintaining your madder plant is up to you. They will happily grow with little more than regular watering and weeding, but adding a few extra maintenance steps helps keep the sticky foliage tidier.
Since madder grows in a wild, sprawling manner, it can quickly get out of control and look like a weedy mess. Providing some type of support for the plant to grow on helps keep it looking neater. A woven fence, a piece of cattle panel, or a similar structure helps keep it off the ground. Not only does this improve the plant’s appearance, but it also makes it easier to weed.
Depending on where you live, the foliage may remain completely green in the winter, die back partially, or die back entirely. While you don’t need to do anything to support the plant’s new growth in the spring, you can trim off the brown parts to improve the appearance.
Propagation
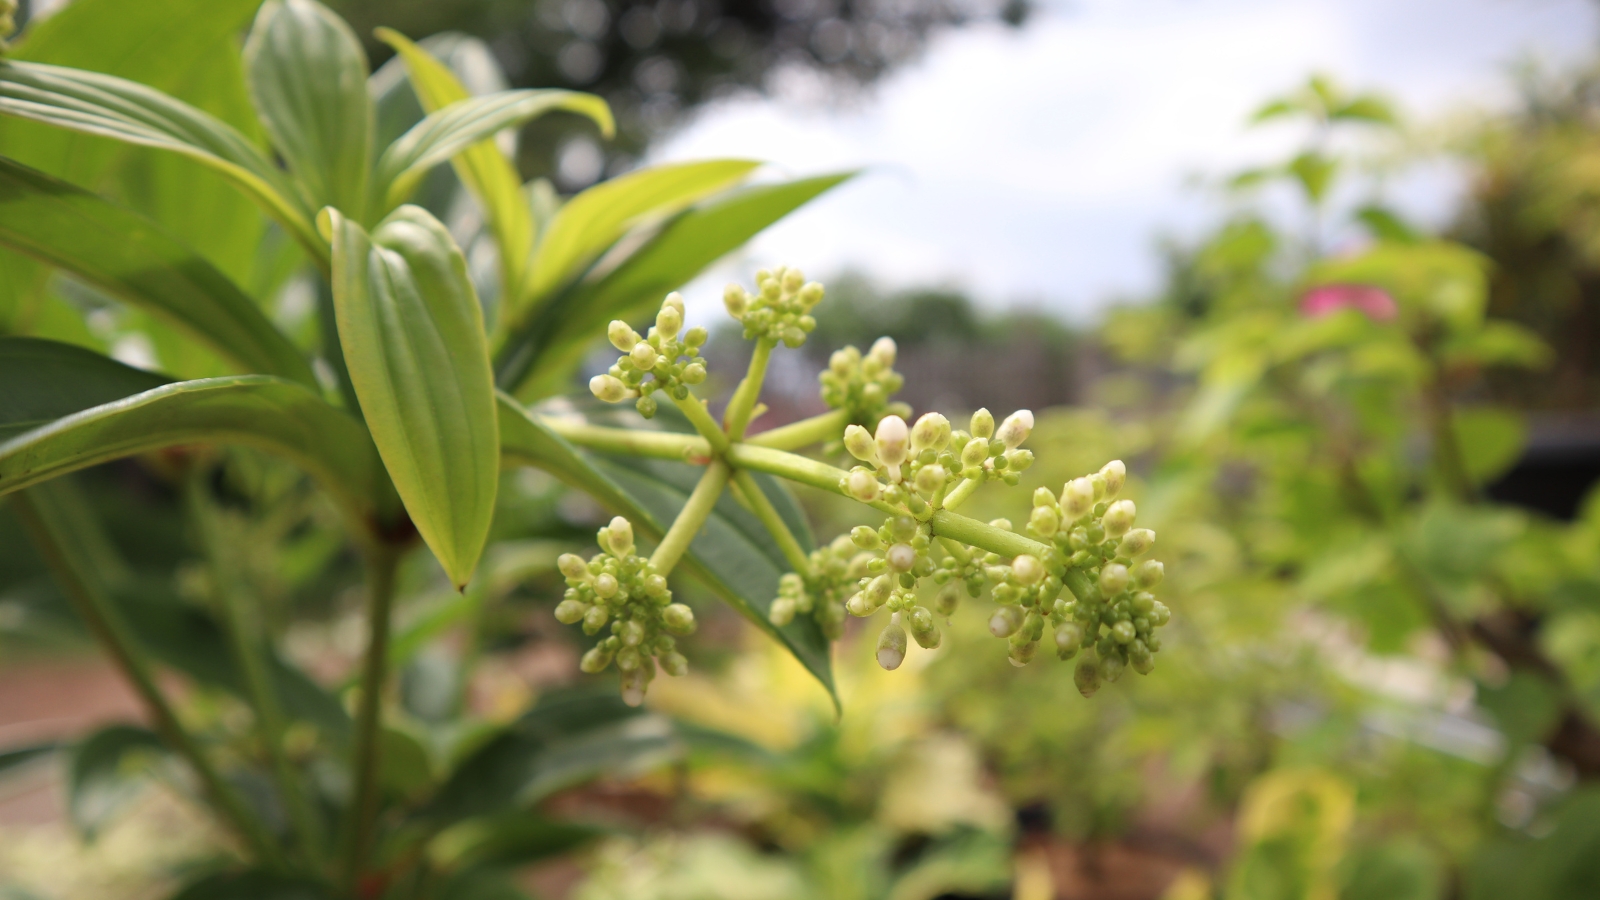
You can always attempt to propagate madder from seed, but there are other options. An easier and more reliable propagation method involves taking cuttings of underground rhizomes and planting them in another area of your garden. The best time to take cuttings is the early spring, but you can try this at other times of year.
Once you have a healthy 6-12 inch rhizome cuttings, dig a two-inch deep trench, place the cuttings lengthwise, and cover with soil. Keep the soil moist but not wet until the cuttings form roots and begin sending up stems. You can also root the cuttings in a container filled with sand or potting mix and later transplant them into your garden.
Harvesting
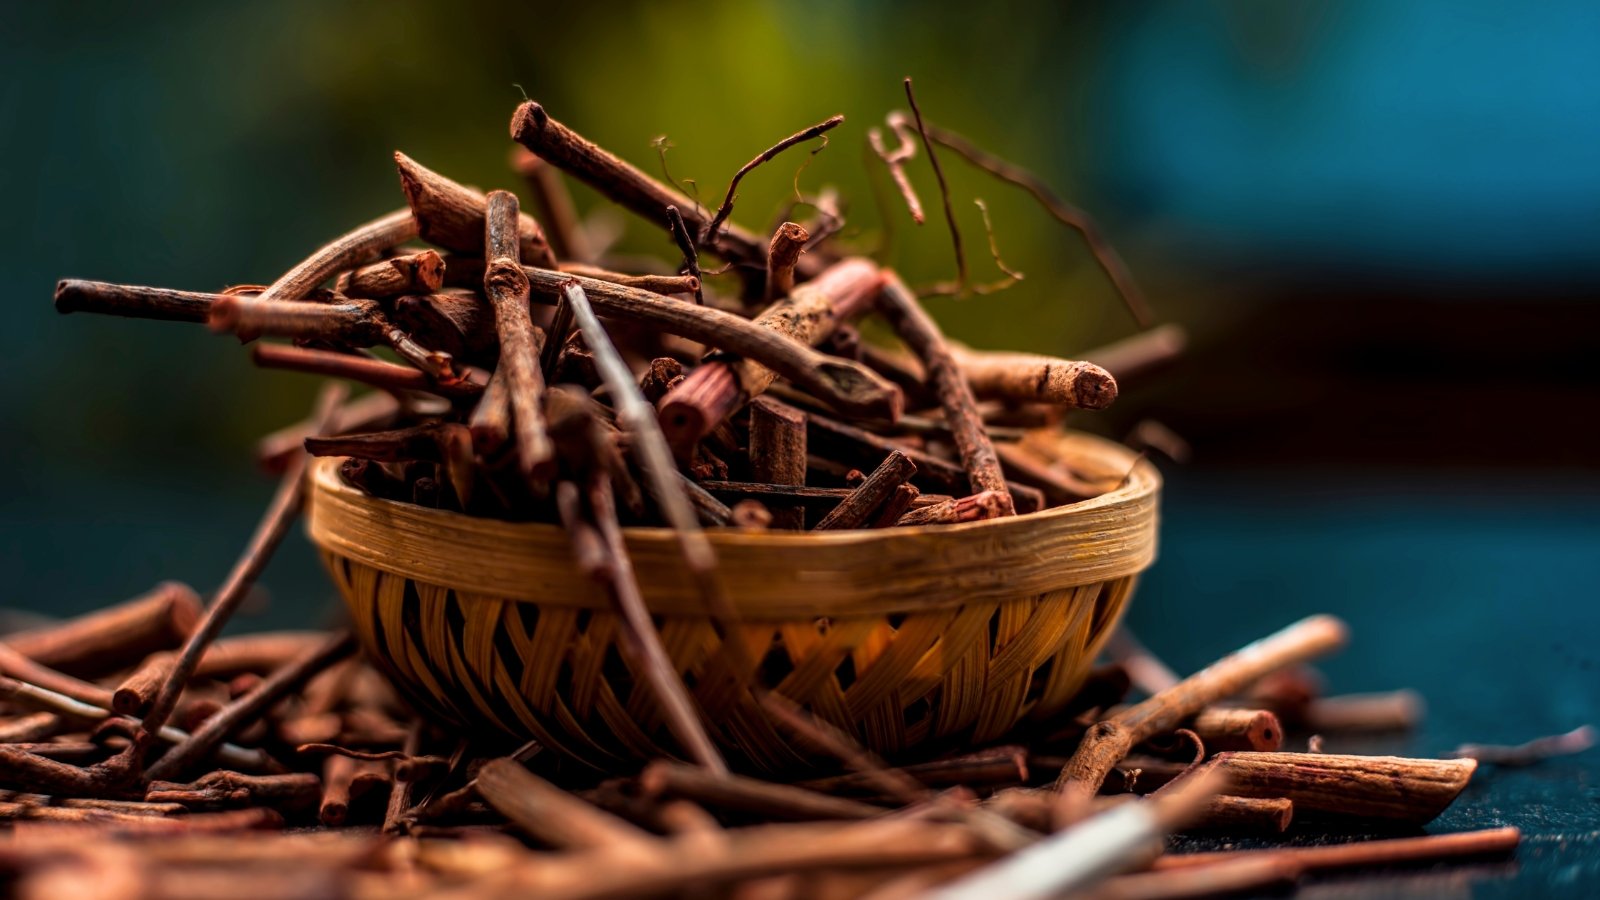
The real joy of growing madder occurs three years after you plant the seedlings in your garden. At this point, the bright red roots are large enough to harvest! Harvesting madder roots isn’t a difficult process, but it can be time-consuming and often requires patience.
Although you can harvest the roots at any time, late fall is often the best time of year. At this point, the roots will have a robust root system with a high concentration of pigment. While you can harvest the roots after four or five years of growth, be aware that older roots can become woody and their pigments diminish.
Harvesting is easiest when the soil is dry but not rock-hard. Wet soil is heavy and sticks to the madder roots, while extremely dry soil is difficult to dig into. Regardless of the soil moisture, your goal is to unearth the madder roots without breaking them into tiny pieces. A digging fork, shovel, and hand trowel can all come in handy during the digging process. The roots can grow multiple feet deep, but the largest roots will be in the top foot of the soil.
After you dig the roots, spray them with a hose to remove any soil that’s sticking to them. Place them somewhere warm and dry with excellent air circulation until they are completely dry. In most cases, this takes one or two months. After the roots are dry, store them in an airtight container out of direct light.
Common Problems
Fortunately, madder doesn’t deal with any serious pest or disease issues. However, sometimes, this plant can become too healthy and take over your garden. If left unchecked, madder can go from growing in a single corner of a garden bed to taking over the entire bed.
One way to contain the spread is to plant madder in a raised bed or container. While it may take up the entire area, it won’t outgrow the sides of the boundary. Another option is to plant it in an open bed and cut it back to contain its spread. As madder grows, it sends out underground rhizomes that produce new shoots. Trimming back the shoots and cutting the rhizomes will prevent the plants from spreading.
Frequently Asked Questions
If you’re dyeing with madder, you should use a mordant to treat your fibers. The mordant will help the color stay on the fabric or fiber as it’s exposed to light, temperature changes, and other environments.
Although madder isn’t native to the United States, it’s easy to grow throughout much of the country. However, since it’s only hardy to zone five, it’s not the best plant for extremely cold regions.
If you want to create a dye garden, consider growing weld, marigolds, cosmos, and red Hopi amaranth with your madder. You can also play around with growing an indigo patch in a separate area.

