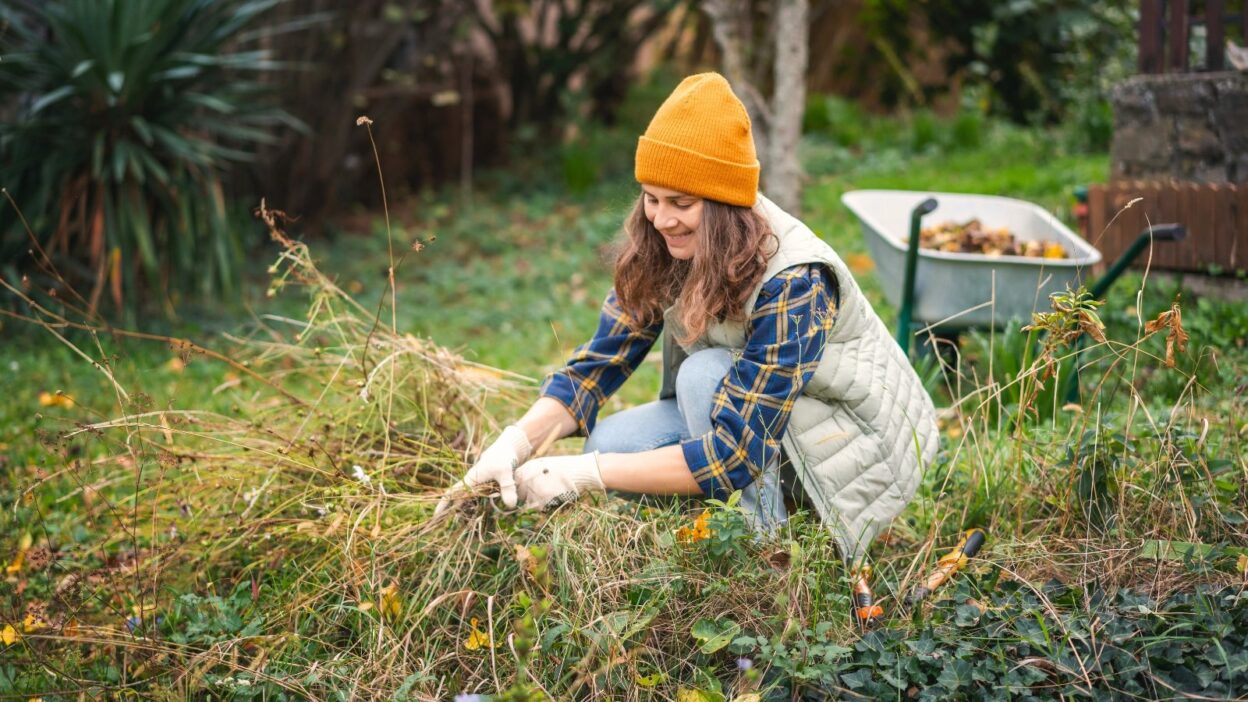
After a year of growing crops and ornamental flowers, your garden may look tired and haggard. There may be dead annuals, spent perennials, and fallen leaves from nearby trees. You can wait until spring to amend if you’d like, although you’ll miss the boost of growth your future plants will receive if you prepare garden beds beds now.
It’s best to prepare the garden on a relatively dry day when the soil is moist, but not soggy. Excessively wet soil is hard to work with and forms clumps that restrict are difficult to break up. Choose an autumn day with some sunshine and low chances of rain before hard frosts arrive. Frozen sites are equally as difficult to work with as soggy ones.
If your beds are frozen, wait until they thaw to complete these steps. Mild-climate gardeners with relatively few frosty nights can start preparing their garden beds anytime from fall through spring. I live in the Pacific Northwest, and I tend to mine after harvesting summer crops and planting garlic cloves, from around October or November.
No matter what season you start in, you’ll be better prepared next spring after getting garden beds ready now. Without further ado, here are seven easy steps for preparing next year’s garden beds for planting now.
Step 1: Remove Unwanted Debris
At fall’s end, the spent tomatoes, peppers, and beans are withering away as temperatures drop and rainstorms arrive. Frosts may zap them quickly, turning green vegetation brown, yellow, and mushy. You have a few options when it comes to cleaning this debris.
If your garden had relatively few diseases or pests this year, you can incorporate the debris into the soil where it falls. Organic matter is good for existing soils—it feeds microorganisms, creates structure, and boosts porosity and fertility. If you decide not to leave the debris, you can throw it in the compost bin to create valuable humus.
On the other hand, you’ll want to remove any dead plants if they had pests or diseases last season. They may spread during the winter, or they’ll stay dormant in the soil to erupt as spring warmth arrives.
Pick any weeds or grasses you see sprouting, as fall is an ideal time for cool-season annuals to sprout. You may see popweed, chickweed, and dandelions sprout by the dozens. Remove and use them as mulch, or compost them for free nutrients.
Step 2: Loosen the Soil
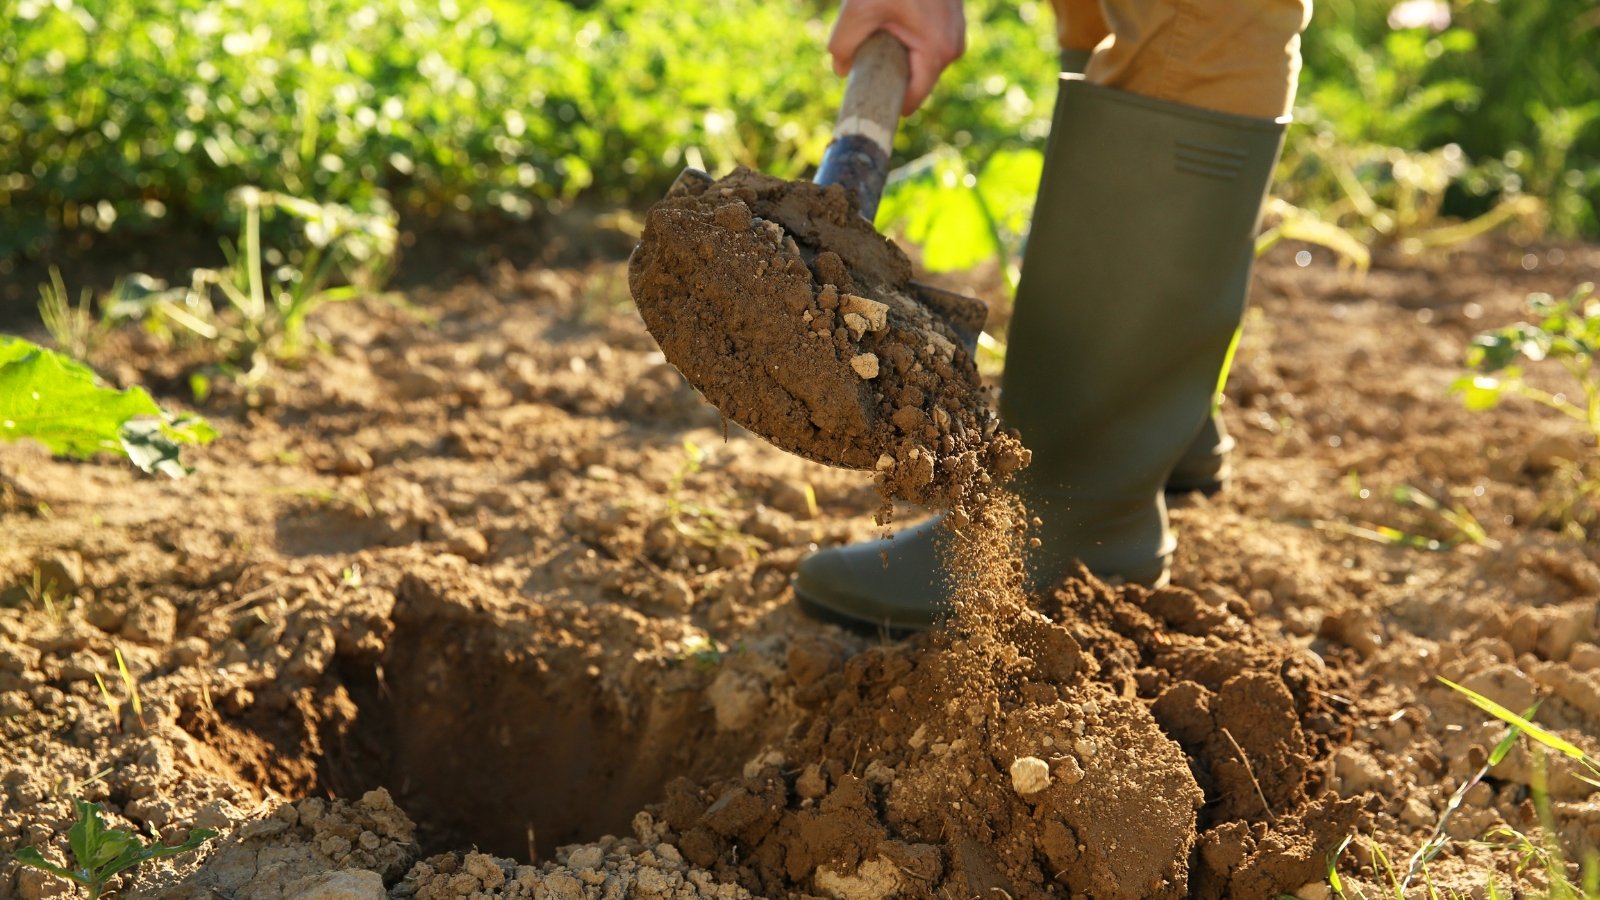
The next step is to aerate the soil, if necessary. Some of your beds may have loose, crumbly soil already, and they won’t need attention. Loosening the soil is especially beneficial for old sites, clay, and areas with hardpan. Some aerating work now ensures the site will be ready come springtime.
One efficient way of renovating is the double dig method. It’s labor intensive, but it’s a one-time job that ensures you have excellent quality dirt for years to come. You’ll dig the top layer of soil away about two to three feet deep. Once you reach the hardpan underneath, break it up with your shovel or another tool. A pickaxe or spade works much better than a shovel, but you can work with whatever tools you have.
Instead of double digging, you may use a broad fork to create air channels in the ground with less effort. This method works well for loosening the soil repeatedly, as you can use it each year with little impact on the soil’s health. Microorganisms, worms, and fungal pathways remain relatively untouched, and you allow more air and water to enter the site.
Use a broad fork by stabbing the forks into the ground, then stand on the tool to dig it deeper. Lean back, then pull it up and out. Move a few steps forward and repeat the action throughout the garden. Be careful not to step on any areas after using this tool, as it can remove all your hard work and compact it again.
Other options include using a soil aerator, planting deep-rooting cover crops, and implementing organic amendments.
Step 3: Add Organic Amendments
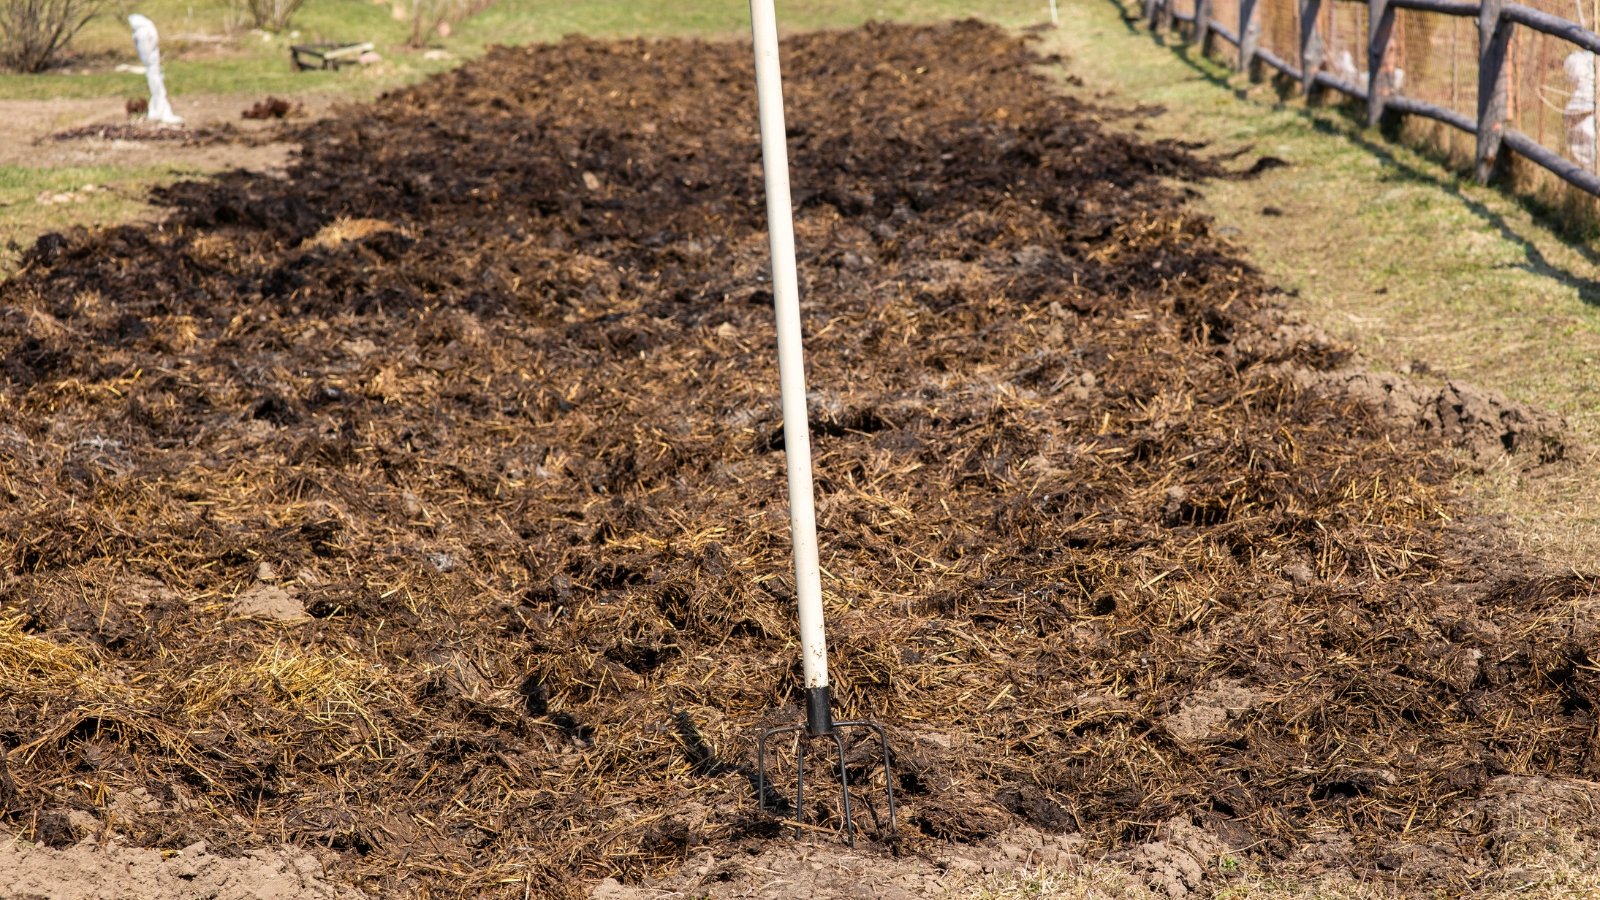
Organic improvements are beneficial for all gardens, no matter where they are! Compost, leaf mold, or wood chips are essential for creating an underground structure that supports plants, microorganisms, and worms. When in doubt, throw some compost on your beds! Use a layer one inch deep and incorporate it lightly into the topsoil using a rake.
These amendments boost the structure of your dirt, but they also add valuable plant nutrients your crops will appreciate next year. Organic fertilizers work instead of amendments, although they won’t boost soil structure and porosity as chunky improvements do. Use a soil test kit first to see if the site needs nutrients, then determine which amendments to use based on their nutritional value.
Fall leaves are rich in carbon and low in nitrogen, while compost is high in most nutrients that vary depending on what you put in it. Add just the right amount of mulch, fertilizer, or compost to the garden and you’ll boost its performance while avoiding oversaturation.
Nitrogen is the one exception—it leaches out quickly, and will most likely dissipate by springtime if you add it now. Wait until spring, then test the soil again to determine if you must add nitrogen or any other nutrient.
Step 4: Adjust pH
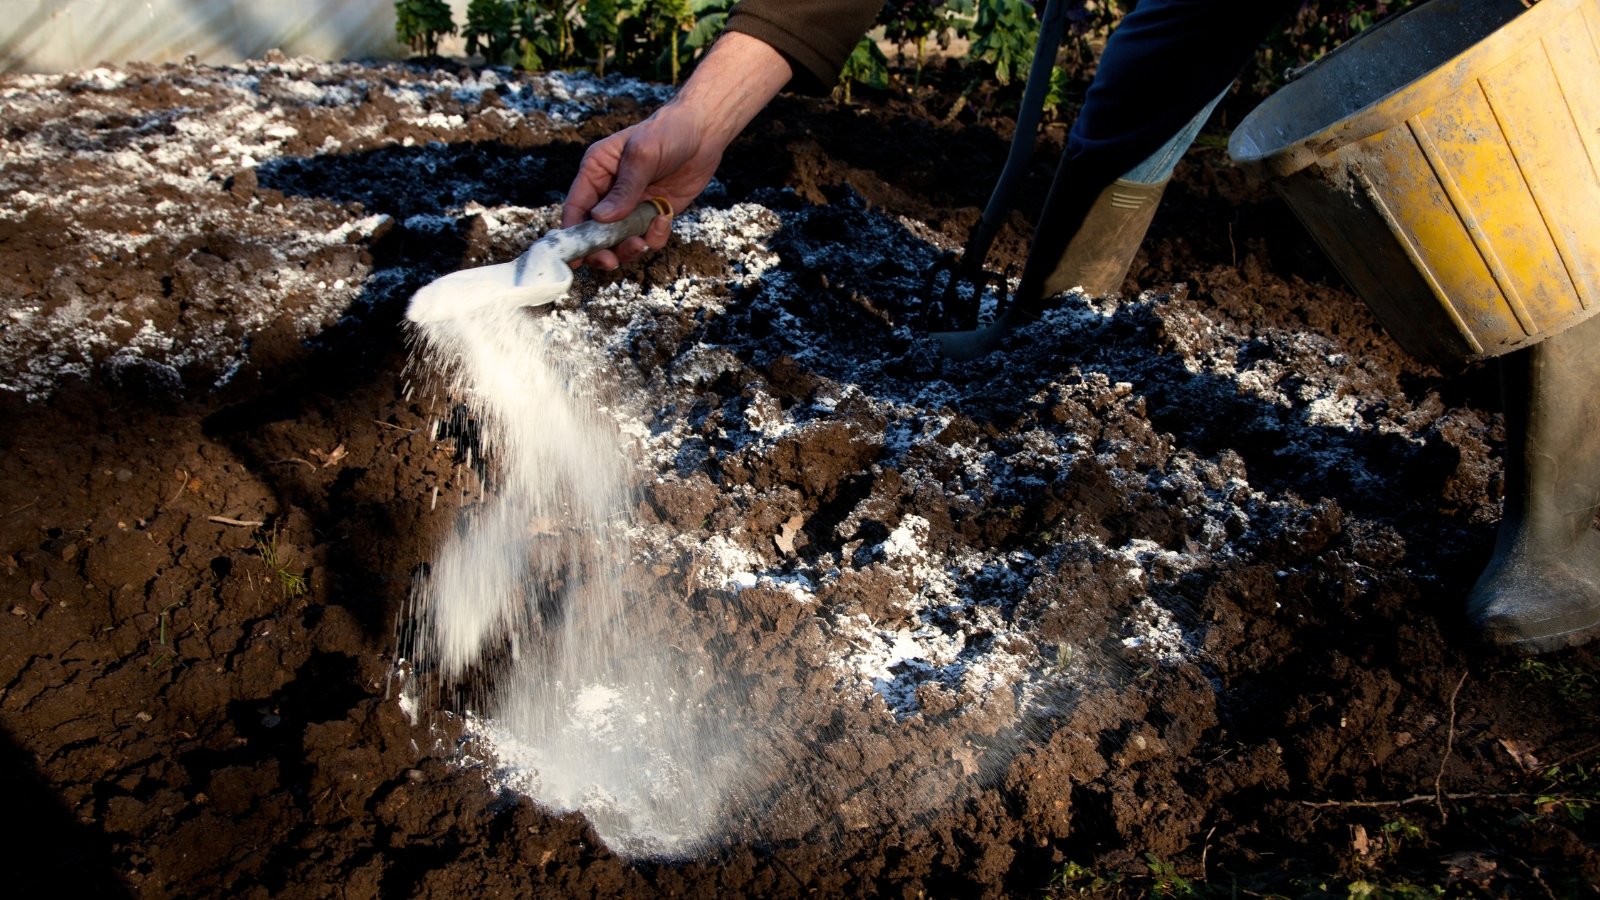
After testing garden beds for their nutritional levels, you’ll also discover their pH levels. Soil pH is a measurement of how acidic or basic the site is. Certain plants prefer acidic conditions, others like basic ones, and some like a neutral level in between the two. Fall is a great time to alter the pH so that garden beds have time to adjust as you prepare for spring planting.
Most vegetables and fruiting species prefer neutral or slightly acidic soil between 5.0 and 7.0. Some species, like blueberries, azaleas, and rhododendrons, prefer an acidic site with a pH between 4.5 and 6.0. First, decide which plants you’d like to grow in the beds, so you know what pH you’ll need to achieve.
Two amendments influence the pH over time, meaning you can add them now so they work over fall and winter. Garden lime is perfect for raising the pH to be more basic, while garden sulfur makes the site more acidic by lowering the pH. Use either as you need, and follow the instructions on the packaging for the best dosage recommendations.
Altering pH levels may not be necessary if your garden has the pH you desire. Skip this step if so, and consider adding cover crops to the beds.
Step 5: Sow Cover Crops
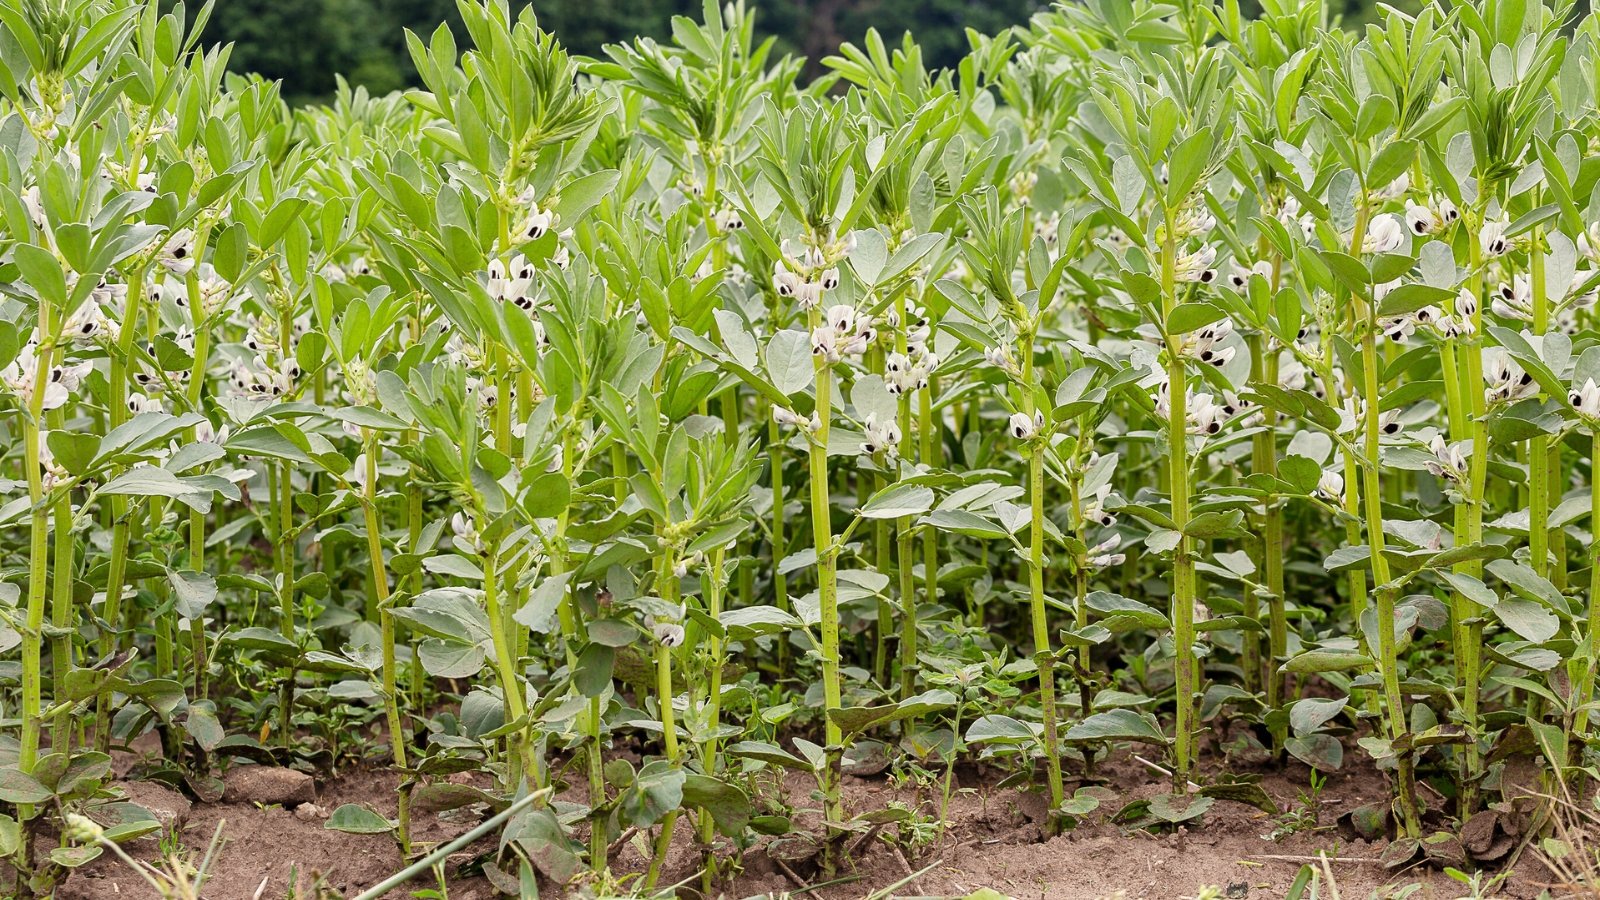
Cover crops provide similar benefits as mulch, and they’re perfect for passively preparing garden beds for spring planting. They boost your beds’ fertility levels, contribute to higher levels of humus, and protect the site from frost, erosion, and animals that dig. Many farmers use cover crops throughout the year when not growing vegetables. Then, when they’re ready to plant veggies, they crimp or cut the plants and incorporate them into the site.
Cover crops can add nutrients and protect the site while they grow. Use leguminous species that form seed pods like vetch, fava beans, or winter peas. These plants form partnerships with nitrogen-fixing bacteria in their roots. The bacteria turn atmospheric nitrogen into a form that plant roots can access. When you cut the cover crops down, the nitrogen releases and becomes available for your other crops.
Other species work well too, like lacy phacelia or crimson clover. Frost-resistant types like these are best for the cool season, as they thrive despite recurring freezing temperatures. Lacy phacelia is an ideal cover crop that’s also a native plant near the West Coast. It’ll boost local biodiversity in its native range while it protects the ground by offering tasty leaves, sweet nectar, and nutritious pollen for local wildlife.
Do a little research before planting your cover crop to determine whether or not it’s classed as an invasive species in your area. Avoid those cover crops that will invade other areas of the yard and push out native plants.
Step 6: Top Dress with Mulch
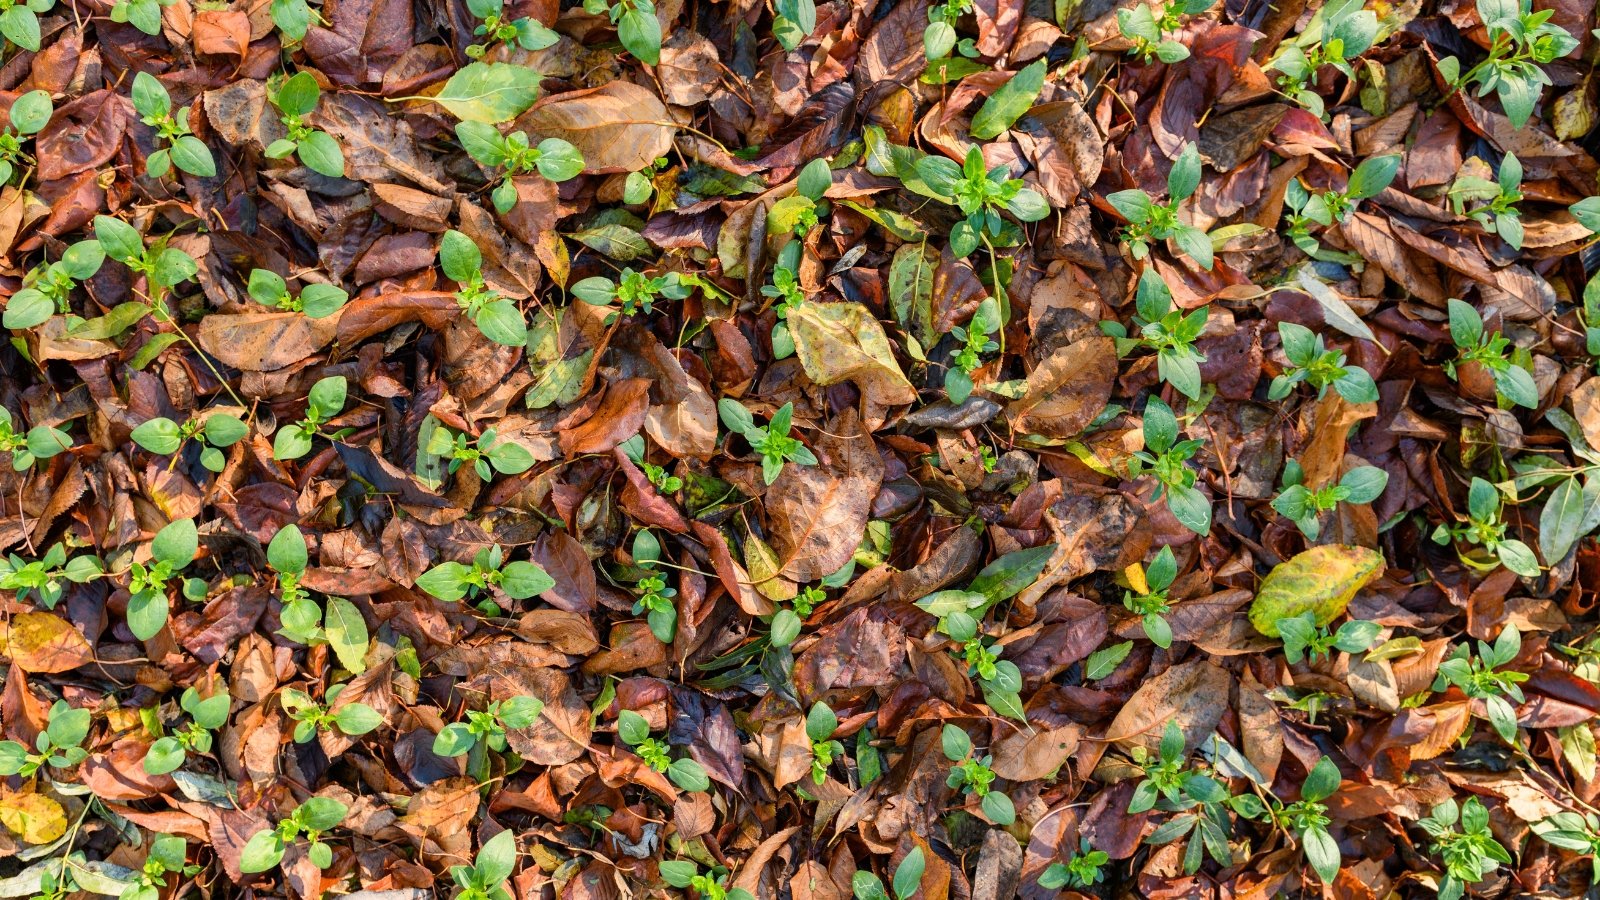
After your cover crops sprout, you’ll want to add more mulch to your beds. Mulch not only boosts fertility, but it also protects sensitive roots, microorganisms, and creatures overwintering below ground. Fall leaves, wood chips, and organic mulch mixes from retail garden centers work well for insulation. They’ll help your cover crops grow, and they’ll keep perennials safe and sound throughout the winter.
Avoid using more than a few inches of mulch, as it can smother the ground when there’s too much. Fall leaves are a major culprit, as they stick together when they turn wet and soggy. Chopping them up first helps, as small particles allow more airflow than giant chunks of leaves do.
Opt for smaller mulch particles and you’ll avoid any issues caused by low airflow. When no air penetrates through it causes anaerobic decomposition. It’s a natural process that occurs when decomposition organisms work without oxygen. It typically takes longer than other decaying processes, and it’s smelly! Use thin mulch layers and chop the pieces first to avoid this stinky natural phenomenon.
Step 7: Keep Up on the Weeds
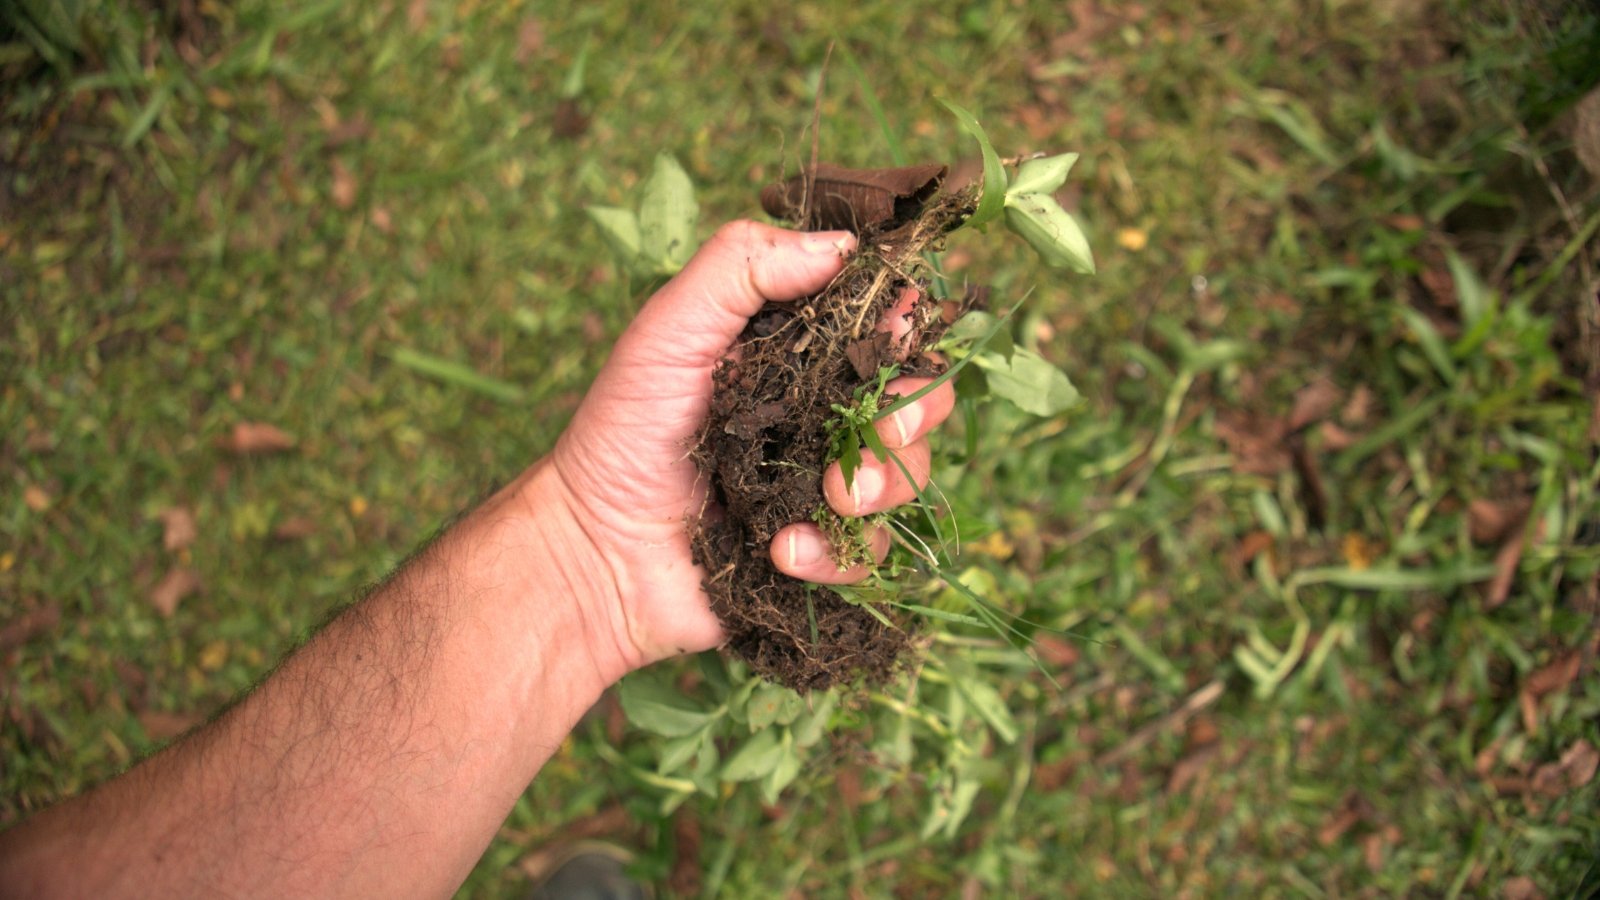
And, voila! Your garden beds should be ready to rest this winter and perform well next spring. They’ll have the nutrition, structure, and porosity necessary for the gigantic harvests you want from your garden. The last step is to keep a watchful eye on the site. Ensure the mulch stays in place, and watch for weeds that sprout during cool weather.
The same weeds you pulled at the start of this process are the ones that will return while there are cool temperatures and ample moisture. Watch for these common ones throughout the cold seasons:
| Common Name | Scientific Name |
| Hairy Bittercress | Cardamine hirsuta |
| Chickweed | Stellaria media |
| Henbit | Lamium amplexicaule |
| Purple Dead Nettle | Lamium purpureum |
| Persian Speedwell | Veronica persica |
| Prickly Lettuce | Lactuca serriola |
| Annual Bluegrass | Poa annua |
Pull these species while they’re young and you’ll keep additional weed seeds out of the ground. Weeds are easier to remove when their roots are young and weak. They’ll come out of the ground easily, and you’ll have weed-free soil that’s perfect for planting in spring.
Key Takeaways
- Prepare garden beds for spring planting while fall weather is mild, and before the ground freezes.
- Removing garden debris from your beds isn’t a necessary step unless diseases or pests are common in the growing season. Organic debris decays under mulch and boosts soil fertility and structure.
- Amendments and pH adjusters may not be necessary, depending on your garden soil’s current state. Use a soil test kit to see the pH, organic matter content, and nutrient levels of your garden soil.
- Whether you use cover crops, mulch, or fabric, covering the site is an excellent way to protect vulnerable plant roots, microorganisms, and wildlife below the ground.
- Compost is a gardener’s best friend. Consider making a pile at home and adding finished compost to your beds when they need mulch or amendments.

