
Raised bed gardening is one of the faster and easier ways to start growing in any landscape. But many new gardeners don’t have the time, tools or construction experience to build their own flower beds from scratch.
Fortunately, now you can build your own Beautiful cedar raised beds in just three minutes and without tools! This new kit from Epic Gardening has everything you need to start growing your own food right away. No drills, saws, measurements or nails needed!
Here’s how to unpack and set it up!
3 Minute Raised Bed and Extension Kit
The 3-Minute Raised Bed assembles without tools in minutes with easy-to-follow instructions, creating a stress-free start to your new gardening space! The slim, lightweight package is very easy to move, and the box even doubles as mulch for hassle-free installation. These beds are perfect for small spaces, making any area ideal for gardening!
What is the fastest way to install raised beds?
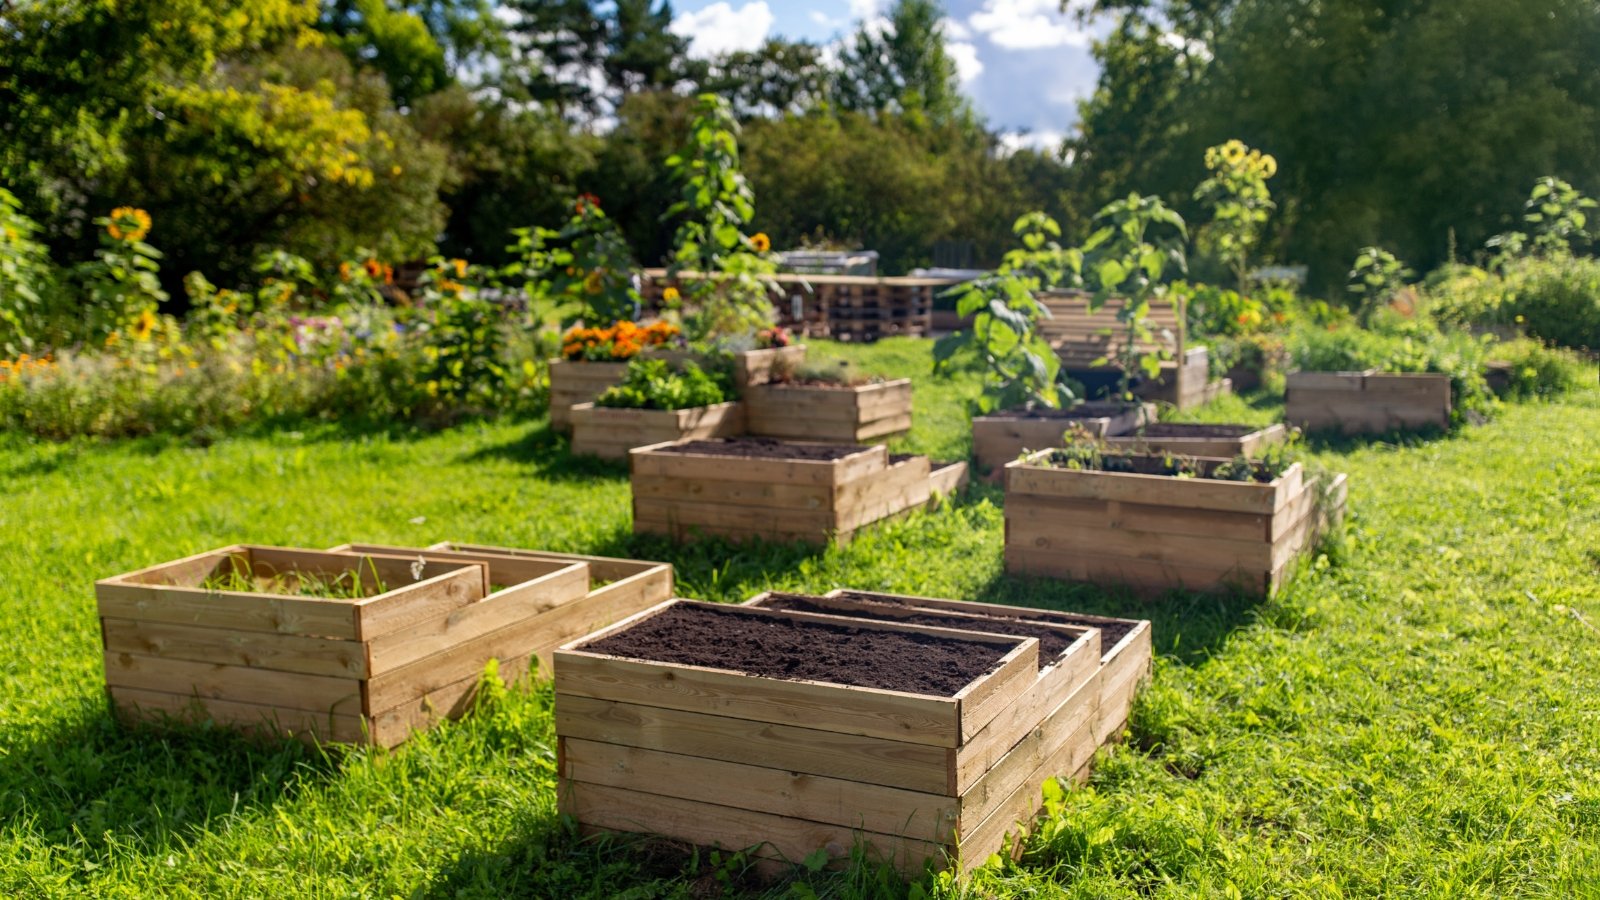
Prefabricated raised bed kits offer the quickest way to set up a new garden. If you don’t have the time, tools or experience to build your own beds, choose a all-in-one cedar raised bed kit with tool-free setup. Stress-free design allows you to assemble easily fitted sideboards and corners that slide into each other. It only takes three minutes to assemble a bed!
Can add extension kits and additional beds Set up a complete backyard garden in less than an hour. Once the cedar boards are in place, all you need to do is fill the beds with six cubic feet of soil, compost, or other organic matter. Then, you are ready to plant!
What is the 3 minute garden bed?
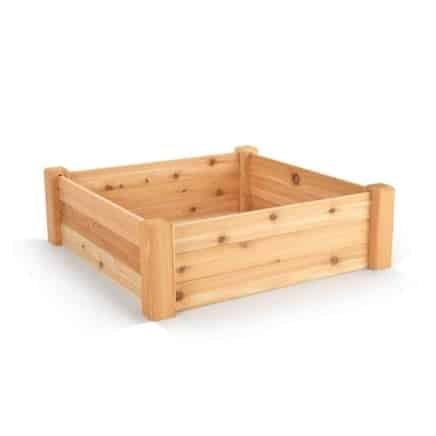
He 3 minute bed It is the fastest, simplest and most aesthetically pleasing cedar Raised bed for a new gardener. it’s a 36” x 36” bed with 10.5” deep for plant roots. You don’t need any tools or construction experience to set up this innovative, quick-install, all-in-one raised bed kit from Epic Gardening. The kit arrives with precut boards and corners that slide into each other, allowing you to set up the bed, fill it with soil and start growing as soon as possible.
How to configure it
When your 3 Minute Garden Bed arrives, you may be surprised to see light and minimalist packaging. Pre-cut cedar boards and compostable cardboard box ensure zero waste and without headaches. You don’t even need any tools or a drill to assemble this!
Imagine this bed as a life-size Lego kit. The pieces fit together effortlessly, but look professionally built. Many of our community members report that their kids can put it together themselves! Here’s how:
Choose the right location
Start by finding a flat area with full sun exposure. Avoid building it on a slope or in a shady area. Most vegetables and fruits require 6-8 hours of direct sunlight grow properly, so make sure your raised garden is not shaded by trees, bushes or buildings.
You may need to prepare the ground for raised beds using a quick flattening method. For example, you can flatten it with a shovel or excavator. Or you can build it on a patio pavers or concretebut it will work better in grass or dirt where plant roots and soil can eventually reach the ground.
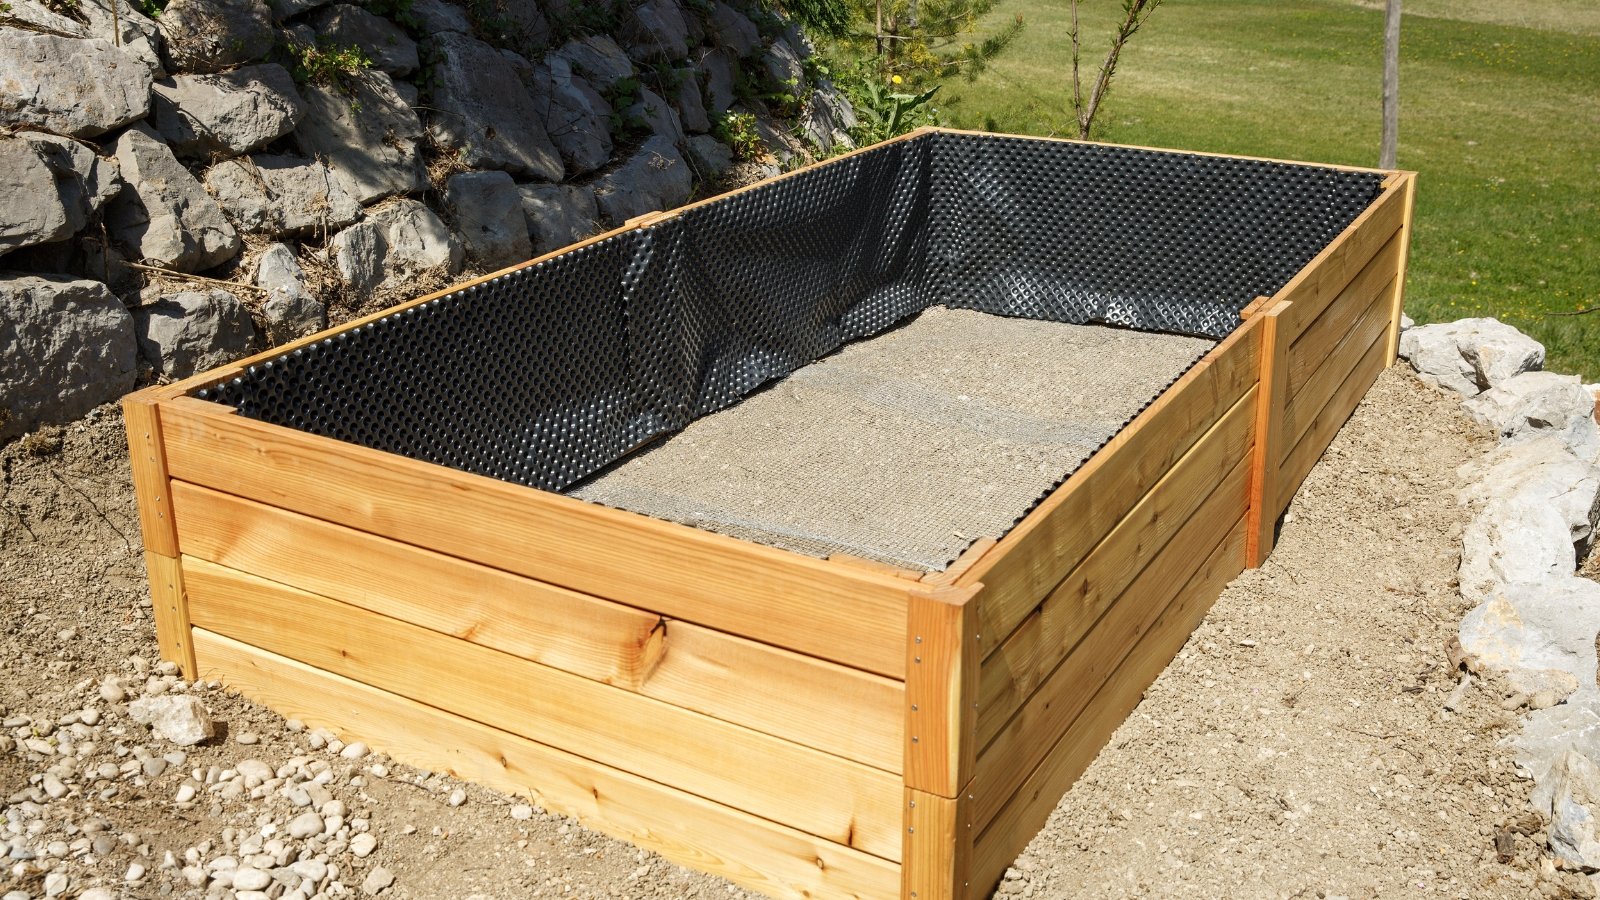
if you have aggressive weedsconsider applying mulch with cardboard, leaves or wood chips below. You can also use construction plastic, bed liners, or landscaping fabric to protect lower terraces and patios from stains or moisture.
Get familiar with the kit
Opening the kit is a refreshing experience. There is no complicated instructionsunnecessary hardware or plastic packaging. Instead, you’ll find the elegant cedar boards finished, aligned, and ready to assemble.
The inside of the box includes simple photos to guide you through the process. If you are a visual learner, copy the photos. Otherwise, follow the steps below.
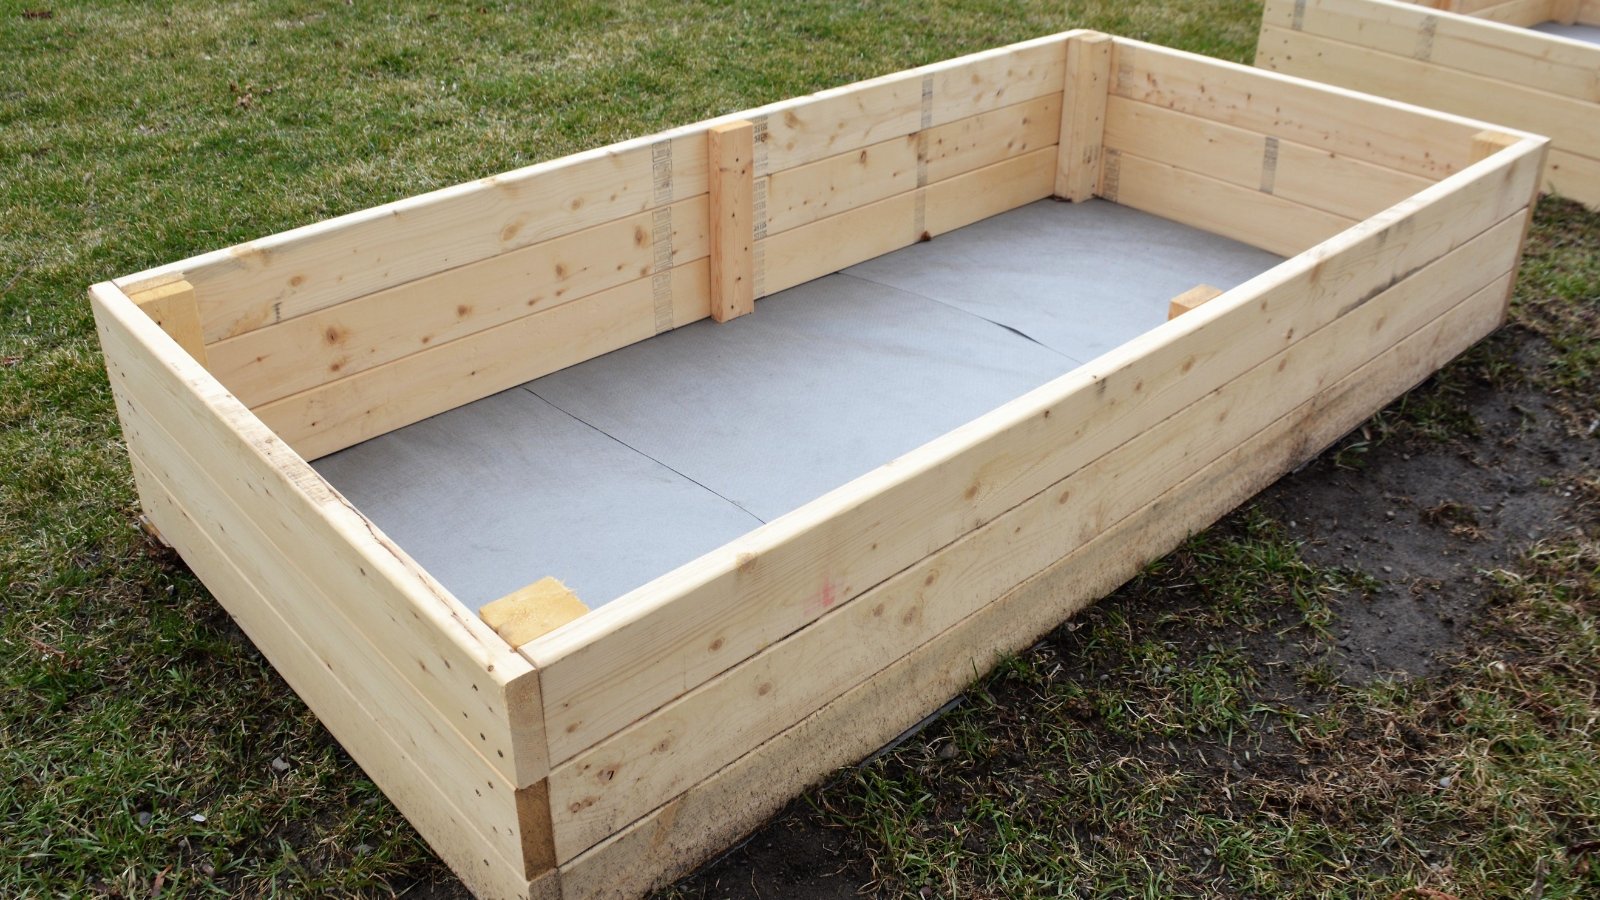
Place the corners
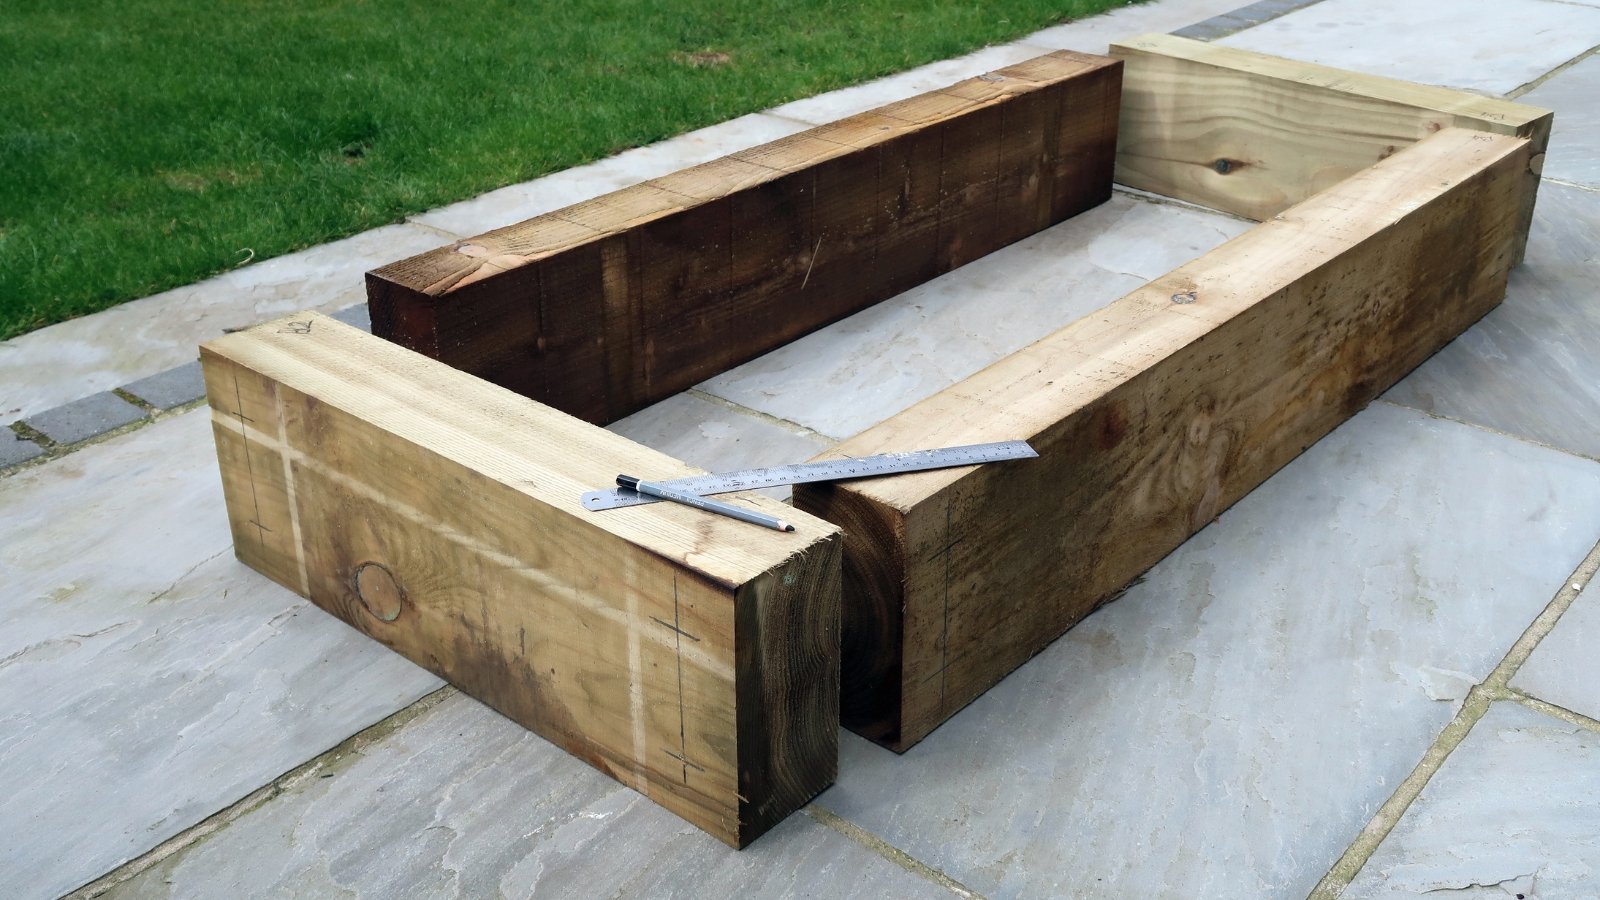
It’s easier assemble this structure backwards. Start by placing the four corner pieces in a square. The open slots of the corner blocks should face inward. Keep the exposed slot facing up making it easy to slide the sideboards into place. All boards are pre-cut to ensure you can’t mess up the space or size.
Slip into the sideboards
Next, take one of the twelve sideboards. Gently slide the first one between two corner pieces. The edges should fit perfectly into the slots.
Repeat this process until you have a single layer square. Once the primary structure is in place, it is very easy to slide the remaining boards into place. helps stack one size first to its maximum height, then repeat on the other sides. The finished bed will have three horizontal cedar slats for an elegant and attractive appearance.
turn it around
The final step may require two people. First, push down on each sideboard to make sure it is secure. Then grab the bed from opposite sides and turn it over gently to his final resting place. This will turn the corner blocks around to hold all sides in place and will add a nice aesthetic to the corners of the raised bed.
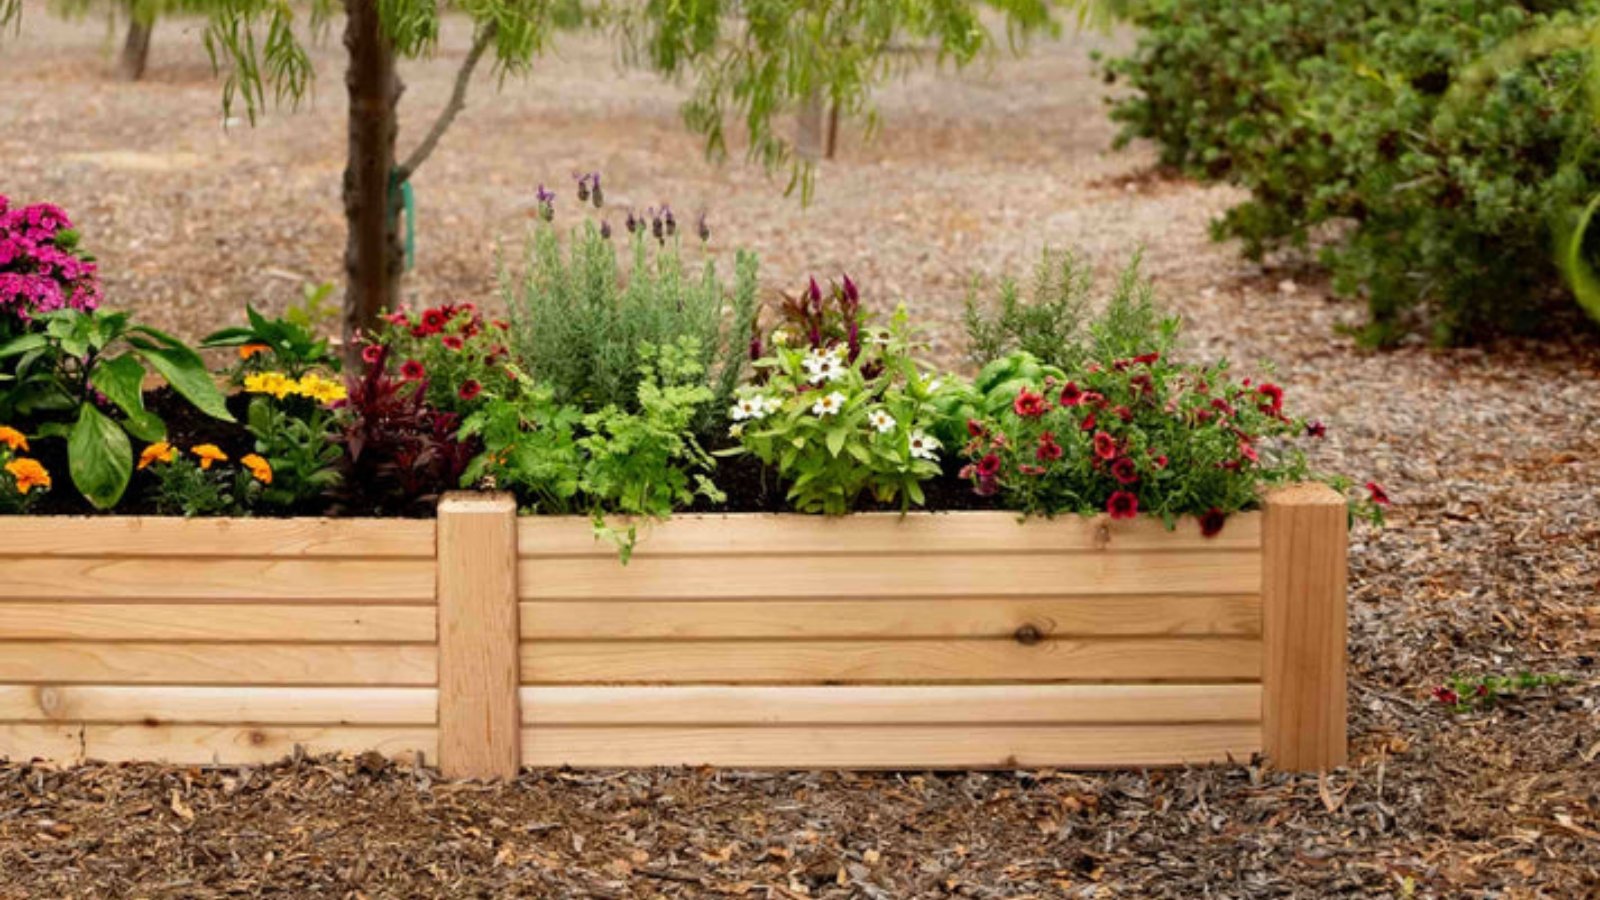
Double the space with an extension

If you prefer a largest raised garden bedyou can add a extension kit to double space quickly. Expanded pieces will stretch three feet in one direction. Also includes a middle divider to prevent it from bending or deforming over time.
By installing the extension kit, you can skip one side of the original box. Instead, take those slats and insert them into the right side of a corner block. This will expand the growing space laterally until it forms a rectangle. He middle pillar Includes an inward-facing slot to add a divider board that will be hidden beneath the floor. This board is important to maintain the structural integrity of the rectangular bed over time.
fill with earth
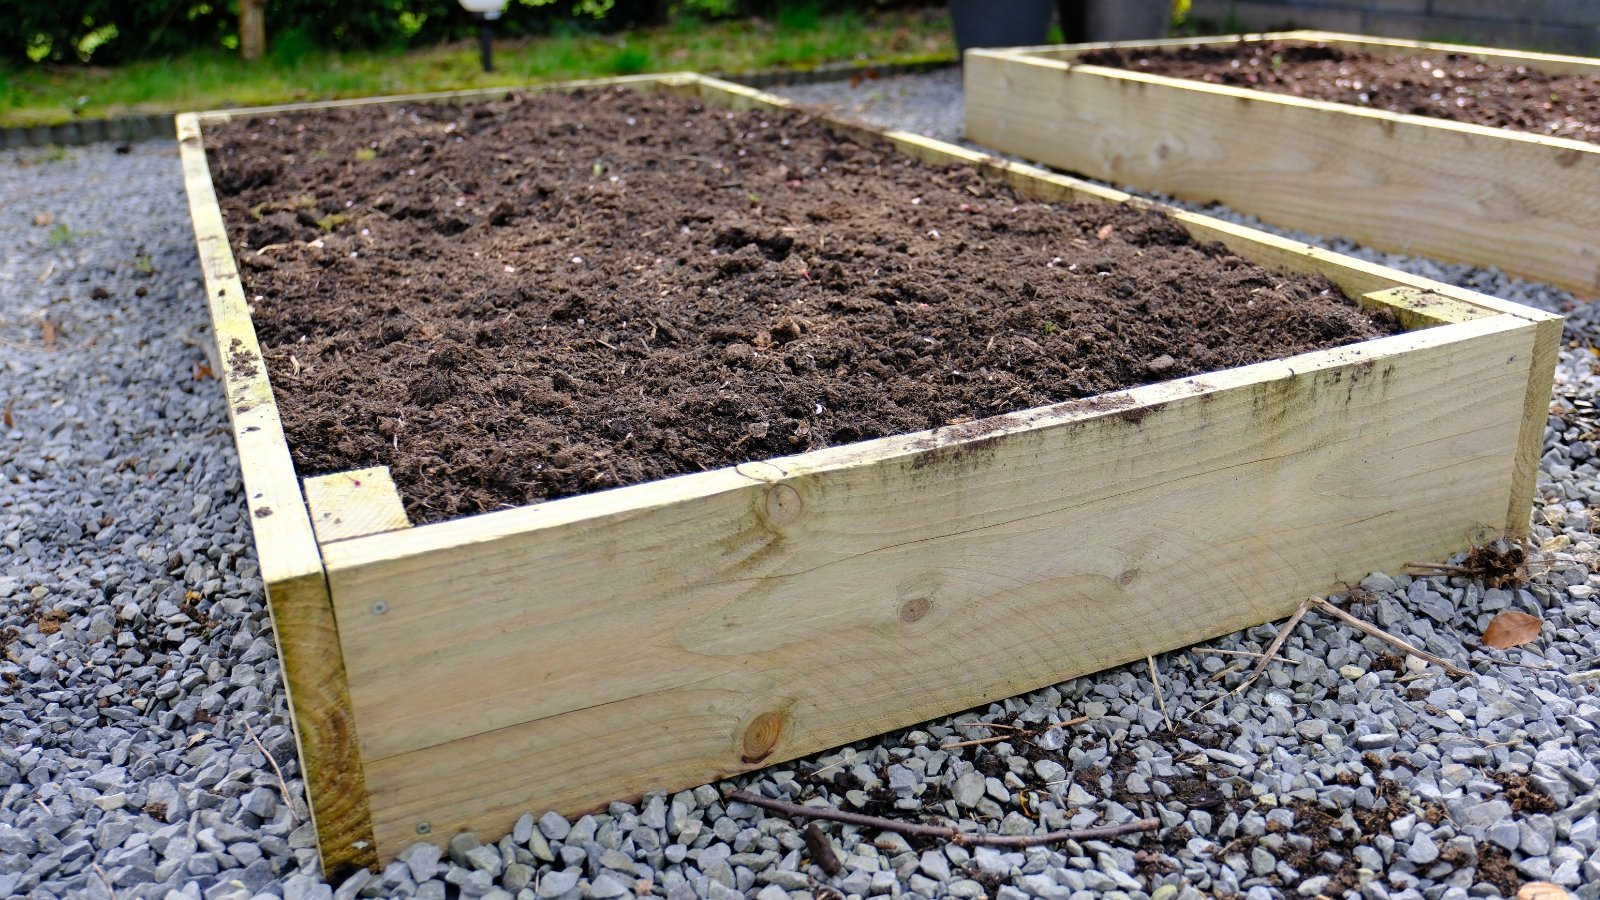
The quickest way to fill your raised garden bed is to purchase a ready-made soil mix! This pot requires six cubic feet of soil. If you like save moneyfirst fill the bottom centimeters with a rougher organic material such as straw, leaves or twigs. These materials will decompose over time, adding valuable organic matter and drainage to the soil.
Next, add fertilizer or raised soil bagged on top. This video details the best flooring materials and products for the job:

Frequently asked questions
western red cedar it is naturally rot resistant and beautiful. Although it is not necessary, a oil finish is optionalbut will improve overall appearance and longevity. Make sure you choose a Non-toxic, food-grade wood finishing oil. like tung. If you do not oil the bed, the cedar will become more grayish as it is exposed to UV rays. The color does not affect the longevity or durability of the bed.
The specially designed dovetail joints of the 3 minute bed Make sure no hardware is needed. Sideboards slide neatly onto sturdy corner posts, allowing stress-free attachment no drill required. All you need to do is press everything into place to make sure it’s secure.

